Building a Shed From the Floor Up
 Callum Reith-Sowande
Most people think that if you want to learn how to build a shed, you need to go out and buy every cordless gadget the local hardware shop is pushing. They think a pile of expensive, battery-operated junk is the shortcut to a finished project. I spent forty years on site, and if there’s one thing I’ve learned, it’s that a man with a well-maintained hand saw and a steady eye will outwork a man wrestling with a vibrating, blunt power tool every single time. You don't need a mountain of plastic tools that you'll be throwing in a landfill in two years; you just need the right technique and a bit of patience.
In this guide, I’m going to show you the proper way to approach the job without all the unnecessary noise. I won't be feeding you any of that "quick-fix" nonsense you see in glossy magazines. Instead, I'll walk you through the honest, practical steps of how to build a shed that actually stands the test of time. We’ll focus on solid joinery, proper leveling, and using tools you can actually maintain yourself. If you're ready to do it right the first time, let's get to work.
Guide Overview
Tools & Supplies
- Circular saw for cutting lumber and siding
- Power drill for driving screws and assembly
- Level to ensure foundation and walls are straight
- Hammer for roofing nails and framing
- Pressure-treated lumber for foundation and framing
- Plywood or OSB sheets for flooring and walls
- Asphalt shingles for roofing
- Exterior grade screws and nails
Step-by-Step Instructions
- 1. First, you need to get your base right. Don't go thinking a bit of gravel and some scrap timber will hold up a structure for twenty years. You’ll want a solid foundation—either a concrete pad or, if you're doing it my way, a heavy-duty timber frame sitting on leveled paving slabs. If that base isn't perfectly level, the doors will never hang straight and the whole thing will eventually rack and twist.
- 2. Once the base is set, start on the floor joists. I use pressure-treated timber here, no question about it. Space them out no more than 400mm apart to keep the floor from feeling bouncy underfoot. When you’re nailing them down, make sure you're using the right gauge of nail; you want a tight, rigid frame that won't creak every time you walk into the shed to grab a tool.
- 3. Now, move on to the wall frames. Build them flat on your shed floor to ensure they stay square. You’ll be framing up your studs and your door openings, so measure twice and cut once—though I’d say measure three times if you're using a cheap tape measure. When you stand those walls up, use a long spirit level to ensure they are plumb before you brace them into place.
- 4. Getting the roof on is where most people start rushing and making mistakes. I prefer a simple pent roof if you want to keep things easy, or a gable roof if you've got the patience for the mitres. Whatever you choose, ensure your rafters are cut with precision. If you're using a handsaw, make sure it’s honed to a razor edge; a clean cut in the timber means the joint will seat properly without you having to hammer it into submission.
- 5. Next, you’ll be cladding the exterior. Whether you choose tongue-and-groove or shiplap, the secret is in the overlap. Don't skimp on the quality of the wood here, or it'll warp the first time the weather turns. I always take a moment to check that my cladding is straight as I go, working from the bottom up to ensure water sheds away from the structure rather than soaking into the joints.
- 6. The final real task is the door and the hardware. A shed is only as good as its ability to keep the contents dry. Don't bother with those flimsy, pre-made doors from the big-box stores; build your own using the offcuts from your cladding. It'll take a bit more time, but a hand-built door fitted with heavy-duty T-hinges will last a lifetime, whereas the cheap stuff will sag within a single season.
Mastering Shed Foundation Types for a Steady Edge
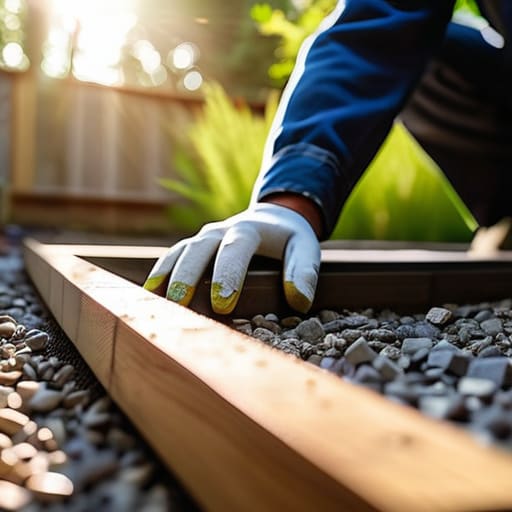
Before you even think about picking up a hammer or checking your garden shed materials list, you have to look at the ground. I’ve seen too many lads rush into wooden shed construction steps only to find their structure twisting and pulling apart six months later because they built it on soft, uneven turf. A shed is only as good as what it sits on. If your base isn't level, your doors won't hang true and your joints will fight you every step of the way.
When weighing up different shed foundation types, don't just go for the cheapest option. A concrete slab is solid, certainly, but it’s a permanent commitment that’s a nightmare to move. For most of the projects I see, I prefer a gravel pad or concrete piers. They allow for proper drainage and give the timber a chance to breathe. If you're building an outdoor storage structure diy style, take the time to dig out the topsoil and compact that sub-base. It might feel like a chore, but a steady, level foundation is the only way to ensure your craftsmanship lasts more than a couple of seasons.
The Essential Garden Shed Materials List for True Craftsmen
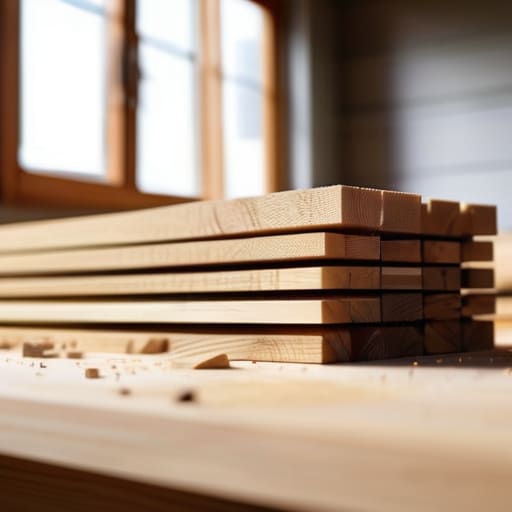
Now, before you go running to the big-box DIY store to grab whatever's on sale, we need to talk about what you’re actually putting into this structure. A proper garden shed materials list isn't just a shopping list; it’s a commitment to longevity. I’ve seen too many fellas buy cheap, pressure-treated timber that’s riddled with knots and splits before they’ve even reached the driveway. If you want a structure that stands for decades rather than seasons, you look for straight, stable grain. Don't settle for anything less than high-quality, slow-grown softwood for your framing.
When you're selecting your cladding, remember that the wood needs to breathe, but it also needs to fight the elements. I always tell my students: invest in the skeleton, and the skin will follow. You can get fancy with your shed roof design options later, but if your studs are warped or your floorboards are undersized, the whole job is a waste of sweat. Take your time picking through the stack. If a piece of timber looks like it’s going to twist the moment it hits the humidity, leave it on the pile. It isn't worth the headache.
Five things I wish my apprentices had listened to
- Don't let the weather dictate your pace; if you're trying to drive nails or cut joints in a downpour, you'll end up with a crooked structure and a sore back. Wait for a dry window so your timber stays true.
- Check your square more often than you think you need to. A shed that looks straight on the ground will be a nightmare to roof if your corners are even a fraction of a degree off.
- Stop relying on those cheap, plastic-handled hammers. Get yourself a decent steel-headed mallet or a proper framing hammer that has some weight behind it; you want the tool to do the work, not your wrist.
- Treat your saw like a partner, not a disposable bit of kit. If you feel the blade tugging or wandering through your floorboards, stop immediately and check your teeth. A dull saw is a dangerous, frustrating way to work.
- Measure twice, but verify once more before you commit the blade. I've seen enough good timber wasted by lads who were in too much of a hurry to get to the pub to double-check a simple mark.
A Shed Built to Last
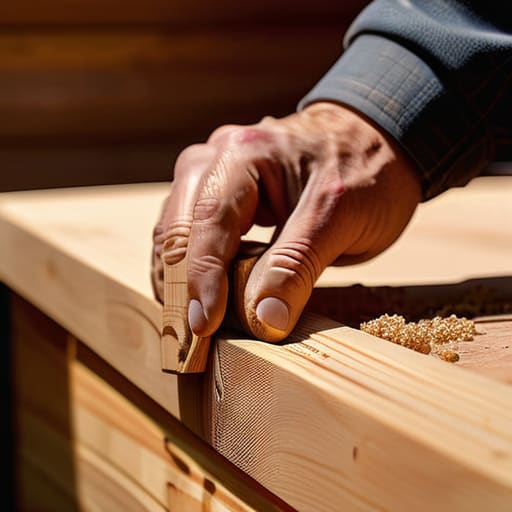
At the end of the day, building a shed isn't just about nailing boards together and hoping for the best. It’s about the groundwork you laid—starting with a foundation that won't shift when the seasons change, and choosing timber that won't rot before the first frost. If you’ve followed these steps, you haven't just assembled a garden box; you’ve constructed a structure with integrity. Remember, the difference between a heap of wood and a proper outbuilding lies in the details of the joinery and the quality of the materials you refused to compromise on. When you take the time to do it right, you won't be out there in three years repairing a leaning frame or replacing warped cladding.
I know the modern world wants you to rush, to buy a pre-fab kit from a big-box store and call it a day. But there is a particular kind of satisfaction that comes from knowing every stud and every floorboard was placed by your own hand. Don't let the temptation of "quick and easy" rob you of the craft. A shed built with patience and properly maintained tools becomes more than just storage; it becomes a testament to your skill. Now, get out to the workshop, check your edges, and get to work. There’s nothing quite like the feeling of a job well done.