A Log Store That Dries Wood
 Callum Reith-Sowande
Most people think you need a shed full of expensive power tools and a pile of fancy pressure-treated timber to get a decent woodpile sorted. They spend more time reading instruction manuals than actually cutting wood, and frankly, it’s a waste of a good afternoon. I remember a lad at the college, bright enough but far too reliant on a cordless saw that ran out of battery every twenty minutes; he struggled for hours on a simple frame that I finished with a hand saw and a sharp chisel in half the time. If you want to learn how to build a log store that actually stands up to the weather without breaking the bank, you need to stop chasing gadgets and start focusing on solid joinery.
In this guide, I’m going to show you how to put together a sturdy, functional structure using nothing more than basic materials and a bit of common sense. I won't be throwing any jargon at you or suggesting you buy tools you'll just throw away when they go blunt. Instead, I’ll walk you through the proper way to frame it, how to ensure it breathes so your wood actually dries, and how to make sure it stays upright for years.
Guide Overview
Tools & Supplies
- Saw (hand saw or circular saw for cutting wood)
- Drill (with bits for pilot holes and driving screws)
- Tape measure (for accurate dimensions)
- Spirit level (to ensure the base is flat)
- Hammer (for securing certain fasteners)
- Pressure-treated timber (approx. 10-15 meters of various lengths)
- Wood screws (box of 50-100 galvanized screws)
- Wood preservative (optional for extra longevity)
Step-by-Step Instructions
- 1. First, you need to sort your timber. Don't go grabbing anything that's been sitting in a damp shed for a decade; you want something sturdy like pressure-treated softwood. Get yourself four upright posts—about four by four inches—and cut them to the height you want. I usually go for about four feet, enough to keep the wood off the wet ground but low enough that you aren't straining your back every time you go to grab a piece for the fire.
- 2. Lay out your base frame on a level patch of ground. You'll need some thicker rails to connect those uprights at the bottom. Use a square to make sure everything is true before you start fixing it together. If your frame is wonky at the start, your whole stack of logs will eventually lean and collapse, and there's nothing more frustrating than a pile of wood that won't stay put.
- 3. Now, build the side panels. You aren't making a solid box here; that's a mistake that traps moisture and rots your fuel. Instead, fix horizontal slats across the sides, leaving a gap of maybe an inch or two between each one. This allows the wind to move through the stack, which is essential for seasoning the wood properly. If you don't let it breathe, you'll be burning damp logs all winter, and that's just wasting heat.
- 4. Once the sides are set, it's time for the roof. I always prefer a sloped design so the rain runs off rather than soaking into the top layer. Use a couple of longer beams to create a pitch, then nail your roofing material on top. You can use felt, or if you're feeling proper, some corrugated bitumen sheets. Just make sure the overhang is wide enough so the rain doesn't creep back under the roofline and soak your hard work.
- 5. Before you load it up, check your joins. I've spent forty years seeing people rush this bit, only to have the whole structure wobble like a jelly a month later. If a screw is stripping or a joint feels loose, fix it now. A well-built structure shouldn't need constant tinkering; it should be solid and dependable, just like a well-honed chisel.
- 6. Finally, get that wood in there. Start with the heaviest, most seasoned logs at the bottom to create a stable foundation. As you stack, try to keep the airflow consistent. Don't pack it so tight that the air can't get in, but don't leave it so sparse that it looks half-empty. It’s a bit of a balance, but once it’s done, you’ll have a tidy, functional store that actually does its job without you having to baby it.
Designing Woodpile Airflow Design for Rapid Seasoning
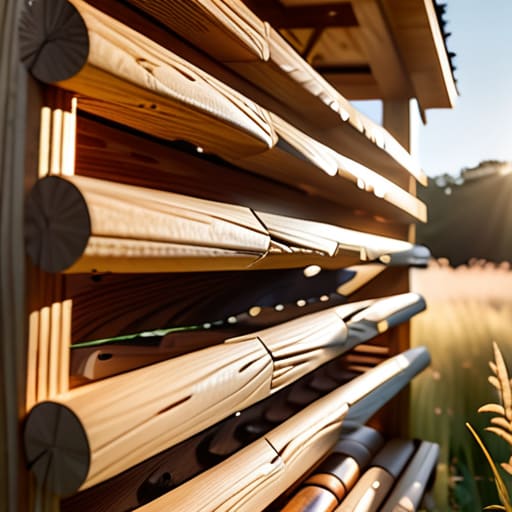
Most people build a structure that looks fine but acts like a tomb for their wood. They pile it up tight, thinking they're being efficient, but they're actually just trapping moisture. If you want to master the timber seasoning process, you have to stop thinking about the structure as a box and start thinking about it as a lung. You need constant, moving air passing through the stack. I always tell my students that if the wind can't dance through the logs, the wood won't dry.
When you're building your rack, don't go making solid walls. Leave gaps between your slats—at least an inch, if not more—to ensure proper woodpile airflow design. I prefer using spaced timber rather than solid sheeting for the sides. This keeps the stack breathing even when the weather turns foul. You want a weatherproof log shelter that keeps the rain off the top, but lets the breeze work its magic from the sides and bottom. If you don't get the airflow right, you'll be staring at a pile of damp, smoky wood come winter, and no amount of kindling will save you then.
Building a Wooden Log Rack That Defies Moisture
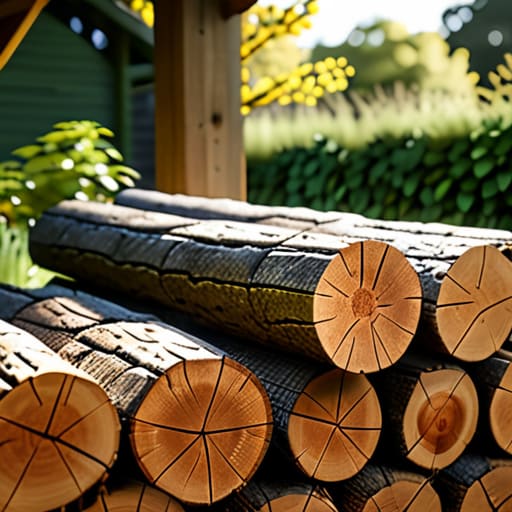
If you want a structure that actually lasts, you have to stop thinking about it as just a pile of wood and start thinking about it as a piece of joinery. Most people build a flimsy frame, stick some logs in it, and wonder why the bottom layer turns into mush by February. When you’re building a wooden log rack, the secret isn't in the roof; it's in the floor. If your wood is sitting directly on damp earth or a concrete slab, you’ve already lost the battle. I always insist on a raised base—something sturdy like pressure-treated sleepers or a heavy-duty timber frame—to keep the stack off the ground.
You also need to consider how you're protecting firewood from moisture during the heavy rains. A roof is fine, but it needs a significant overhang. If the rain can blow sideways into the heart of your stack, your seasoning process will stall completely. I prefer a slight pitch to the roof to ensure water runs off quickly, rather than pooling near the timber. It’s about creating a weatherproof log shelter that works with the elements, not against them. Don't rush the build; if the foundation is sound, the wood will take care of itself.
Five things I’ve learned from fifty years of working with wood
- Don't use cheap, thin screws that'll snap the moment the wood swells in winter; get yourself some decent, heavy-duty galvanized ones that can actually hold a load.
- Keep the base off the ground—if you set your timber directly on damp earth, you’re just building a rot-trap, and no amount of sealant is going to save you from that.
- Check your joints before you commit; if you're using a chisel to seat a tenon for the frame, make sure it's biting true so the whole structure doesn't wobble when it's full of heavy oak.
- Slope the roof more than you think you need to; a little bit of rain will find its way through even the tightest gaps if you aren't careful.
- Build it for the weight, not just the look; a full stack of seasoned logs is immensely heavy, and a flimsy frame will bow and fail before the first frost hits.
A Bit of Final Advice
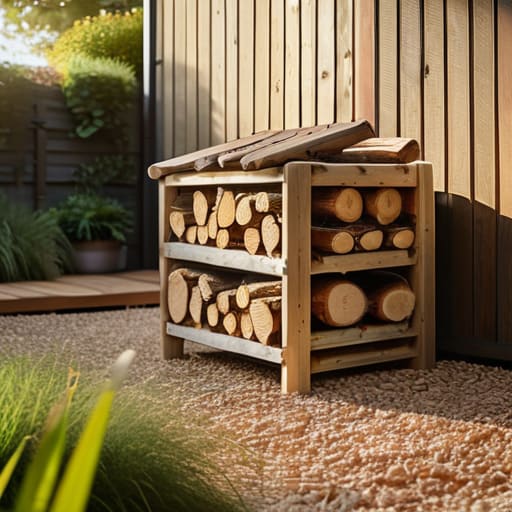
At the end of the day, building a decent log store isn't about fancy joinery or expensive hardware; it’s about understanding how the wood needs to breathe. You’ve got your frame sorted, you’ve ensured the base keeps that timber off the damp ground, and you’ve designed the airflow so the heat can actually escape. If you’ve followed these steps, you won't just have a pile of wood sitting in the yard; you’ll have a proper seasoning system that works with the elements rather than fighting against them. Don't go skimping on the structural bits, either. A log store is only as good as its foundation, and if it sags under the weight, you’ve wasted your time and your materials.
I know there is a temptation to just head down to the local DIY shop and buy a pre-made plastic crate or a cheap, flimsy kit. Resist it. There is a particular kind of satisfaction that comes from standing back and looking at something you built with your own hands, using tools that you’ve kept in good nick. When the first frost hits and you reach for a piece of wood that is bone-dry and ready to burn, you’ll know exactly why you bothered to do it right. Stop looking for the easy way out and just get to work.