A Gate That Still Shuts in Five Years
 Callum Reith-Sowande
Most people think you need a shed full of noisy, vibrating power tools and a massive budget to learn how to build a gate. They’ll tell you that if you aren't using a heavy-duty mitre saw and a cordless drill, you’re just wasting your time. I spent forty years on site and ten years teaching apprentices, and I can tell you that's a load of rubbish. If you approach a project with a blunt blade and a loud machine, you’ll spend more time fighting the wood than working with it. The truth is, if you know how to build a gate using a few well-maintained hand tools, you’ll find the work goes twice as fast and the joints will actually stay tight for a decade.
I’m not here to sell you a shiny new kit or some complicated, over-engineered method that requires a workshop the size of a hangar. I’m going to show you the honest way to do it. We’ll focus on selecting the right timber, squaring your frame with precision, and ensuring your tools are sharp enough to shave with. This is about proper joinery and making something that lasts, not just something that looks decent for a week.
Guide Overview
Tools & Supplies
- Circular saw for cutting lumber to size
- Power drill/driver for assembling frame and attaching hinges
- Level to ensure vertical alignment
- Tape measure for precise dimensions
- Pressure-treated lumber (2x4s and pickets)
- Heavy-duty gate hinges
- Gate latch kit
- Exterior grade wood screws
- Wood glue (waterproof)
Step-by-Step Instructions
- 1. First, you need to pick your timber, and for heaven's sake, don't just grab the cheapest pressure-treated scraps from the yard. You want something stable, like a good oak or a decent larch, that won't warp the moment the sun hits it. Lay your boards out on a dead-level workbench to see how they naturally want to sit together before you commit to a single cut.
- 2. Once you've got your boards laid out, it's time to frame it. I don't care what the big box stores tell you about using metal brackets for everything; if you want a gate that lasts, you build a sturdy frame using mortise and tenon joints. Use your chisel to clean out those mortises until they are tight and true—if the joint is sloppy, the whole gate will sag within a season.
- 3. Now, you'll need to fit the horizontal rails. Don't just nail them to the face of the vertical stiles like you're building a birdhouse; that's a recipe for disaster. You want those rails seated deeply into the timber to distribute the weight of the gate evenly across the frame.
- 4. This is where most people start sweating and reaching for the power planer, but I’d suggest you stick to a well-honed hand plane for the final shaping. It gives you much better control over the grain, and you won't end up with those ugly, shallow gouges that a spinning blade leaves behind. A smooth finish is much easier to maintain once the gate is hung.
- 5. Before you even think about hanging it, you must install your diagonal brace. This is the most critical part of the physics involved. The brace must run from the bottom hinge corner up to the top latch corner. If you get this direction wrong, you aren't building a gate, you're building a future headache that will drag on the ground every time you open it.
- 6. When it comes to the hardware, don't skimp on the hinges. Heavy-duty strap hinges are what you want here. I've seen too many lads use flimsy little butt hinges that buckle under the weight of a solid timber gate. Screw them in firmly, and if you can, pre-drill your holes to prevent the wood from splitting near the edges.
- 7. Finally, hang the thing and check the swing. If it's catching, don't go hacking at the bottom with a saw. Take your chisel, find exactly where it's rubbing, and shave it back bit by bit. It's a slow process, but it's the only way to ensure the gate moves with the grace it deserves.
The Blueprint of a Perfect Wooden Gate Frame Design
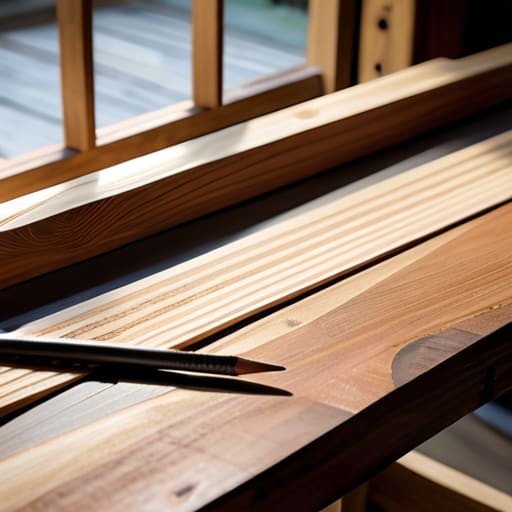
Before you even touch a saw, you need to sit down with a pencil and a piece of scrap timber. A lot of lads make the mistake of just grabbing four lengths of wood and hoping for the best, but a proper wooden gate frame design relies on geometry, not guesswork. I always tell my students that the frame is the skeleton; if the bones are crooked, the skin will never sit right. You want to design for stability by using diagonal bracing. If you don't account for the weight of the timber from the start, you'll find yourself fighting gravity every single time you swing it open.
The real enemy here is gravity, and if you don't plan for it, you'll be dealing with preventing gate sag before the first season is out. I recommend a heavy-duty cross-brace that runs from the bottom hinge side up to the top latch side. This transfers the load back toward the post where it belongs. While you're at it, pay close attention to your measuring for gate clearance; leave a bit more room than you think you need for the seasonal swell. Wood moves, and if you build it too tight, the weather will turn your hard work into a stuck mess.
Gate Post Installation Tips for a Foundation That Holds

You can have the finest wooden gate frame design in the county, but if your posts aren't set right, that gate will be dragging in the dirt within six months. I’ve seen too many lads rush this part, thinking a shallow hole and a bit of gravel will do the trick. It won't. You need to go deep—at least a third of the total post length should be in the ground. When you're digging, make sure the bottom of the hole is compacted; you don't want your post sitting on soft, loose soil that shifts with the first heavy rain.
One of my best gate post installation tips is to never skimp on the concrete mix. I prefer a sturdy, well-sloped pour that sheds water away from the timber, rather than letting it pool around the base where rot starts. While you're setting them, take a spirit level and check both the plumb and the depth. If your posts aren't perfectly vertical, you'll spend your entire weekend preventing gate sag with shims and adjustments. Do it right the first time, or you'll be fighting the weight of that wood for years to come.
Five things they don't tell you in the instruction manuals
- Don't trust your eyes alone; use a square every single time you make a cut. A gate that looks straight on the ground will sag and bind the moment you hang it on the posts.
- Stop buying those cheap, soft screws that snap off halfway in. If you're driving into seasoned timber, use a screw with a bit of backbone, or you'll be digging out broken heads all afternoon.
- Check your joints twice before you even think about glue. A loose tenon is a permanent mistake, and no amount of wood filler is going to fix a gate that wobbles in the wind.
- Lay your timber out in the sun for an hour before you start cutting. It helps you see the grain and any hidden twists that’ll ruin your alignment once the gate is actually built.
- Use a proper mallet, not a metal hammer, when you're fitting your joints. You'll split the wood and ruin a perfectly good piece of timber if you go hitting it with something too heavy-handed.
The Final Fit
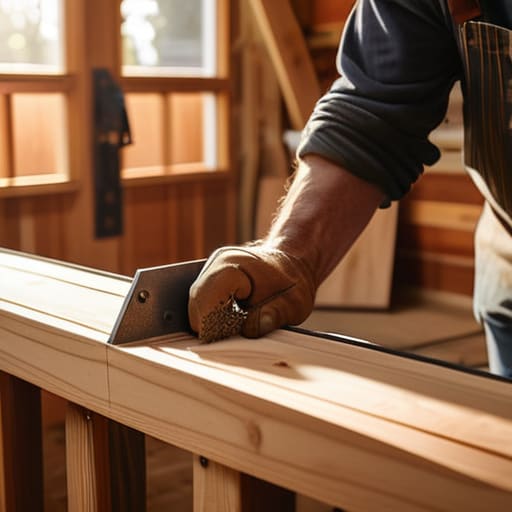
You’ve got your posts set deep and your frame squared up, so don't go rushing the finish. Building a gate isn't just about slapping timber together; it’s about the marriage of a solid foundation and a frame that won't sag the moment the seasons change. Remember, it all comes down to the details—the way your joints meet and how much care you took with your measurements. If you’ve followed these steps, you haven't just built a barrier; you’ve constructed something that actually lasts. Don't let a bit of laziness at the end ruin weeks of hard graft.
Once the last hinge is pinned and the latch clicks home, take a moment to step back. You’ll see that the effort you put into the precision of the joinery pays off every time that gate swings smooth and silent. There is a particular kind of satisfaction in looking at a piece of work that was done properly, by hand, without relying on a noisy machine to hide your mistakes. My advice is simple: respect the timber and respect your tools. If you treat the wood with care and keep your edges sharp, that gate will still be swinging true long after the cheap, plastic versions from the big-box stores have rotted away.