Bird Box Dimensions That Birds Accept
 Callum Reith-Sowande
Most folks think you need a workshop full of expensive, vibrating power tools to figure out how to build a bird box, but they've got it backwards. I remember one afternoon teaching a lad at the college who was sweating over a circular saw, trying to cut thin cedar boards for a nesting box, only to end up with nothing but splintered edges and a pile of wasted timber. I stepped in, handed him a well-honed tenon saw and a sharp chisel, and watched the frustration drain right out of his face. When you stop fighting the wood and start working with it, you realise that most of those loud, dusty machines are just a way to hide a lack of precision.
In this guide, I’m going to show you the proper way to approach the task without all the unnecessary clutter. I won't be feeding you any of that high-tech nonsense; instead, I’ll walk you through the honest, manual methods for selecting the right timber and making clean, lasting joints. We’ll focus on the fundamentals of how to build a bird box that actually survives a winter, using tools you can actually maintain. If you’re ready to put down the noisy drills and feel the grain, let’s get to work.
Guide Overview
Tools & Supplies
- Handsaw or circular saw for cutting wood
- Hammer or cordless drill for assembly
- Measuring tape for accurate dimensions
- Sandpaper to smooth rough edges
- Untreated cedar or pine board (approx. 5 feet)
- Galvanized nails or exterior screws (small box)
- Wood glue (waterproof)
Step-by-Step Instructions
- 1. First, you need to get your timber sorted. Don't go buying some fancy, treated nonsense from a big-box DIY store; the chemicals in that stuff aren't good for the birds. Get yourself some untreated cedar or larch—it holds up well to the weather without needing a coat of toxic paint. Measure out your six pieces: the floor, the roof, the front, the back, and the two sides. I like to keep my cuts simple so I don't spend all day fighting the grain.
- 2. Once you've marked your lines, it's time to cut. Now, you could reach for that circular saw if you're in a hurry, but if you want a box that actually fits together without gaps, use a fine-toothed tenon saw. Take your time with the lines. If you rush the cut, you'll spend twice as long trying to plane the edges flat later on, and that's just poor workmanship.
- 3. Now, grab your chisel—and make sure it's actually scary sharp before you start. You'll need to notch out a small area for the entrance hole on the front panel. Instead of using a bulky hole saw that tears the wood fibers, I prefer to drill a pilot hole and then carefully pare away the wood with a chisel. It gives you a much cleaner edge, which helps prevent the wood from splitting when the weather turns wet.
- 4. It’s time to put the carcass together. I don't bother with fancy joinery for a bird box; a simple butt joint is plenty as long as you do it right. Use some decent quality, uncoated galvanised nails or screws so they don't rust through in a season. Before you drive them in, I always like to lightly sand the mating edges. It ensures the wood sits flush and prevents those annoying little gaps where drafts can get in.
- 5. Don't forget the floor. I always drill a few small drainage holes in the bottom panel. It’s a small detail, but if rain manages to find its way in, you want it to drain away quickly rather than sitting there and rotting the nest. A dry nest is a healthy nest, plain and simple.
- 6. Finally, fix the roof on, but give it a bit of an overhang at the front. This acts like a little porch to keep the rain from blowing straight into the entrance hole. If you’ve done your job right, the whole thing should feel solid and steady in your hands. If it wobbles, you haven't cut your joints square, and you'll need to go back and plane them down until they sit true.
Selecting the Right Wood Types for Birdhouses and Longevity
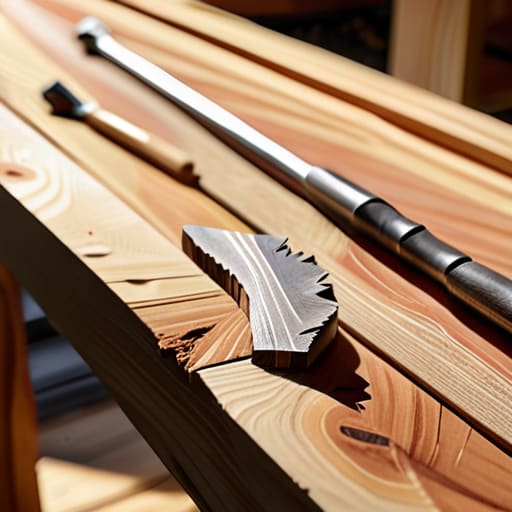
Now, don't go running to the local DIY chain and picking up some cheap, pressure-treated pine just because it’s easy on the wallet. Most of that modern stuff is soaked in chemicals that aren't much good for the fledglings once they arrive. When you're looking at wood types for birdhouses, you want something honest and durable—cedar or larch are my go-to's. They’ve got a natural resilience to the rain and rot that doesn't rely on a chemical coating. If you can get your hands on some thick oak, even better, though it'll be a bit harder on your chisels.
The thickness of the timber matters just as much as the species. You want enough mass to provide insulation against those sudden temperature swings. A thin piece of scrap wood might look fine today, but it won't offer the thermal stability needed for a successful brood. I always tell my students that longevity starts with the grain. If you pick a sturdy, thick-walled timber, you won't find yourself performing constant seasonal bird box maintenance every time a heavy frost hits. Choose well, and the birds will do the rest.
Mastering the Birdhouse Entrance Diameter for Specific Species
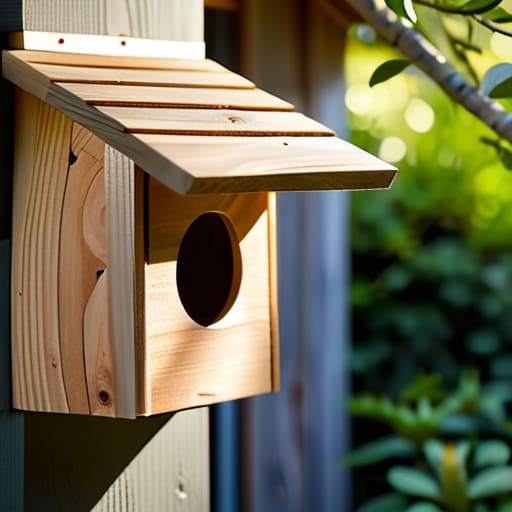
Now, don't go making the mistake of just drilling a hole because it looks right. The birdhouse entrance diameter is the single most important decision you'll make once the timber is cut. If you make it too large, you’re essentially rolling out the red carpet for larger, more aggressive birds or even squirrels that'll tear the whole thing apart. I’ve seen too many folks build a lovely box only to have it raided because they didn't account for the specific guest they were inviting. A small, precise hole is your first line of defense in protecting birds from predators.
You need to be intentional here. A hole of about 25mm is perfect for blue tits, whereas a robin will want something a bit different. If you’re aiming for larger species, you can go up, but keep it tight to the species you actually want. I always tell my students: measure twice, drill once, and use a sharp auger bit to ensure the edges are clean. A ragged, splintered hole is an invitation for injury and makes it harder for the birds to get in and out safely.
Five things they don't tell you in the instruction manuals
- Put the power sander away. If you want those joints to sit flush and the interior to be smooth enough for a fledgling to climb out of, use a well-honed block plane. A bit of shavings goes a lot further than a dusty orbital sander ever will.
- Don't go chasing fancy screws. Use proper galvanized nails or stainless steel fixings. I’ve seen too many "quick" bird boxes fall apart after one winter because someone used cheap, soft metal that rusted through before the birds even arrived.
- Leave the inside rough. You might want a polished finish on the outside to make it look pretty, but the interior walls need some grit. If you plane the inside too smooth, the young birds won't have the grip they need to reach the entrance hole.
- Mind your drainage. I don't care how tight your joinery is; wood breathes and moisture settles. Drill a couple of small holes in the base plate. It’s better to have a little airflow than a damp, rotting nest box.
- Check your edges. Every edge that isn't a structural joint should be slightly eased with a file or a sharp chisel. Sharp, square corners are a death trap for small birds; you want them to have a soft place to land.
Final Thoughts Before You Hang It
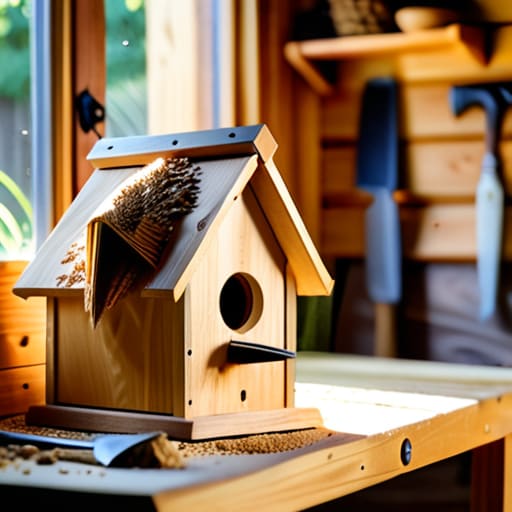
You’ve done the hard graft now. You’ve picked a timber that won't rot the moment the autumn rains hit, you’ve measured that entrance hole with precision to keep the wrong birds out, and you’ve put the pieces together. Just remember, it isn't about rushing through the assembly to get it on the tree. If your joints are tight and your edges are clean because you took the time to sharpen your tools properly, that box will stand the test of time. A birdhouse built with care and the right materials is more than just a bit of scrap wood; it’s a solid piece of craftsmanship that serves a purpose.
At the end of the day, there’s a particular kind of satisfaction in looking at something you’ve made with your own two hands. You didn't need a battery-powered sander or a loud, vibrating assembly line to get the job done. You used your eyes, your steady hands, and a few well-maintained blades to create a home. My advice is simple: don't just build it and forget it. Hang it well, keep an eye on it, and take pride in the fact that you’ve built something built to last. That is the real mark of a maker.