A Bookcase Whose Shelves Do Not Sag
 Callum Reith-Sowande
Most people think that building a bookcase requires a workshop full of screaming power saws and expensive, vibrating machinery just to get a clean edge. They spend more time fighting the dust and the noise than they do actually working the timber. But if you ask me, that’s the wrong way to approach how to build a bookcase. I remember a young apprentice back in the nineties who thought he could bypass the slow work by using a circular saw for every single cut; he ended up with a piece of furniture that wobbled like a jelly because his joinery was nothing but shoddy guesswork. You don't need a loud motor to get a straight line; you just need a steady hand and a blade that actually bites.
In this guide, I’m going to show you how to do things properly, the way I taught my students for ten years. We aren't going to rely on cheap, disposable tools that you throw in the bin the moment they go dull. Instead, I’ll walk you through the honest, slow method of using hand tools to create something that will actually last. You'll learn how to select your wood, how to set your marks, and how to ensure every joint is tight enough to hold a lifetime of books.
Guide Overview
Tools & Supplies
- Circular saw or hand saw for cutting wood to size
- Power drill for driving screws and pilot holes
- Measuring tape for accurate dimensions
- Sandpaper for smoothing surfaces
- 1x4 or 1x6 lumber (approx. 4-5 boards)
- Wood screws (box of 1.25 inch)
- Wood glue for reinforced joints
- Wood stain or paint for finishing
Step-by-Step Instructions
- 1. First, you need to pick your timber. Don't go running to the big-box DIY store for those cheap, pressed-particle boards that fall apart if you look at them wrong. If you want a bookcase that lasts more than a season, get yourself some decent solid oak or pine. Check the boards for any twists or bows before you even think about bringing them home; a straight piece of wood is half the battle won.
- 2. Once you've got your timber, it's time for the layout. I don't care much for those fancy laser levels that beep at you; a good, old-fashioned combination square is all you really need. Mark out your sides, the top, the bottom, and your shelves. Be precise with your pencil marks—measure twice, mark once, and for heaven's sake, keep your lines clean.
- 3. Now, we get to the actual cutting. This is where most people reach for the circular saw and start making a mess of the grain. I prefer a well-tuned tenon saw. It takes a bit more patience, but you'll actually see the line you're cutting on, rather than just guessing through a cloud of sawdust. If you can't cut a straight line with a hand saw, you shouldn't be building furniture.
- 4. For the joinery, we aren't using those flimsy metal corner brackets. We're going to do some simple stopped housing joints for the shelves. Use a sharp chisel to pare out the grooves where the shelves will sit. If your chisel is blunt, you'll end up crushing the wood fibers instead of slicing them, and that's a mistake you can't un-make. Take small bites with the chisel; don't try to hog out the whole joint in one go.
- 5. Once the joints are cut, it's time to dry-fit everything. Put the whole frame together without any glue to see how it sits. If a joint is too tight, don't go grabbing a hammer and smashing it; that's how you split good timber. Just take your chisel and lightly pare away a shaving here or there until it slides together with a firm, even pressure.
- 6. Now, apply your glue and get it in the clamps. I like using a decent PVA, but don't go overboard—you don't want a sticky mess that ruins the finish later. Apply the glue to the joints, seat the pieces, and use your clamps to pull it all tight. Check it again with your square to make sure the frame is perfectly true before you walk away to let it set.
- 7. The final bit is the smoothing. Forget that vibrating orbital sander that just sands away your hard work and leaves the surface pitted. Take a sharp hand plane and run it over the surfaces. You'll feel the wood under the blade, and you'll get a finish that is silky smooth to the touch. It's much more satisfying than listening to a motor scream in your ear all afternoon.
Measuring and Cutting Lumber With Precision Not Noise
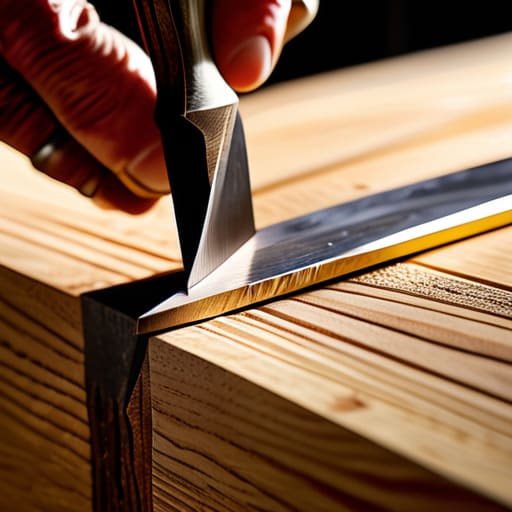
Most people think precision comes from a digital readout on a power saw, but they're mistaken. If you want those shelves to sit square, you need to slow down during the measuring and cutting lumber stage. I’ve spent more time than I care to admit watching apprentices rush a cut with a circular saw, only to find their joints gapping like a broken tooth. Instead, take a sharp marking knife and a try square. A knife line severs the fibres cleanly, giving your saw or chisel a physical track to follow. It’s about working with the grain, not fighting against it.
When you're choosing your stock, remember that the material dictates the method. If you're using a bit of oak, you'll want to consider dovetail vs pocket hole joinery depending on how much weight those shelves are carrying. A dovetail isn't just for show; it’s a mechanical connection that holds firm. If you're just starting out with woodworking tools for beginners, don't let the noise of a machine drown out the sound of the wood. If the cut feels heavy or labored, your blade is blunt. Stop, sharpen it, and listen to the timber.
Hardwood vs Softwood for Shelving Choosing Substance Over Speed
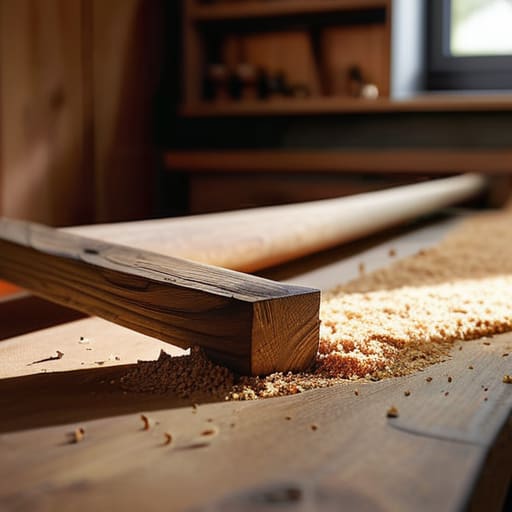
Now, you’ll find plenty of people telling you to grab some cheap pine and get moving, but if you want a piece that lasts, you need to think about what you're actually putting on those shelves. When we talk about hardwood vs softwood for shelving, it isn't just about the cost or the look; it’s about the physics of the wood itself. Softwoods like pine are easy enough to work with if you're just starting out, but they compress and bow under weight much faster than something like oak or ash.
If you're planning on loading this unit with heavy hardbacks, you need to be mindful of preventing shelf deflection. A long span of soft timber will eventually start to sag in the middle, and no amount of clever joinery will fix a structural failure. I’ve spent forty years seeing people rush into a build with flimsy materials, only to find their work looks tired within a year. If you choose a proper hardwood, you're investing in the integrity of the piece. It takes a bit more effort on the bench, but a solid shelf stays true.
Five ways to make sure that bookcase actually lasts
- Don't trust a tape measure blindly. I've seen too many lads rely on a single measurement and end up with a shelf that wobbles like a jelly. Mark your lines twice, check your square, and then check it once more before you ever let a blade touch the grain.
- Forget those fancy plastic corner braces. If you want a bookcase to stay true for forty years, you use proper joinery. A well-cut dado or a simple housing joint will hold far more weight and keep the whole thing from racking than any bit of hardware you'll find in a big-box store.
- Watch your grain direction when you're assembly time comes. If you force a shelf into a carcass against the natural flow of the wood, you're just asking for a split. Work with the timber, not against it; it’ll tell you exactly where it wants to go if you’re listening.
- Stop using too much glue. It’s a common mistake for beginners to think more is better, but an excess of glue just creates a mess that prevents a clean fit. A thin, even film is all you need to create a bond that’s stronger than the wood itself.
- Check your level at every single stage. A bookcase might look fine sitting on your workbench, but once it's standing in a client's house on an uneven floor, all those mistakes come to light. Always build with the final placement in mind.
A bit of final advice
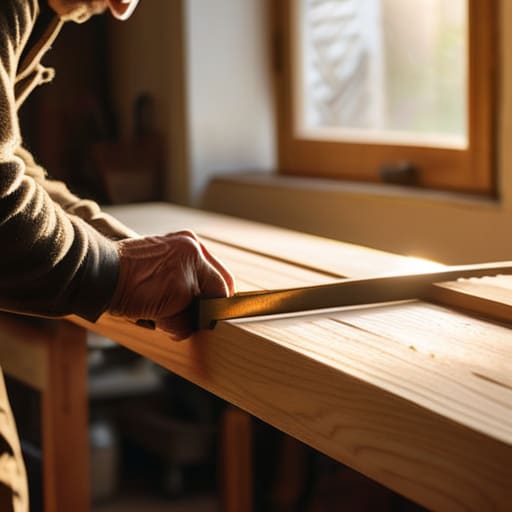
At the end of the day, building this bookcase isn't about how fast you can get the job done or how much dust you can kick up with a circular saw. It comes down to the basics: picking a timber that has some actual weight to it, measuring twice so you aren't fighting your joints later, and keeping your edges keen. If you’ve followed what I’ve said, you haven't just assembled some flat-pack nonsense; you’ve constructed something that relies on proper joinery and patience. You’ve worked with the grain rather than fighting against it, and that makes all the difference when you're looking at the finished piece.
Don't be discouraged if your first few cuts aren't as clean as a master's, and don't go running to the hardware store for a cheap, plastic power tool the moment things get difficult. Most of the time, the solution isn't more electricity; it's a bit more time spent at the sharpening stone. There is a specific kind of satisfaction that comes from running your hand over a smooth, hand-cut joint and knowing you did it right. Build it to last, maintain your tools, and remember that a piece of furniture is only as good as the hands that made it.