Sealing a Worktop Joint Against Water
 Callum Reith-Sowande
I remember a lad in my college workshop years ago, staring at a gaping crack in an oak worktop like it was a death sentence. He was ready to rip the whole thing out and replace it with a new slab, convinced that once a joint fails, it’s game over. He’d even started looking up prices for a replacement online before I stepped in. I told him to put the catalog away and pick up a chisel. Most people think you need expensive resins or heavy machinery to fix a gap, but learning how to repair a worktop joint is actually about patience and having a tool that can actually bite into the wood.
I’m not going to give you any of those flashy, quick-fix solutions that just hide the problem until it pops out again in six months. Instead, I’m going to show you how to do it properly using the methods I’ve used on-site for forty years. We’ll go through cleaning out the old debris, choosing the right filler, and using a sharp hand tool to ensure the finish is flush and seamless. By the time we're done, that joint won't just look fixed; it'll look like it was meant to be there.
Guide Overview
Tools & Supplies
- Sandpaper (various grits for smoothing)
- Wood filler spreader (to apply material)
- Sanding block (for even pressure)
- Tack cloth (to remove dust)
- Wood filler (color-matched to worktop)
- Wood stain or oil (to match finish)
- Microfiber cloth (for cleaning)
Step-by-Step Instructions
- 1. First thing you need to do is assess the damage. Don't just look at it from a distance; get down on your knees and run your hand along the gap. You need to figure out if the joint has simply pulled apart because the glue failed, or if the wood itself has split or moved due to the seasons. If the wood is crushed or splintered, you're looking at a bit more work, but you can't fix what you haven't properly diagnosed.
- 2. Once you know what you're dealing with, clear out the old mess. If there’s dried glue sitting in that gap, it’ll act like a barrier and prevent any new bond from taking hold. Use a thin, sharp chisel to carefully scrape away the old residue. Be steady with your hand here; you want to clean the mating surfaces without gouging the actual timber. A clean surface is the only way to ensure a proper fit.
- 3. Now, you’ve got to prepare the wood for the new glue. If the joint is loose, you might need to slightly compress the fibres or even shave a fraction of a millimetre off the edges to get a tight squeeze. I always say, measure twice and cut once, but in this case, it's more about feeling the fit. If the joint doesn't close up tight on its own, no amount of glue in the world is going to save it.
- 4. Apply your adhesive, but don't go overboard. Use a decent quality wood glue—not that cheap stuff that turns brittle after a year—and spread it evenly across both faces. Use a small brush or even a scrap piece of timber to make sure it reaches deep into the joint. You want a consistent film, not a puddle that's just going to squeeze out and make a right mess of your worktop.
- 5. Clamp it up, and do it properly. This is where most people rush and end up with a wonky joint. Use your clamps to apply firm, even pressure, but don't overdo it. If you squeeze too hard, you'll pump all the glue out of the joint, leaving you with nothing but dry wood touching dry wood. Watch for a small, consistent bead of glue to squeeze out around the seam; that's your sign you've done it right.
- 6. While the glue is setting, take a damp cloth and wipe away the excess squeeze-out immediately. If you let it dry hard, you'll be fighting it for hours with a scraper later. Once the glue is fully cured—and I mean fully cured, so don't go rushing back to cook dinner on it—you can lightly sand the area. Use a fine grit and follow the grain of the wood to bring the surface back to a smooth, seamless finish.
Mastering Worktop Joint Glue Application With a Steady Hand
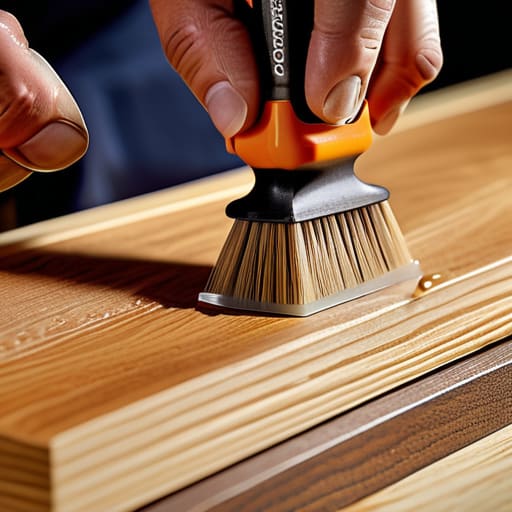
Once you’ve got your joint cleaned and the surfaces prepared, the real work begins with the glue. Most people rush this part, squeezing a massive blob into the seam and hoping for the best. That’s a mistake. When you're managing worktop joint glue application, less is often more. I’ve seen too many lads try to force a thick bead into a tight space, only to have it squeeze out everywhere, making a right mess of the finish. Instead, use a small, clean brush or a thin spreader to work the adhesive deep into the grain. You want it to penetrate the fibres, not just sit on top like a layer of jam.
If you're fixing gaps in laminate worktops, you have to be even more surgical. You aren't just bonding wood; you're sealing a barrier. A steady hand ensures the adhesive reaches the very bottom of the gap, which is vital for preventing water damage in kitchen joints. If air pockets remain, moisture will eventually find its way in, and that's when the swelling starts. Take your time. A bit of patience during the glue stage saves you from a complete replacement six months down the line.
Fixing Gaps in Laminate Worktops Without the Heavy Machinery
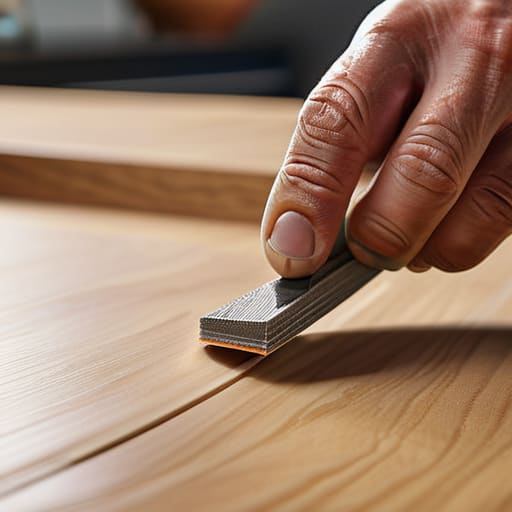
Now, if you’re dealing with laminate, you can’t just sand it down like a solid piece of oak and expect it to look right. Once a gap opens up in a laminate seam, it’s usually because the substrate has shifted or the original seal has perished. Instead of lugging out a heavy router to try and re-cut the edge—which is a recipe for a ruined kitchen—I prefer a more surgical approach. You’ll want to use a high-quality kitchen worktop joint sealant that matches the colour of your laminate as closely as possible. I’ve seen too many youngsters try to use standard silicone, but that’ll look like a smear of grease within a week.
When you're fixing gaps in laminate worktops, the secret is in the prep. Clean the gap thoroughly with a bit of methylated spirits to ensure no old grease or crumbs are sitting in there. If the gap is deep, you might need to pack it with a bit of filler first. Apply your sealant sparingly; it’s much easier to add a bit more than it is to scrape away the excess once it’s gone tacky. Take your time. A steady hand beats a rushed job every single time.
Five things I’ve learned from fifty years of fixing mistakes
- Don't go rushing in with a massive amount of wood filler; it’s a trap that ends up looking like a patch job. If you can, try to find a scrap piece of the same timber and use it to create a proper Dutchman patch instead.
- Check your chisel edge twice before you even touch the joint. If you’re trying to clean out a gap with a blunt tool, you’ll just mash the wood fibers rather than cutting them, and you'll end up with a mess that no amount of sanding can hide.
- When you’re clamping the joint back together, don't just crank them down as hard as you can. You’ll squeeze every bit of glue out and end up with a dry, brittle bond that'll fail the moment someone leans on the worktop.
- Keep your glue application thin and even. I’ve seen too many lads leave thick globs of PVA in a joint, thinking more is better. It isn't. Too much glue creates a ridge that's a nightmare to level out later.
- Patience is a tool, just like a mallet. If the joint isn't sitting flush, don't force it with a hammer. Take a sharp block plane, shave a hair off the high spot, and try again. It’s better to spend ten minutes shaving wood than ten hours fixing a crushed grain.
A job well done
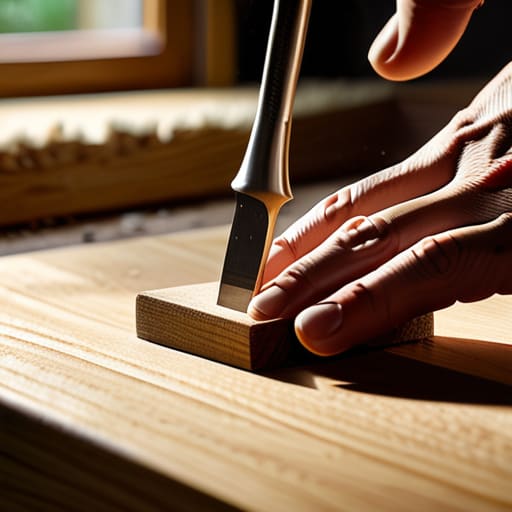
At the end of the day, repairing a worktop joint isn't about having the most expensive kit in the shed; it’s about patience and the right edge. We’ve gone over how to clean those surfaces, how to apply glue without making a mess, and how to use a sharp chisel to close those stubborn gaps that a sander would only make worse. If you’ve taken the time to prep the wood and ensure your tools are truly scary sharp, you’ve already done eighty percent of the heavy lifting. Don't rush the drying time, and for heaven's sake, don't go trying to force a joint that isn't sitting flush. It's much better to slow down and do it once than to spend your weekend stripping it all back because you were in a hurry.
I know the modern way is to just rip the whole thing out and buy a new slab when things look a bit tired, but there is a real satisfaction in mending what is broken. When you finish, you won't just have a fixed kitchen; you'll have a piece of work that carries the mark of someone who actually knows their craft. There is a quiet pride in looking at a seamless joint and knowing it was your steady hand that put it there. Keep your tools sharp, keep your head down, and remember that quality lasts longer than convenience.