Making a Moulding With a Scratch Stock
 Callum Reith-Sowande
I remember standing in a drafty hallway back in '84, staring at a piece of wonky, hand-moulded skirting that no modern router could ever hope to replicate. The site foreman was breathing down my neck, shouting about getting a power planer in there to "fix it quick," but I knew better. You can't force a machine to follow a profile that doesn't exist in a factory catalogue. That was the day I realized that learning how to use a scratch stock isn't just an old-fashioned trick; it’s the only way to respect the original timber. If you try to sand or plane your way out of a bad fit, you’ll end up with a mess of sawdust and a broken spirit.
In this guide, I’m going to strip away the nonsense and show you how to actually master this tool. I won't be wasting your time with fancy jargon or expensive gadgets you'll just throw in the bin next year. Instead, I’ll walk you through the proper way to temper your blade, how to seat the stock against the wall, and the exact motion needed to get a perfectly clean cut every single time. By the end of this, you’ll stop fighting your materials and start working with them.
Guide Overview
Tools & Supplies
- Scratch stock (A wooden block with a profile groove)
- Sharp hand plane (To plane the wood down to the stock)
- Marking gauge (To set the depth of the profile)
- Chalk or carpenter's pencil (To mark the wood surface)
- Wood stock (The material being shaped)
- Sandpaper (To smooth the finished profile)
Step-by-Step Instructions
- 1. First, you need to get your profile right. I don't care how much you fancy using a fancy router jig; if you want a true match, you need to take a physical sample of the existing moulding. I usually take a small section of the trim itself, or if that's not possible, I'll use a profile gauge to trace the shape onto a scrap piece of timber. This scrap becomes the template for your stock.
- 2. Once you have your template, you’ve got to build the stock itself. I prefer using a bit of thick, stable hardwood—something like beech or oak—but a decent piece of plywood will do if you're in a pinch. Cut your timber to a width that's slightly wider than the moulding you're trying to replicate, and then carefully transfer that profile from your template onto the face of the wood.
- 3. Now comes the part where most people lose their patience and reach for the sander. Don't do it. Use a sharp chisel to hog out the bulk of the waste, following your lines closely. You want to leave a little bit of "meat" on the bone—meaning, leave the profile slightly deeper than the actual moulding. It's much easier to shave away a bit extra than it is to try and add wood back once you've gone too deep.
- 4. Once you've got the general shape, it's time to refine the profile. I use a set of well-sharpened bench chisels to clean up the corners and the curves. This is where the tool matters. If your chisel is truly keen, it’ll slice through the grain like butter, leaving a surface that's cleaner than any sandpaper could ever hope to achieve. Take your time here; there's no prize for rushing.
- 5. Before you even think about putting the stock to the wall, you must check the "sole" or the bottom of the tool. It needs to be perfectly flat. If there's a dip or a high spot in the base of your scratch stock, your moulding will wander and look like a wavy line on a bad day. I usually check it against a straight edge to make sure it's dead level across its entire width.
- 6. Now, get your stock ready for the actual work. You'll want to secure your piece of moulding—the new strip of wood you're actually installing—to your workpiece or a steady bench. Once that's clamped tight, place your scratch stock directly on top of the moulding, aligning it so the profile of the tool matches the profile of the wood perfectly.
- 7. Finally, it's time to cut. Hold the stock firmly with one hand and use a long, smooth block plane with the other. You aren't trying to plow a trench; you're just skimming the surface to shape the wood into the profile of the tool. Work in long, steady strokes, following the length of the wall. If you find yourself fighting the wood, stop, check your sharpness, and start again.
Mastering Traditional Woodworking Tools for Custom Profiles
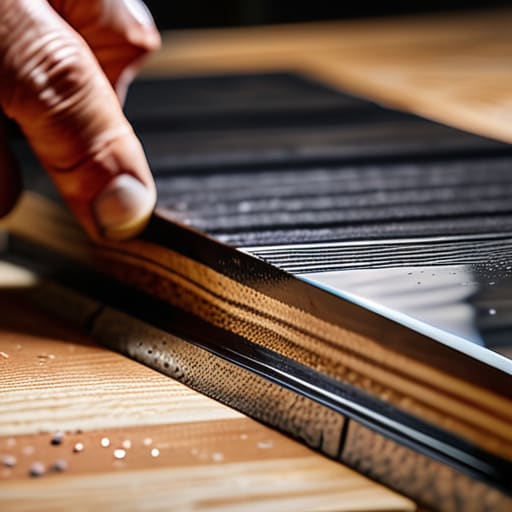
When you’re moving beyond the basics, you start to realise that a scratch stock is only as good as the edge you’ve given it. I’ve spent more hours than I care to admit at the sharpening stone, because if that blade isn't shaving-sharp, you aren't shaping timber—you're just bruising it. If you want to get serious about creating custom wood profiles, you need to treat the blade with respect. I always recommend a fine-grit stone to get that final, mirror polish. If the tool hesitates even once against the grain, stop. Don't force it. A blunt blade will wander, and once you've lost your line, you're just making more work for yourself with the sandpaper.
It’s also worth remembering that these old-school methods work best when you pair them with other traditional woodworking tools. I often find that using a small moulding plane to clean up the very fine details after the scratch stock has done the heavy lifting makes for a much more professional finish. It’s about the rhythm of the work. You aren't just fighting the wood; you're learning its temperament.
The Art of Shaping Decorative Trim Without the Noise
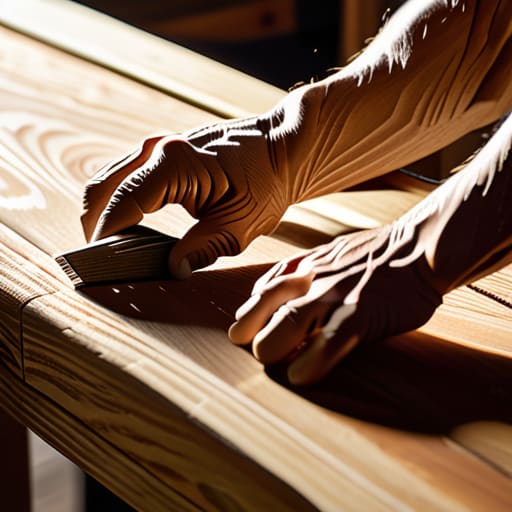
There is a particular kind of peace that comes with working in a quiet shop. When I was teaching at the college, I’d watch the students get frustrated with the high-pitched whine of a router, constantly fighting the machine to keep it on a straight line. But when you move into shaping decorative trim by hand, the whole atmosphere changes. You aren't fighting a motor; you're listening to the wood. A well-tuned scratch stock tells you exactly what it’s doing through the vibration in your palms. If the cut feels heavy or starts to tear, you don't just push harder—you stop and check your edge.
The real secret to mastering these scratch stock woodworking techniques isn't about brute strength; it's about rhythm and patience. I’ve spent many an afternoon restoring old tools, and I can tell you that the difference between a messy job and a professional finish lies in the preparation. If you take the time to ensure your blade is truly keen, you’ll find that creating custom wood profiles becomes a meditative process rather than a chore. You’ll get a surface so clean it practically begs for a light sanding, if you even bother with it at all.
A Few Things I’ve Learned the Hard Way
- Don't skimp on the blade. You can have the finest shaped stock in the world, but if you're using a cheap, thin chisel that flexes when it hits the grain, you'll end up with a wavy line that no amount of sanding will ever fix.
- Keep your plane iron razor-sharp. I’ve seen lads try to force a scratch stock through a piece of oak with a dull edge, and all they do is tear the fibers and create a mess. If it isn't shaving hair, it isn't ready for the job.
- Watch your depth. It’s tempting to try and take the whole profile in one go, but you'll bind the tool and ruin your rhythm. Take shallow, consistent passes; it’s slower on paper, but it’s much faster when you aren't fighting the wood.
- Check your alignment constantly. If your stock isn't sitting perfectly flush against the existing moulding, you'll create a "step" that’s a nightmare to hide. Use a bit of tape or a steady hand to ensure that fit is dead-on before you start pulling.
- Listen to the wood. A good scratch stock should make a crisp, rhythmic sound. If you hear it stuttering or dragging, stop immediately. That’s the tool telling you it’s either blunt or you’re pushing too hard.
A Bit of Final Advice
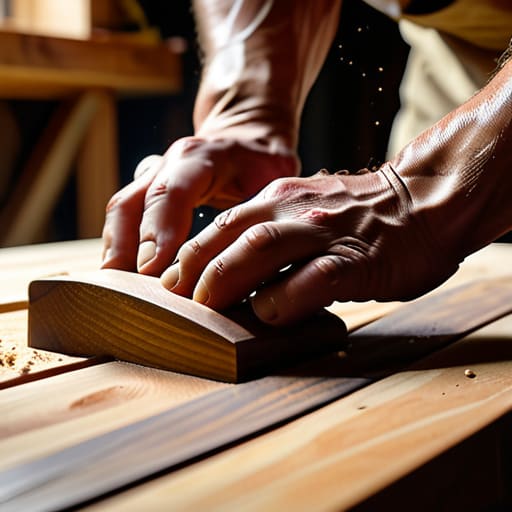
At the end of the day, using a scratch stock isn't about being difficult or making things harder than they need to be. It’s about control. You’ve learned that it requires a steady hand, a properly set plane, and a bit of patience to get that profile to sit flush against the wall. But once you get the hang of it, you’ll see that you aren't fighting the timber; you're working with it. You avoid the dust, you skip the frantic sanding, and most importantly, you get a clean, continuous line that a power router just can't replicate without leaving a mess behind. It comes down to the quality of your edge and the patience of your stroke.
I know the modern world wants everything done at high speed with a battery-powered motor, but there is a particular kind of satisfaction in a job done right the first time. When you finish a run of trim and look back at that seamless, hand-cut profile, you’ll know it’s solid. Don't be afraid to put the power tools away and rely on your own skill for a change. A well-maintained scratch stock and a sharp blade are all you truly need to leave a mark that actually lasts.