Closing a Gappy Dovetail Honestly
 Callum Reith-Sowande
I remember sitting in the college workshop back in '88, watching a lad nearly weep because he’d cut a pin too thin on a cherry drawer front. He was convinced the piece was scrap, looking for some magic wood filler or a fancy epoxy to hide his mistake. That’s the lie they sell you nowadays—that if you mess up, you just mask it with chemicals. But if you want to learn how to repair a dovetail properly, you have to stop looking for a shortcut and start looking at your grain. A gap isn't a death sentence; it’s just an invitation to do a bit of honest joinery.
In this guide, I’m not going to give you any of that nonsense about structural adhesives or plastic fillers that'll eventually crack and look hideous. Instead, I’ll show you how to use a bit of scrap from the same timber to build up those pins and tails so they actually hold. We'll talk about using a sharp chisel to pare things back and how to make the fix completely invisible to the naked eye. If you’ve got a bit of patience and a decent edge on your tools, we can save that joint yet.
Guide Overview
Tools & Supplies
- Wood chisel [Sharp, for cleaning out gaps]
- Mallet [Rubber or wooden, for driving chisels]
- Sandpaper [Various grits, for smoothing surfaces]
- Clamps [To hold joint in place during glue drying]
- Wood glue [Small bottle, PVA type]
- Wood filler or sawdust [Small amount, matching wood species]
- Sanding block [One, for even pressure]
Step-by-Step Instructions
- 1. First thing you need to do is stop and look at the damage. Don't just reach for the glue; you need to see if the wood fibers are actually crushed or if the joint has simply pulled apart. If the grain is smashed, you'll need to moisten the area slightly with a bit of water to help swell those fibers back into place before you even think about a clamp.
- 2. Once you've assessed the mess, you’ll need to clean out the old, crusty glue. I’ve seen too many lads try to glue new wood onto old, dried residue, and it’ll never hold. Grab a sharp chisel—and I mean actually sharp, not that dull thing you keep in the bottom drawer—and carefully pare away the old glue until you're looking at clean, fresh wood.
- 3. If the pins or tails are a bit too thin because of a previous mistake, don't panic. You aren't going to fix it by adding more glue; you're going to fix it with a bit of veneer or a shim. I usually take a thin shaving from a scrap piece of the same timber and use it to fill the gap. It's much better to have a tight fit with a shim than a loose, wobbling joint held together by nothing but hope.
- 4. Now, apply your glue, but don't go overboard. If you flood the joint, you'll end up with a sticky mess that's a nightmare to clean up and can actually prevent a proper bond. Use just enough to coat the mating surfaces evenly. I prefer a traditional PVA for most things, but if you're working with something special, make sure the glue matches the wood.
- 5. This is where most people lose their patience. You need to get the joint seated and then apply clamps. But listen to me: don't over-tighten them. If you squeeze the life out of the joint, you'll just starve it of glue and end up with a dry, brittle connection. Tighten them just until you see a tiny bit of squeeze-out, then leave them be.
- 6. While the glue is setting, take a damp cloth and wipe away the excess. Don't wait until it's hard as a rock, or you'll spend an hour scraping it and potentially marring the surface. If you do it while it's still tacky, it comes off clean and easy.
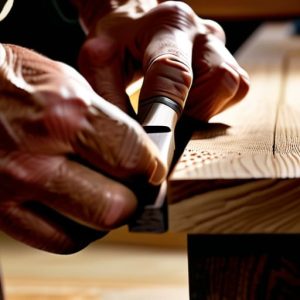
- 7. Finally, once everything is bone dry, you might find the joint sits a fraction proud of the surface. This is where your patience pays off. Forget the orbital sander; it'll round over your edges and ruin the look. Take a well-sharpened block plane and take whisper-thin shavings off the surface until the joint is perfectly flush with the rest of the piece.
Fixing Loose Dovetail Joints Without the Blunt Force Approach
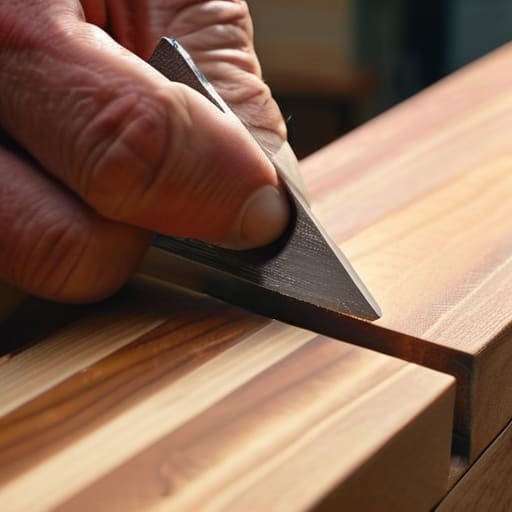
Now, I see a lot of youngsters reach for the wood filler the moment they see a gap. To me, that’s just a way of hiding a mistake rather than fixing it. If you want a repair that actually holds, you need to look at woodworking joinery repair techniques that respect the timber. Instead of filling a void with a paste that will eventually shrink and crack, I prefer using thin, tapered shims. You can take a scrap of the same species, slice it thin with a razor-sharp chisel, and wedge it into the gap. It’s about reinforcing the structure, not just painting over the problem.
When it comes to the actual glue, don't just squeeze a massive blob into the joint and hope for the best. Proper wood glue application for joints means you want a controlled, even layer that won't overflow and ruin your surface. If you've used shims, you’ll need to pare them back flush. This is where patience pays off; don't rush to the sander. Take a well-honed plane or a fine chisel to the area. If you do it right, the repair becomes part of the wood rather than a patch on top of it.
Wood Glue Application for Joints That Actually Holds
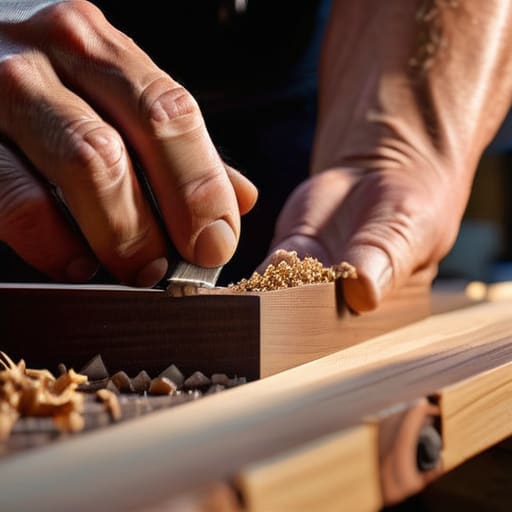
Now, let’s talk about the glue. Most lads make the mistake of thinking more is better, but if you’re squeezing out a gallon of PVA, you’ve done something wrong. When you're fixing loose dovetail joints, the goal isn't to fill a gap with liquid; it's to bond two surfaces that actually meet. If there’s a void, you aren't repairing a joint, you're just making a mess. I’ve seen too many apprentices try to bridge a massive gap with glue alone, only to find the joint has no structural integrity once it dries.
Instead of relying on the glue to do the heavy lifting, you need to focus on your wood glue application for joints by ensuring the surfaces are clean and the fit is snug. If the gap is too wide for a simple bead, don't reach for the wood filler. Wood filler is for hiding mistakes, not for structural repair. I’d much rather use a tiny, thin shaving of matching wood to take up the slack. It keeps the repair honest and ensures the bond is wood-to-wood, which is the only way to make it last another forty years.
A few things I’ve learned the hard way
- Don't go reaching for the wood filler. It’s a coward's way out and it’ll never match the grain. If there’s a gap, you fix it with wood, not a chemical paste that'll just crack in six months.
- Clean out the old, crusty glue first. If you try to put new glue over the old stuff, it won't bond, and you'll be back here doing the same job next week. Use a scrap piece of chisel to gently scrape the surfaces clean.
- Use thin veneers or even a bit of seasoned wood shavings to take up the slack. Shimming the joint with a thin slice of the same timber is much better than trying to force a loose fit.
- Check your clamping pressure. You don't need to crush the wood to make it stay; you just need enough pressure to keep the joint seated while the glue sets. Too much force and you'll split the pins.
- Keep your chisels sharp while you're working. If you find yourself hacking at the timber rather than slicing it, stop. A blunt tool won't let you make the fine adjustments needed to seat a repair properly.
A Bit of Final Advice
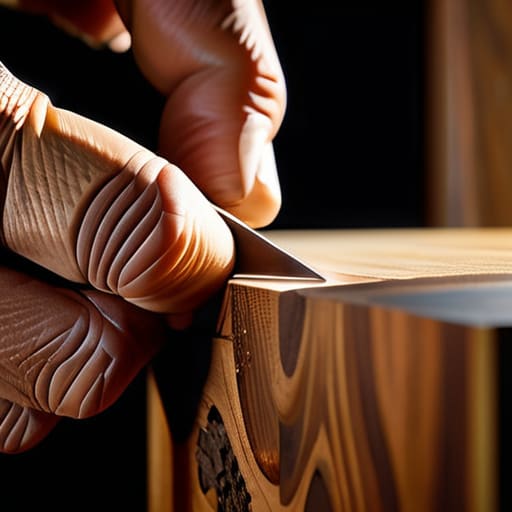
At the end of the day, fixing a dovetail isn't about finding a way to hide your mistakes with sawdust and filler. It’s about the patience to clean out the old glue, the steady hand to shim those gaps with a proper veneer, and the discipline to use the right amount of adhesive rather than just hoping for the best. If you’ve followed these steps, you haven't just patched a hole; you've restored the structural integrity that makes a joint like this worth having in the first place. Remember, a repair only holds if you respect the wood and the joinery it was meant to be.
I know it’s tempting to just reach for the wood filler and call it a day, but that's how you end up with a piece of furniture that feels hollow and cheap. Take the extra twenty minutes to get that chisel edge right and let the glue set without rushing the process. There is a particular kind of satisfaction in looking at a repaired joint and knowing it’s stronger than it was before the break. It’s not about speed; it’s about doing it right so you never have to do it again. Now, put the glue away, clean your bench, and keep your tools sharp.