Rescuing a Mortice That Got Sloppy
 Callum Reith-Sowande
I remember standing in a client’s hallway twenty years ago, watching a young lad try to fix a blown-out door frame with a handful of wood filler and a cordless drill. He was making a mess of it, turning a simple fix into a structural nightmare. People think that when a joint goes soft, you need to buy a new door or start hacking away with a router, but that’s just not how it works. Knowing how to repair a mortice isn't about covering up mistakes with plastic; it’s about understanding the grain and putting the wood back where it belongs.
In this guide, I’m going to show you how to do it properly, the way we did it on site before everything became disposable. I won't be throwing any fancy, expensive gadgets at you. Instead, I’ll walk you through using a few well-maintained chisels and some honest timber to restore that joint to its former strength. We’ll cover everything from cleaning out the old debris to the final fit, ensuring you get a result that is built to last rather than just a quick patch job.
Guide Overview
Tools & Supplies
- Wood chisel and mallet for cleaning edges
- Sandpaper (various grits) for smoothing surfaces
- Wood filler or epoxy resin (1 small tube)
- Wood glue (1 small bottle)
Step-by-Step Instructions
- 1. First, you need to clear out the mess. If the mortice is split or the wood has turned to mush from too much moisture, you can't just patch over it. Take a sharp chisel and carefully scrape out any loose, rotten, or splintered timber until you reach something solid. If you try to work over soft wood, your repair will never hold, and you'll be back here in six months doing it all over again.
- 2. Once you've got a clean cavity, it's time to prepare your filler. Don't bother with those little tubes of ready-mixed stuff from the hardware shop; they're mostly plastic and air. Instead, take some fine sawdust from a recent sanding or a scrap piece of the same timber you're working on, and mix it with a bit of high-quality wood glue. You want a paste that’s thick enough to stay put but not so runny that it bleeds out of the joint.
- 3. Now, pack that mixture into the mortice. Use a small chisel or even a flat-head screwdriver to force the paste deep into every corner of the cavity. You aren't just painting it on the surface; you need to ensure there are no air pockets left behind. If there’s a gap in the middle, the strength of the repair is gone.
- 4. After you've packed it tight, let it sit. This is the part where most people rush, but you shouldn't. Give it at least twenty-four hours to cure fully. If you try to trim it too early, you'll just pull the filler right out of the hole, and you'll have wasted your afternoon.
- 5. Once it's rock solid, grab your sharpest chisel—and I mean properly honed—to level it off. Don't go reaching for the electric sander just yet. Use the chisel to pare away the excess until the filler is flush with the surrounding timber. A sharp blade will slice through the dried paste without tearing the edges of the original wood.
- 6. If the surface feels a bit rough after paring, a light touch with some medium-grade sandpaper will do the trick. Work with the grain, never against it, to smooth out the transition between the repair and the original wood.
- 7. Finally, once everything is smooth and level, you can apply a bit of wax or a matching stain to hide the patch. If you've done the work right, the repair should be virtually invisible, and more importantly, it'll be strong enough to take the weight of the hardware without flinching.
Why Wood Filler for Mortice Holes Is a Lazy Mans Trap

I see it all the time in the shops or when I’m visiting old sites: someone tries to fix a wobbling lock by squirtng a tub of pre-mixed putty into the gap. They think they’re being clever, but wood filler for mortice holes is nothing more than a temporary bandage on a broken limb. Filler has no structural integrity. It doesn't bond with the grain; it just sits there like dried mud. The moment you start turning that key, the pressure from the mechanism will crack that filler right out of the timber, leaving you right back where you started.
If you are repairing an oversized door mortice, you need something that actually breathes and moves with the wood. I’ve always preferred using thin veneers or even seasoned offcuts of the same timber, glued up with a proper PVA. You want to add mass, not just color. If you don't restore the actual density of the wood, you'll never get a secure seat for the hardware, and you'll find yourself fighting the door every single time you try to lock it.
Strengthening Timber Mortice Joints Without the Power Tool Chaos
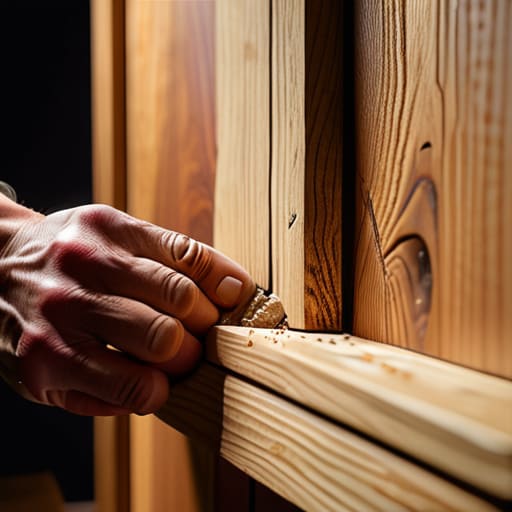
If you’ve ended up with a wobbling lock because the timber has crumbled or the hole has grown too large, your first instinct might be to reach for a drill and some heavy-duty adhesive. Resist that. When you're repairing oversized door mortice cavities, the goal isn't to fill the void with something that doesn't belong there; it's to restore the integrity of the wood itself. I’ve spent years seeing people try to patch a hole with bits of sawdust and glue, only for the hardware to tear right back out a month later.
Instead, I prefer a more honest approach: the veneer patch. Take some offcuts of the same species—oak if it’s an oak door, pine if it’s pine—and shim the gap. By inserting thin, precisely cut wedges of solid timber, you are strengthening timber mortice joints the way they were meant to be strengthened. It creates a mechanical bond that no chemical filler can match. You aren't just masking a mistake; you're rebuilding the structure so that when you finally seat the hardware, it bites into something solid and permanent.
Five rules for a mortice that actually holds
- Don't try to patch a loose hole with sawdust and glue; it’s nothing more than a temporary bandage that’ll fail the moment the door starts swinging.
- Always use a timber Dutchman or a solid hardwood plug to fill a blown mortice, ensuring the grain runs in the same direction as the original piece.
- Keep your chisels honed to a mirror finish before you even touch the repair wood, otherwise you'll just crush the fibres instead of slicing them.
- Check your measurements twice with a marking knife rather than a pencil, because a line that's too thick is just an invitation for a sloppy fit.
- Let your glue dry completely before you attempt to seat the hardware, or you'll find yourself fighting a sticky, moving mess that ruins the joint.
Doing it Right the First Time
At the end of the day, repairing a mortice isn't about finding the quickest way to hide a mistake; it’s about structural integrity. We’ve talked about why you should ditch the sawdust-filled wood fillers and why a well-cut timber shim is worth its weight in gold. If you take the time to clean out the debris, glue up a proper hardwood wedge, and use a properly honed chisel to seat the repair, you aren't just patching a hole. You are restoring the strength that the joint needs to last another fifty years. It takes a bit more patience than reaching for a tub of plastic filler, but you’ll never have to fix that same mistake twice if you respect the timber from the start.
I know it’s tempting to just grab the router or a drill and try to force a solution, but there is a particular kind of satisfaction that comes from a repair you can actually feel. When you finish, and that new timber sits flush and tight because you shaped it by hand, you’ll understand what I mean. A repaired joint shouldn't look like a scar; it should look like it was always meant to be there. Don't be in such a rush to finish the job that you forget to do the job well. Stick to the old ways, keep your edges sharp, and let the tools do the thinking for you.