Fixing a Post Without Digging It Out
 Callum Reith-Sowande
Most people think that when a fence starts leaning, you need to go out and buy a whole new kit of heavy machinery or tear up the entire garden to fix it. They see a wobbly post and think it’s a job for a massive excavator or a pile of expensive, plastic-molded braces that’ll snap in two years' time. That’s rubbish. Learning how to repair a fence post isn't about how much money you can throw at the problem; it's about understanding the ground and having the right bit of steel in your hand. I spent forty years on sites seeing men struggle with heavy gear when a bit of clever, steady work with a sharp tool would have sorted it in half the time.
I’m not going to give you any of that flashy, "quick-fix" nonsense you see in the glossy DIY magazines. Instead, I’m going to show you the honest way to do it—the way that actually lasts. We’ll go through the proper way to assess the rot, how to stabilize what’s left, and how to ensure your work stands the test of time. No hype, just the practical steps you need to get it done right the first time.
Guide Overview
Tools & Supplies
- Shovel or post-hole digger for removing old concrete
- Sledgehammer for breaking up debris
- Level to ensure the post is straight
- Drill for securing brackets or hardware
- Replacement wooden fence post (1 unit)
- Fast-setting concrete mix (1-2 bags)
- Gravel for drainage (1 bag)
- Wood preservative or sealant (1 small bottle)
Step-by-Step Instructions
- 1. First thing you need to do is clear away the muck. Most people try to work around the rot, but you can't fix what you can't see. Use a sturdy spade to dig back about a foot from the post on all sides. You aren't looking to dig a hole for a new post yet; you just need to expose the full extent of the decay so you know exactly where the timber is still sound and where it's turned to mush.
- 2. Once the ground is clear, grab a sharp chisel—not one of those cheap, blunt ones you find in a supermarket multipack, but a proper, well-honed tool. You’re going to carefully chip away at the soft, rotten wood. Don't go hacking at it like you're clearing a forest; you want to peel back the layers until you hit solid, healthy timber. If your chisel isn't sharp enough to slice through the grain, you're just bruising the wood and wasting your time.
- 3. Now, you need to treat the wound. If you've left any dampness or fungal spores in those crevices, the rot will just come back in six months. I use a stiff wire brush to scrub the area clean, followed by a wood hardener. You want that liquid to soak deep into the fibers. It’s a bit like applying antiseptic to a cut; you have to make sure the area is sterile before you try to seal it up.
- 4. Once the hardener has dried and the area is firm, it's time to rebuild the shape. Don't bother with those pre-mixed "wood fillers" that come in a tub; they have no structural integrity and will crack the moment the weather turns. Instead, mix up a proper repair mortar using a bit of sawdust from your workshop and a high-quality resin. It’s a bit more work, but it creates a permanent bond that actually behaves like wood.
- 5. Work the mixture into the hollowed-out sections in small increments. Don't try to fill a six-inch gap all at once or it'll shrink and pull away from the edges. Pack it in tight, layer by layer, using your chisel to smooth it out as you go. You want to mimic the natural shape of the post so that when you go to backfill the soil, everything sits flush and even.
- 6. While that repair is still curing, take a moment to check the stability of the fence itself. If the post was leaning because the ground has shifted, you might need to shim the rails or tighten the fixings. There's no point in having a beautiful, repaired post if the rest of the structure is fighting against it.
- 7. Finally, once everything is bone dry and hard, you can backfill the hole. Don't just dump the dirt back in and stomp it down with your boots; that creates air pockets. Use a bit of gravel or crushed stone at the base of the post to help with drainage. If you keep the water from sitting right against the timber, you'll find that a little maintenance goes a long way in making sure you don't have to do this job again next year.
Stabilizing Leaning Fence Posts Without the Heavy Machinery
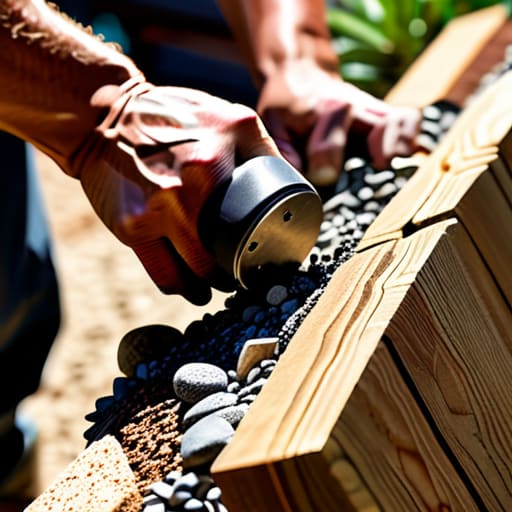
Now, if you’ve managed to get the post upright, you’ve still got the problem of keeping it there. Most fellas reach for a bag of quick-set concrete immediately, but that’s often a mistake. If the ground is soft or shifting, you’re just burying a problem that’ll resurface next season. Instead of relying on heavy machinery or massive amounts of cement, I prefer focusing on the compaction. When you're stabilizing leaning fence posts, the secret isn't the volume of material, but how tightly you pack the gravel or crushed stone around the base. Use a heavy tamping tool—or even a piece of scrap timber and a mallet—to drive the stone home in small increments.
You’ll find that gradual compaction works far better than a single pour of wet muck. If you’re dealing with a post that’s already showing signs of decay, you need to decide if you're truly repairing wood vs metal posts or if the timber is simply shot. If the rot has climbed more than a few inches above the soil line, stop wasting your time with stabilization and look into replacing rotten wood posts entirely. There's no sense in bracing something that's lost its structural heart.
Replacing Rotten Wood Posts With Surgical Precision
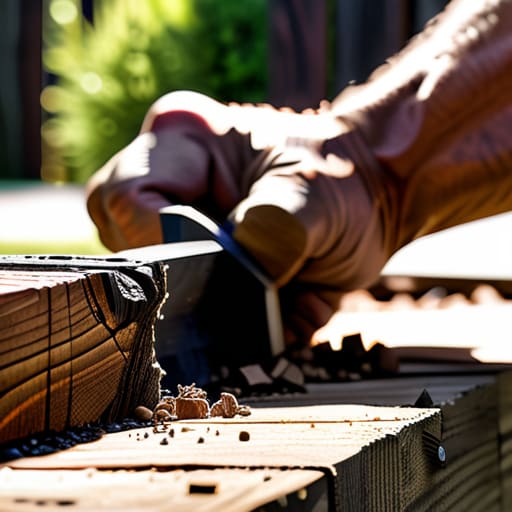
When you find yourself replacing rotten wood posts, don't just hack away at the decay with a blunt saw. I’ve seen too many lads try to muscle through it with a chainsaw, only to end up with a jagged, uneven mess that won't sit flush. Instead, take a sharp, well-honed chisel and a mallet. You want to carve out the soft, punky wood until you hit something solid and healthy. It takes a bit more patience, but you’ll get a clean, square shoulder that actually allows the new timber to seat properly.
If you're opting for new timber, make sure you're using high-quality pressure treated lumber for fences. It’s worth the extra few quid to ensure you aren't back out there in three years doing the same job. While some people swear by those plastic fence post repair kits, they often lack the structural integrity of a properly fitted piece of seasoned wood. If you do the work right the first time—cutting clean and fitting tight—the repair will outlast most of the modern junk being sold in the big-box stores today.
Five Rules for a Post That Won't Quit
- Don't just slap new timber against the old rot; if you haven't cleared out every bit of the soft, black decay with a sharp chisel, that rot will just travel straight into your new post.
- Stop relying on those cheap, plastic screw-in anchors that snap the moment the ground shifts; if you want it to hold, use proper galvanized steel hardware that you can actually tighten up when the seasons change.
- Treat your timber like a living thing—once you've cut it to size, seal those end grains immediately with a decent preservative, otherwise, the wood will drink up the rain and be back to square one by next winter.
- If you're digging a new hole, don't just throw the post in and call it a day; make sure you've got a solid base of compacted gravel at the bottom so it isn't sitting in a puddle of its own making.
- Put the power auger away for a moment and feel the ground; sometimes a hand spade lets you sense the roots and stones that'll cause you grief later, saving you from a hole that's never quite right.
A Bit of Final Advice
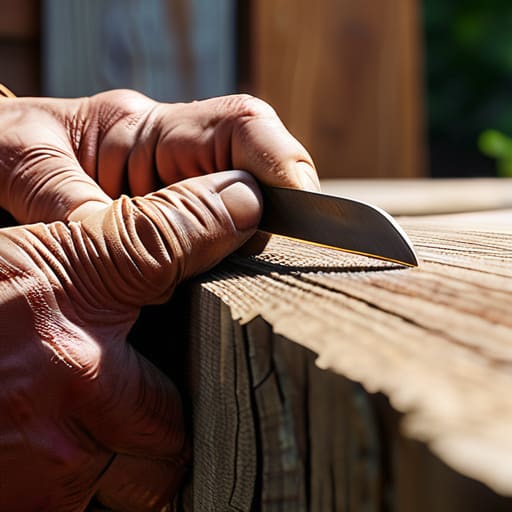
At the end of the day, fixing a fence isn't about how much noise you can make or how many expensive bits of plastic you can buy from a big-box store. It comes down to the basics: clearing out the rot with a clean edge, stabilizing what can be saved, and ensuring your new timber is seated properly. If you’ve taken the time to use a sharp chisel to square off those ends rather than hacking at them with a blunt saw, you’ve already done more for the longevity of that fence than most. Remember, it’s the precision of the fit that keeps the structure standing when the wind starts howling, not the amount of concrete you pour into the hole.
I know it’s tempting to just rip the whole thing out and call in a contractor with a petrol-driven auger, but there is a particular satisfaction in doing it right with your own two hands. There’s a quiet sort of pride in looking at a straight, sturdy line and knowing you didn't need a machine to achieve it. Don't let the modern world rush you into using tools that do more harm than good. Take your time, keep your edges keen, and remember that true craftsmanship is built to last, one careful cut at a time.