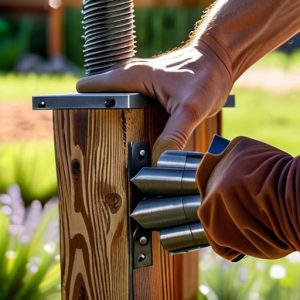
Bracing a Gate Correctly
 Callum Reith-Sowande
Most people see a gate dragging against the gravel and think they need to go out and buy a heavy-duty replacement or a massive new set of hardware. They’ll spend a fortune on a fancy cordless drill and some oversized screws, thinking more power is the answer, but that’s usually where they go wrong. I’ve spent forty years on site, and if there’s one thing I’ve learned, it’s that a sagging gate is rarely a hardware problem; it’s almost always a matter of geometry and wood movement. If you want to learn how to repair a gate that drops, you don't need a warehouse full of new kit—you just need to understand why it’s leaning in the first place.
I’m not going to give you any of that complicated, high-tech nonsense that requires a manual the size of a phone book. Instead, I’ll show you how to strip the problem back to basics using a few reliable hand tools and a bit of common sense. We’ll look at checking your posts, adjusting your hinges properly, and using a sharp chisel to make the precise adjustments that a blunt power tool would just tear apart. We'll get that gate swinging true again, without you wasting a penny on parts you don't actually need.
Guide Overview
Tools & Supplies
- Screwdriver or Drill to tighten or replace fasteners
- Level to ensure the gate is plumb
- Wrench or Socket set for heavy-duty bolts
- Replacement hinges (1 pair)
- Heavy-duty exterior screws (1 box)
- Wood shim or spacer (if needed for leveling)
Step-by-Step Instructions
- 1. First, you need to figure out if the problem is actually the wood or just the hardware. Get a level and hold it against the gate frame to see exactly how far it's slumped. If the wood itself is warped or rotting at the bottom, you've got a bigger job on your hands, but usually, it’s just the hinges pulling away from the post.
- 2. Grab a screwdriver and check every single screw on those top hinges. I’ve seen too many folks reach for a heavy-duty drill to drive in bigger screws before they've even tried tightening what's already there. If the screw heads are stripped, don't bother trying to force them; pull them out clean so you can start fresh.
- 3. If the screw holes are stripped out and won't grip, don't go buying some expensive plastic filler. The old-fashioned way is much more reliable: take a couple of wooden matchsticks or some thin wooden dowels, coat them in a bit of PVA glue, and jam them into the hole. Once it's packed tight and dry, you can trim it flush and drive your screw right back into solid timber.
- 4. Now, look at the hinge itself. Sometimes the metal has bent slightly under the weight of the gate over the years. If you see a gap between the hinge plate and the post, you might need to take a hammer and a block of wood to gently tap the hinge back into alignment. Just be careful not to mar the metal; you want a steady hand here, not brute force.
- 5. If the post itself is leaning, that's a different kettle of fish. You’ll need to prop the gate up with a sturdy piece of timber to take the weight off the hinges first. Once the gate is supported, check the base of the post. If it's wobbly, you might need to dig out a bit of the surrounding ground and re-set the post in some fresh gravel or concrete to give it a proper footing.
- 6. Once you've tightened everything up and the gate is hanging true, give it a proper test. Swing it open and shut a few times to make sure it isn't catching on the ground or rubbing against the latch. If it's still a bit sticky, don't go hacking at the wood with a saw just yet; a sharp chisel and a few light paring cuts around the hinge area will do a much cleaner job of making it sit right.
Precision Gate Hinge Adjustment Beats Heavy Handed Force
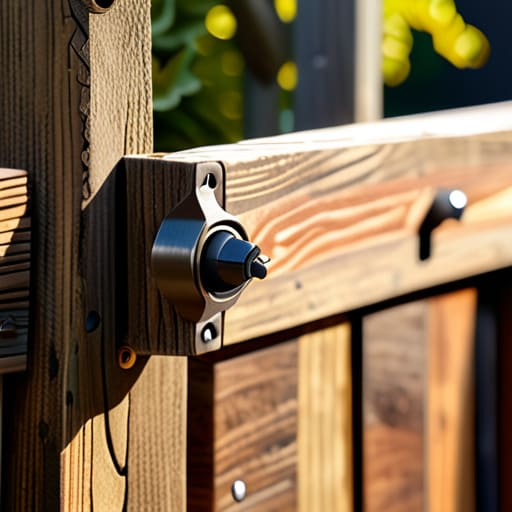
You’ll see plenty of people reach for the sledgehammer or a heavy-duty drill the moment they see a gate dragging on the gravel. They think more force is the answer, but that’s usually where they go wrong. If you’re looking at fixing sagging wooden gates, the problem often isn't that the hardware is too small, but that the alignment is off by a fraction of an inch. I’ve spent forty years seeing men try to muscle a gate back into place, only to strip the screw heads or crack the timber. Instead, take a moment to check your gate post stability first. If the post itself has leaned even slightly due to soft ground, no amount of tightening will help.
Once you know the post is solid, treat the hinge as a precision instrument rather than a piece of scrap metal. A proper gate hinge adjustment requires a steady hand and a bit of patience. If the gap between the gate and the post is uneven, don't just shove more screws in. Sometimes, a thin shim or a slight shaving of the wood with a sharp chisel is all it takes to bring everything back into square. Slow work is often the fastest way to get a result that actually lasts.
Installing a Gate Brace for Permanent Stability
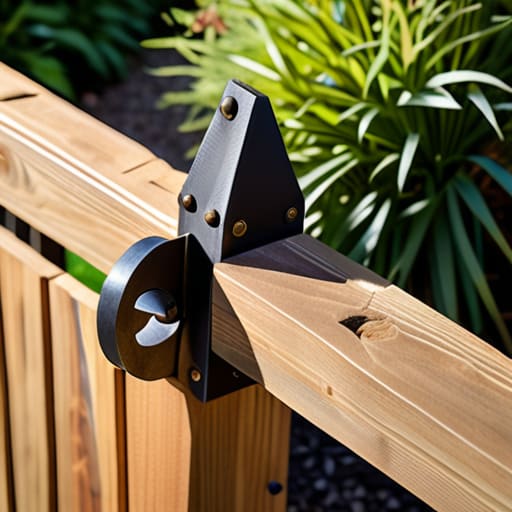
If you’ve done your bit with the hinge adjustments and the gate still feels a bit "soft" when it swings, you’re likely dealing with a structural issue rather than a simple alignment one. A lot of people think they need a whole new gate, but usually, you just need to stiffen the frame. Installing a gate brace is the oldest trick in the book for a reason; it works. You want to run a diagonal timber from the bottom hinge corner up to the top latch side. This turns that floppy rectangle into a rigid triangle, which is the only way to truly stop the weight of the timber from pulling the whole thing out of square.
Don't just slap a piece of scrap wood on there and call it a day. I’ve seen too many lads try to fix sagging wooden gates by nailing a brace haphazardly, only to have it split the frame a month later. Take your time. Measure twice, mark your lines with a sharp pencil, and make sure that brace is tightly fitted against the rails. If you’re dealing with a particularly heavy gate, I’d suggest using a thicker section of treated softwood to ensure long-term stability. It’s about building something that lasts, not just something that holds for a season.
A Few Things I’ve Learned From Forty Years of Fixing Gates
- Don’t just hammer more screws into the same old holes; if the timber is blown out, you’ll never get a grip. Drive a couple of wooden dowels with some decent glue into those stripped holes first, let them set, and then you’ve got fresh wood to bite into.
- Check your hinge alignment before you start any heavy lifting. If the hinges aren't sitting flush against the post, you're fighting a losing battle against gravity no matter how many braces you add.
- Stop buying those cheap, thin hinge screws from the big-box shops. They’re made of soft metal and they’ll snap or strip the moment the gate starts to settle. Get yourself some proper, heavy-duty steel screws that actually mean something.
- Watch the moisture. If you're working on a gate that’s sitting in a damp spot, the wood is going to move. I always suggest a bit of a gap at the bottom to let the air through, otherwise, the wood swells and pulls the whole thing out of plumb.
- Use a sharp chisel to clean out the hinge mortises. If you try to force a hinge into a messy, splintered hole, it’ll never sit true, and you’ll spend the rest of the afternoon fighting a gate that refuses to hang straight.
Getting It Right for the Long Haul

At the end of the day, fixing a sagging gate isn't about how much muscle you can throw at it or how many heavy-duty bolts you can cram into the timber. It’s about patience and understanding how the wood wants to sit. We’ve looked at tightening those hinge screws before reaching for the drill, making sure the alignment is spot on, and adding a solid brace to stop the movement from coming back. If you’ve done the work properly, you won't find yourself fighting that gate every time you want to go out into the garden. The goal is to work with the grain and the gravity, not against them. When you take the time to do the small adjustments correctly, you save yourself from the headache of a total replacement down the line.
I know it’s tempting to just buy a new gate or slap on some massive metal brackets when things start to go wrong, but there is a real satisfaction in restoring what is already there. There is a certain dignity in a well-maintained piece of joinery that has stood its ground for years because someone took the time to care for it. Don't be in such a rush to replace things that are merely tired. Take your tools, sharpen your wits, and fix it right the first time. You'll find that a bit of steady work goes a lot further than any quick fix ever could.