Replacing Part of a Sill
 Callum Reith-Sowande
You’ll see plenty of blokes on the internet telling you to grab a multi-tool and just hack away at the damage, but that’s a recipe for a mess. If you try to use a vibrating blade to figure out how to repair a rotten sill, you’ll end up wandering blindly into the healthy timber, making the job twice as big as it needs to be. I remember a lad on my apprenticeship who spent three hours fighting an oscillating saw, only to realise he'd cut right through the structural part of the frame. I told him then, and I’ll tell you now: put the power tools away. You need to feel the wood. If you can't feel the difference between solid grain and soft rot through the handle of a chisel, you aren't doing the job right.
In this guide, I’m going to show you the proper way to get the job done without wasting materials or your time. We aren't going to rely on cheap, temporary fillers that'll crack in six months; instead, I'll walk you through cutting out the decay cleanly and replacing it with something that actually lasts. I’ll show you exactly which tools to grab and how to make that new timber sit seamlessly with the old.
Guide Overview
Tools & Supplies
- Crowbar for removing window trim and casing
- Oscillating multi-tool or handsaw for cutting out rot
- Hammer and chisel for scraping debris
- Drill with bits for driving screws and mixing epoxy
- Wood filler or two-part wood epoxy (1 tube/kit)
- Replacement wood pieces or rot repair boards (1-2 pieces)
- Exterior grade wood glue (1 bottle)
- Exterior wood screws (1 small box)
Step-by-Step Instructions
- 1. First, you need to find out exactly how far the rot has gone. Don't just hack away at the surface; take a sharp, narrow chisel and probe the wood to see where the sound timber begins. If the wood feels spongy or crumbles like a dry biscuit under the blade, it’s gone. You have to cut back until you hit something solid and healthy. If you leave even a tiny bit of soft wood in there, the rot will just keep travelling, and you'll be doing this whole job again in six months.
- 2. Once you know your boundaries, get to work clearing the mess out. I’ve seen plenty of lads try to use a jigsaw or an oscillating tool for this, but they just end up making a jagged, oversized hole that's impossible to patch. Grab a clean chisel and cut out the decay with straight, deliberate strokes. You want a square, clean-edged cavity. A tidy, controlled cut means you won't have to use nearly as much filler later on.
- 3. Before you even think about putting anything new in, you must treat the remaining wood. Use a dedicated wood preservative and brush it deep into the grain of the healthy timber you've just exposed. Don't just paint it on the surface; you want it to soak in. This creates a chemical barrier that stops the rot from creeping back into your good wood once the repair is finished.
- 4. Now, you need to decide if you're patching with resin or replacing a section of timber. If the rot is small, a high-quality two-part wood filler will do, but if you've cut out a large chunk, you're better off scarfing in a new piece of matching softwood. If you're using a new piece, make sure your joints are tight. A loose joint is just a gap waiting for water to find its way in.
- 5. If you're using filler, mix it up carefully and pack it into the cavity in layers. Don't try to fill a deep hole in one go, or it'll shrink and crack as it cures. Work it in tight with your chisel to remove any air pockets. Once it’s set, you can sand it back flush with the rest of the sill, but remember: a smooth finish is no substitute for a solid foundation.
- 6. The final, and perhaps most important, step is protection. Once the repair is dry and sanded, apply a good quality sealant or paint that matches the rest of the window frame. This is your primary line of defence. If the water can't get into the grain, the rot can't start. It’s simple, really, but if you skip this, you're just inviting the weather to ruin your hard work.
Ditch the Heavy Machinery for Precision Wood Rot Repair Kits
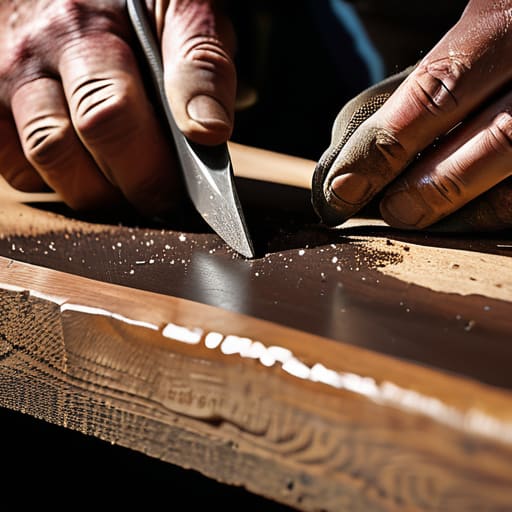
Now, I know what the lads at the DIY shops will tell you. They’ll point you toward a massive power sander or a noisy oscillating tool to blast through that soft, spongy mess. But if you use a machine to clear out rot, you’ll end up hacking into the healthy timber, making your job twice as hard. Instead, get yourself a decent wood rot repair kit and a set of sharp chisels. Use the chisels to carve out the decay until you hit solid, bright wood. It’s slower, sure, but it’s the only way to be certain you aren't just burying a problem under a layer of resin.
Once you’ve cleared the way, you’ll likely be looking at an epoxy wood filler application to bring the profile back to life. Don't just glob it on like you're frosting a cake. Pack it in tight, layer by layer, to ensure there are no air pockets left behind to trap moisture. If the damage is so deep that the timber is crumbling away entirely, you might have to face a full structural sill replacement, but for most of the jobs I saw in my teaching days, a clean cut and a steady hand with a filler is more than enough to get the job done right.
Mastering Epoxy Wood Filler Application With a Steady Hand
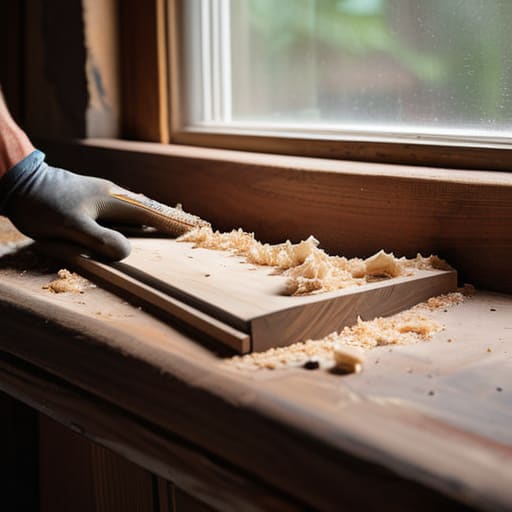
Once you’ve cleared out the soft stuff with your chisel, you’re left with a cavity that needs more than just a quick patch. When you're working with a wood rot repair kit, the biggest mistake I see is trying to rush the mix. Epoxy isn't something you slap on like Spackle; it’s a chemical reaction. I always mix it in small batches on a scrap piece of plywood. If you mix too much at once, you’ll be fighting the clock before you’ve even finished the epoxy wood filler application. You want it to stay workable long enough to pack it tight into every nook and cranny you just carved out.
Don't just smear it over the surface, either. Use a small, stiff putty knife to drive the resin deep into the grain. You want it to bond with the healthy timber, not just sit on top like a scab. If you leave air pockets, you're just inviting the moisture back in. I find that packing the filler firmly ensures it becomes a structural part of the sill rather than a temporary plug. Once it’s set, you can sand it flush, and it’ll be harder than the original wood.
A few things I’ve learned the hard way about sills
- Don't just scrape the surface; you’ve got to dig deep until you hit sound, bright wood. If you leave even a tiny bit of that soft, dark rot in there, the moisture will just find it again and start the whole mess over from scratch.
- Keep your chisels honed to a mirror finish before you start. Trying to pick out rot with a blunt blade is like trying to eat soup with a fork—it’s frustrating, it’s messy, and you’ll end up bruising the good timber you're trying to save.
- Check your levels more often than you think you need to. A sill is meant to shed water, not hold it. If your repair leaves a little dip or a pocket where rain can sit, you've essentially built a swimming pool for rot.
- Don't go rushing the drying time on your fillers. I’ve seen plenty of lads slap on a thick layer of epoxy and try to sand it back twenty minutes later. Give it the time it needs to cure properly, or you'll just end up with a gummy mess.
- Watch your grain direction when you're cleaning out the cavity. If you're forcing a tool against the grain, you'll tear the wood fibers and create more nooks for water to hide in. Work with the wood, not against it.
A job well done
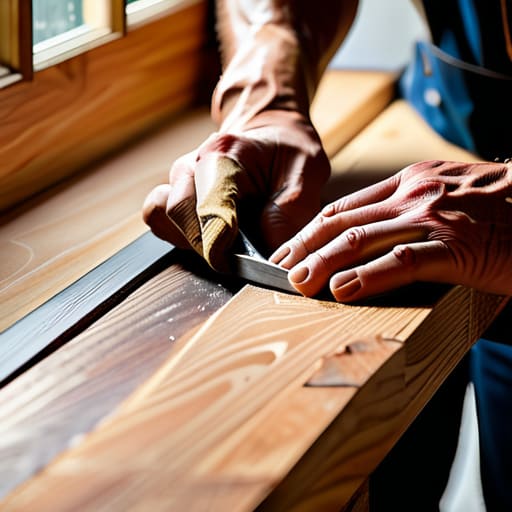
At the end of the day, repairing a sill isn't about how much noise you can make with a power tool; it’s about the patience you put into the preparation. You’ve cut out the rot with a clean, sharp edge, you've applied that epoxy with a steady hand, and you've ensured the new timber sits flush against the old. If you've skipped the shortcuts and actually took the time to clean the cavity properly before filling, that repair isn't just a patch job—it's a structural fix. Don't go rushing to the paint shop until you've checked that everything is level and dry. A bit of extra time spent with a hand plane or a fine chisel now saves you from having to tear the whole thing out again in two years' time.
I know it’s tempting to reach for the heavy machinery when you're tired, but there is a particular satisfaction in seeing a piece of wood restored by hand. When you finish, you aren't just looking at a repaired window; you're looking at work that was done with intention. Most people treat wood like it's disposable, but if you treat it with a bit of respect and keep your tools sharp, you'll find it lasts a lifetime. Go on then, put the power tools away, pick up your chisel, and do the job right.