Flattening a Sole Without Overdoing It
 Callum Reith-Sowande
I spent thirty years on-site watching lads buy expensive, brand-new planes only to curse the tool when it left them with wavy, uneven shavings. They’d blame the iron or the wood, but the truth is much simpler: the sole wasn't flat. Most people think you need a machine shop or some fancy jig to fix it, but that’s a load of rubbish. Learning how to flatten a plane sole isn't about buying more gear; it’s about understanding the metal and having the patience to do it properly. I remember my first instructor telling me that a tool is only as good as the man's ability to maintain it, and he was right.
In this guide, I’m going to show you how to get that sole dead true using nothing more than a bit of abrasive paper and some steady elbow grease. I won't be wasting your time with any of that high-tech nonsense that ends up in a landfill after two years. Instead, I'll walk you through the exact method I used for forty years to ensure my tools stay reliable and precise. We'll go slow, we'll do it right, and we'll make sure that plane is ready to work for another lifetime.
Guide Overview
Tools & Supplies
- Sandpaper (various grits from 80 to 400)
- Sanding block (flat, rigid wood or rubber)
- Precision straightedge (to check flatness)
- Spirit level (optional, for verifying plane)
- Sandpaper sheets (5-10 sheets total)
- Adhesive or masking tape (1 roll)
Step-by-Step Instructions
- 1. First thing you need to do is strip the plane down to its bare bones. Take out the iron, the chipbreaker, and the lever cap. I don't care if the tool looks fine; if you're trying to true a sole, you want nothing in the way. You can't work around a blade, and you certainly don't want to accidentally nick the metal with your abrasive.
- 2. Now, you need a flat surface to work on. Don't go reaching for a piece of plywood or a workbench that's seen better days. You'll need a thick piece of plate glass or a granite slab. If you don't have one of those, find a machinist's surface plate. If the base you're working on isn't perfectly flat, you're just moving the problem from the tool to the bench, and that's a waste of a good afternoon.
- 3. Get yourself some sandpaper. Don't go buying the cheap, flimsy stuff that tears after three strokes; get the heavy-duty grit you can actually feel working. Start with something coarse, like 80 or 100 grit. Lay the paper flat on your glass, weigh the edges down with some heavy clamps or even a couple of bricks, and make sure there are no wrinkles in the paper.
- 4. This is where the patience comes in. Place the plane sole on the paper and move it in a figure-eight pattern. Don't just push it back and forth in straight lines; you'll end up with hollows. You want to cover every square inch of that metal. Keep a steady, unhurried pace. I’ve seen apprentices try to rush this, and they end up with a sole that's curved like a banana.
- 5. Once you've worked the coarse grit, you need to move up the ladder. Clean the dust off the sole with a rag and move to a finer grit, like 220. Repeat that figure-eight motion. You aren't just trying to remove metal; you're trying to remove the scratches left by the previous grit. If you see tracks from the 80 grit, keep going until they vanish.
- 6. Check your progress often. I like to use a machinist's straight edge to see if there are any high spots left. If the light doesn't pass evenly under the edge, you've still got work to do. You'll know you're finished when the metal has a consistent, dull sheen across the entire surface and the straight edge sits flush everywhere.
- 7. Finally, once you've worked your way up to a fine grit, give the sole a thorough clean. Any stray bit of grit left in the corners or around the mouth will act like sandpaper when you try to use the plane later, and we want a smooth, precise finish, not a scratched-up mess. Now you're actually ready to start making shavings.
The Lapping Plate Setup That Beats Any Power Sander
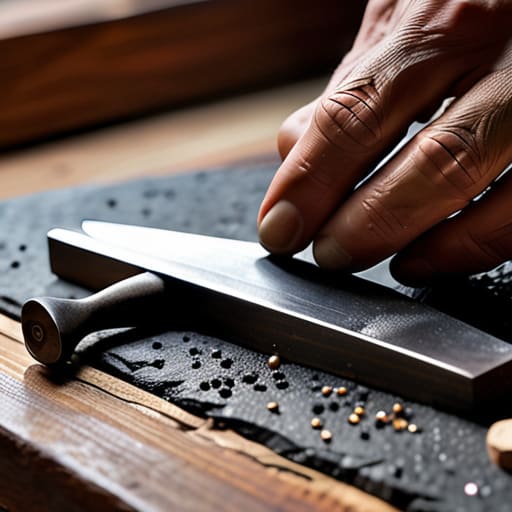
Now, I know what some of you are thinking. You’ve seen the videos of lads using a belt sander or a random orbital to "speed things up." It’s a trap. You’ll end up with a sole that looks flat to the eye but is actually bowed like a hunter’s bow, making your fine joinery a nightmare. If you want real results, you need a proper lapping plate setup. I don't care if it’s a heavy slab of granite or a thick piece of plate glass from the local glazier; it has to be dead flat. If your base isn't true, you're just polishing a mistake.
Once you've got your plate, don't go reaching for the cheap, coarse grit sandpaper you'd use for stripping paint. For real hand plane tuning, I prefer using machinist's lapping film. It’s consistent, it doesn't bunch up, and it stays flat under the pressure of the iron. I lay the film down, move the plane in a slow, deliberate figure-eight pattern, and watch the metal. It’s slow work, I'll grant you that, but it's the only way to be certain you aren't just chasing your tail.
Mastering Machinists Lapping Film for Surgical Flatness
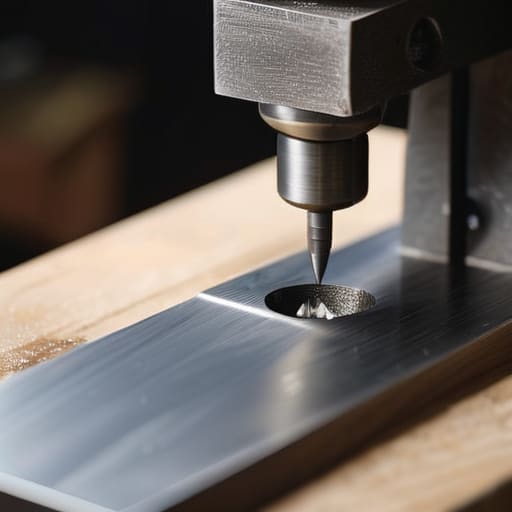
Now, if you’ve moved past the basic grit and you’re looking for that level of precision that separates a hobbyist from a proper craftsman, you need to look at machinist's lapping film. I’ve spent years watching lads try to get a sole true using nothing but scraps of sandpaper and a piece of glass, and while it works, it’s often inconsistent. Lapping film is different; it’s engineered to be incredibly thin and uniform. When you apply it to your lapping plate setup, you aren't just scratching the metal—you are performing a controlled, microscopic removal of material. It takes the guesswork out of the equation.
The trick here is patience. Don't go rushing in with the finest micron film immediately. You have to work your way up through the grades, just like you would when honing a chisel edge. If you skip steps, you'll just be polishing up high spots that haven't actually been leveled yet. I always tell my students that checking sole flatness is more important than the actual grinding. Use a straightedge frequently. If you don't verify the work as you go, you're just wasting good film and your own time.
A few things I learned the hard way
- Don't go hunting for a granite slab if you don't have to; a thick piece of float glass from a local glazier works just as well and won't break the bank.
- Stop using sandpaper glued to a block for this. You'll just round the edges of the sole and end up with a tool that's useless for anything but making sawdust.
- Watch your pressure. If you lean too hard on one end of the plane while lapping, you'll end up bowing the metal, and then you're back to square one.
- Check your progress with a straight edge frequently. It’s easy to get carried away with the abrasive and grind away too much metal before you even realise you've hit true flatness.
- Clean the sole thoroughly between different grits. Even a tiny bit of coarse grit left on the metal will scratch the surface once you move to the finer stuff.
The Long Game
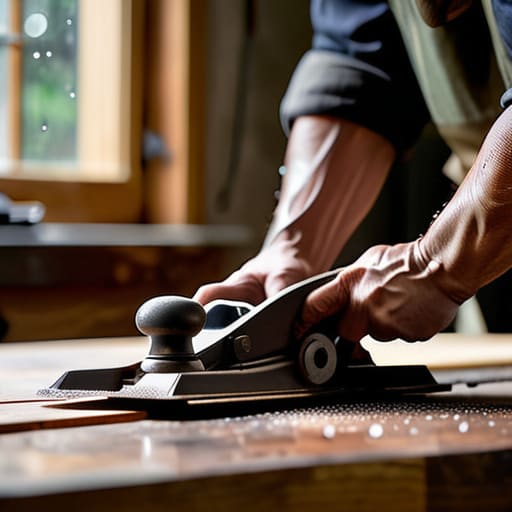
At the end of the day, flattening a plane sole isn't about finding a shortcut or a magic machine that does the thinking for you. It’s about the patience required to set up a proper lapping plate and the discipline to use the right grit of film until the metal is truly true. I’ve seen too many young lads try to force a job with a power sander, only to end up with a sole that’s bowed or uneven, making the tool more trouble than it's worth. If you take the time to do it right—using a steady hand and a bit of elbow grease—you aren't just fixing a tool; you are investing in its future. Once that sole is flat, the plane will finally do what it was designed to do: slice through timber like it isn't even there.
There is a certain quiet satisfaction that comes from knowing your kit is in proper working order. In a world where everything is designed to be replaced the moment it loses its edge, there is a real dignity in repairing and refining what you already own. A well-maintained plane is a companion that will outlast us both, provided you treat it with respect. Don't be in such a rush to get to the cutting; the preparation is where the real craft happens. Keep your tools sharp, keep your soles flat, and you'll find that the work itself becomes much more rewarding.