A Box Whose Lid Fits
 Callum Reith-Sowande
Most people think you need a table saw and a high-end biscuit joiner to master how to build a box with a lid, but they’ve got it backwards. I spent forty years on site watching lads rely on loud, vibrating machines only to end up with joints that gape like a broken tooth. I remember one apprentice—bless him—who spent three hours fighting a router just to get a simple lid to sit flush, while I finished mine in twenty minutes with nothing but a well-honed chisel and a block plane. It isn't about the electricity you plug in; it’s about the edge on your steel and the patience in your hands.
In this guide, I’m going to show you the proper way to approach this project without the unnecessary clutter of modern gadgets. We aren't going to chase fancy jigs or expensive consumables that you'll just throw away when they go blunt. Instead, I’ll walk you through the fundamentals of squaring your stock, cutting clean joinery, and ensuring that lid fits with a perfect, silent seal. If you’re willing to put in the work to respect your tools, you'll find that simplicity is much faster than any power tool ever could be.
Guide Overview
Tools & Supplies
- Tape measure and pencil for layout
- Hand saw or miter saw for cutting
- Hammer or cordless drill for assembly
- Sandpaper for smoothing edges
- Wood glue for strong joints
- Pine or cedar wood boards (approx. 10-15 linear feet)
- Wood nails or screws (1 box)
- Wood glue (1 small bottle)
- Sandpaper (various grits)
Step-by-Step Instructions
- 1. First, you need to pick your timber. Don't go grabbing some cheap, soft pine from the big-box DIY stores just because it's easy on the wallet. If you want a box that actually holds its shape, find something with a bit of integrity, like cherry or oak. Once you've got your wood, square up your stock. I don't care how much you trust your machine; if the face isn't flat and the edges aren't true, you're building a mistake, not a box.
- 2. Now, let's talk about the joinery. Most people will tell you to just screw the sides together, but that's lazy work. I want you to attempt some simple finger joints or even basic rabbets. Mark your lines with a sharp marking knife—not a pencil. A pencil line is thick and fuzzy, but a knife cut gives you a physical groove for your chisel to sit in. It's the difference between a joint that wobbles and one that clicks home.
- 3. Once your lines are marked, it's time to get to work with the saw. Use a fine-toothed tenon saw and take light, controlled strokes. Don't try to plow through the wood in one go; you'll wander off your line every single time. Aim to leave the line itself slightly proud of the wood. You can always take more off, but you can't put it back once it's in the sawdust pile.
- 4. This is where the real work happens: cleaning out those joints. Grab your best chisel—the one you spent the morning honing on the stones—and pare away the waste. If you find yourself struggling or forcing the tool, stop. A sharp chisel should feel like it's slicing through butter, not hacking at a log. Work in thin shavings, gradually bringing the joint closer to your knife marks until the fit is snug but not so tight it splits the timber.
- 5. Glue up the carcass. Don't go overboard with the adhesive; you only need a thin, even film. Spread it on, press your pieces together, and use a few clamps to hold everything square. I always check the diagonals with a ruler—if the measurements from corner to corner aren't identical, your box is going to be crooked, and no amount of sanding will ever fix that.
- 6. While the glue is drying, turn your attention to the lid. I prefer a simple slip-on lid or a small frame that sits flush. If you're making a frame, use the same joinery methods you used for the base to keep things consistent. Make sure the lid is slightly undersized—maybe a hair of clearance—so it doesn't bind when the humidity changes. A lid that sticks is a lid that nobody wants to use.
- 7. Finally, we deal with the surface. Forget those orbital sanders that just swirl scratches around; they're a shortcut to a mediocre finish. Use a well-tuned hand plane to take off the final high spots and smooth the grain. Once the wood feels like silk under your palm, apply a simple oil finish. It brings out the character of the grain without masking the hard work you put into the joinery.
Mastering Woodworking Box Joinery Techniques Without the Noise
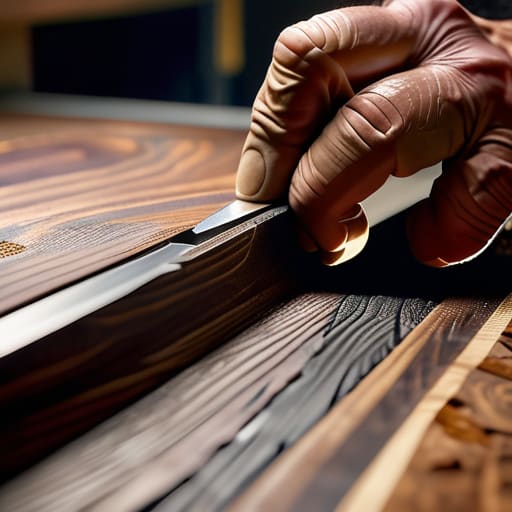
When you’re working through these woodworking box joinery techniques, the temptation is to reach for a biscuit joiner or a router to speed things up. I’ve spent forty years watching people rush that stage, only to end up with gaps that no amount of filler can hide. If you’re doing this properly, you’ll use a marking knife rather than a pencil. A knife line severs the fibres, giving your chisel a physical track to follow. It’s the difference between a joint that sits tight and one that feels loose and apologetic.
Once the carcass is together, don't go rushing into the hardware. I’ve seen too many lads struggle with attaching a lid to a wooden box because they didn't account for the thickness of the metal. You need to spend time measuring lid clearance for a perfect fit before you even think about a drill. If you're using butt hinges or those little quadrant hinges, give yourself a hair of breathing room. It’s better to have a microscopic gap than a lid that binds every time you try to open it.
Achieving Perfect Results With Wood Glue and Clamping for Boxes
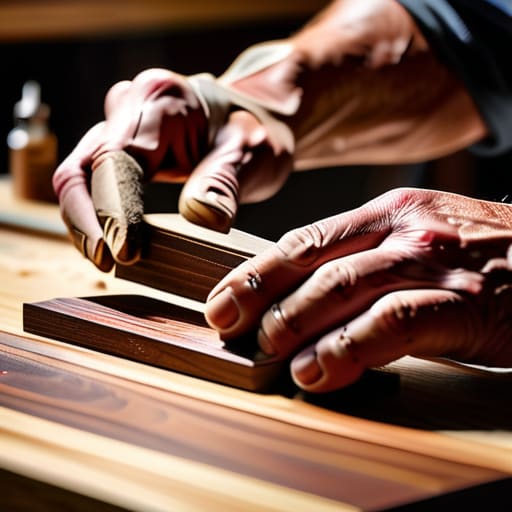
Once you’ve got your joints cut and your pieces dry-fitted, it’s time for the glue. Now, don't go rushing into it. I’ve seen too many lads slather glue on like they’re buttering toast, only to end up with a gummy mess that ruins the finish. When it comes to wood glue and clamping for boxes, less is almost always more. Use a small brush or a spreader to get a thin, even film across the entire mating surface. If you see beads of glue squeezing out when you tighten the clamps, you’ve done it right, but don't overdo it. Wipe that excess away immediately with a damp cloth; once it dries, it’s a nightmare to sand out without leaving divots.
Clamping is where most people lose their patience. You don't need a mountain of heavy-duty vices; you just need even pressure. I prefer using small spring clamps or even rubber bands for delicate work to ensure the box stays square while the bond sets. If you're moving on to attaching a lid to a wooden box, remember that the lid needs to sit true to the base. If your clamping was uneven on the main body, that lid will never sit flush, no matter how much you fiddle with the hinges.
Five ways to stop fighting your timber and start working with it
- Don't trust your eyes alone when you're squaring up those sides; use a try square and a marking knife to score the grain, because a pencil line is too thick and will leave you with gaps you can't hide.
- If you're fitting a lid, don't just force it on—leave a hair's breadth of breathing room around the edges so the wood can move with the seasons without cracking your joints.
- Stop using those cheap plastic clamps that mar the wood; use soft cauls or even scraps of your own offcuts to protect the surface while you're pulling those corners together.
- When you're paring your joints, don't take big, aggressive bites; it's better to take shavings so thin they're translucent than to overcut and find yourself trying to fill a gap with sawdust and prayer.
- Before you even think about applying glue, do a dry run of the whole assembly—if it doesn't sit perfectly flush while dry, it certainly won't behave once the glue starts to tack up.
Finishing the Job
At the end of the day, building a decent box isn't about how much noise you can make in the workshop. It comes down to the basics: choosing your timber wisely, ensuring your joinery is snug, and having the patience to let the glue do its work under even pressure. I’ve seen too many young lads rush through the clamping stage only to find their lid sits crooked because they were too eager to get to the finish. If you’ve taken the time to keep your chisels sharp and your measurements true, the wood will tell you exactly where it wants to go. Remember, a tight joint is the hallmark of a craftsman, not a lucky accident.
Don't be discouraged if your first few attempts aren't museum quality. Wood is a living thing, and it takes a lifetime to truly learn its temperament. My advice is to put the power tools back in the cupboard for a bit and just listen to the grain. There is a quiet sort of satisfaction in knowing that every surface on that box was shaped by your own hand and a bit of steel. Keep your tools sharp, keep your mind steady, and eventually, you won't just be making boxes—you'll be making things that last.