Three Causes of Tear Out
 Callum Reith-Sowande
I remember standing over a piece of expensive English Oak back in my second year of apprenticeship, watching a blunt router bit chew into the grain like a hungry dog on a bone. The sound was a sickening, ragged tear, and my heart sank knowing I'd just ruined a week's worth of prep. Most blokes today will tell you that you need a fancy jig, a high-speed vacuum, or some expensive sacrificial board to fix the problem. They make it sound like a science experiment, but they're missing the point entirely. If you want to know how to avoid tear out, you don't need more gadgets; you need to understand the relationship between your edge and the fiber.
I’m not here to sell you a new piece of kit or a complicated system that’ll sit in your shed gathering dust. I’m going to show you how to do it the right way—the way that relies on properly honed steel and a bit of patience. We’ll look at why your current setup is failing you and how a bit of knowledge about grain direction can save your workpiece. My goal is simple: I want to help you achieve a finish so clean you won't even need the sandpaper.
Why Saw Blade Tooth Geometry Matters More Than Horsepower
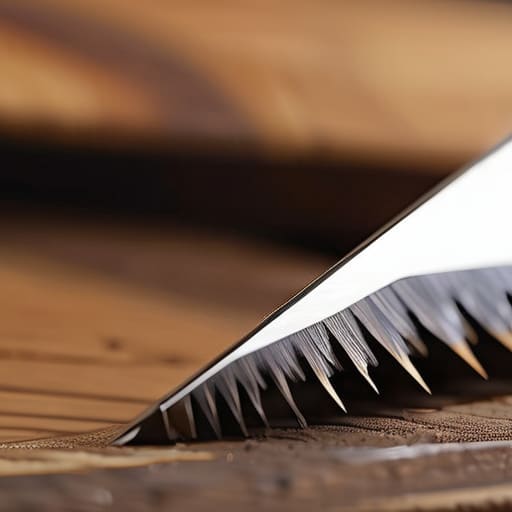
I see it every time I walk through a modern workshop: someone staring at a massive, high-end table saw, thinking more horsepower will solve their problems. They think if they just crank up the motor, they can brute-force their way through a piece of walnut. But power is nothing without precision. You can have all the torque in the world, but if your saw blade tooth geometry is wrong for the cut you’re making, you’re just going to spend your afternoon cleaning up splintered mess.
It’s about how the steel actually interacts with the fibres. A blade designed for ripping is going to behave entirely differently than one meant for a crosscut. If you use a high-tooth-count finishing blade to rip a long board, you aren't helping yourself; you're just creating heat and friction. I’ve spent years teaching apprentices that the geometry of the edge dictates the quality of the finish, not the wattage on the plug. If you don't respect the way those teeth are angled to slice rather than smash, you'll never master preventing wood splintering.
Mastering Wood Grain Direction Techniques for Clean Edges
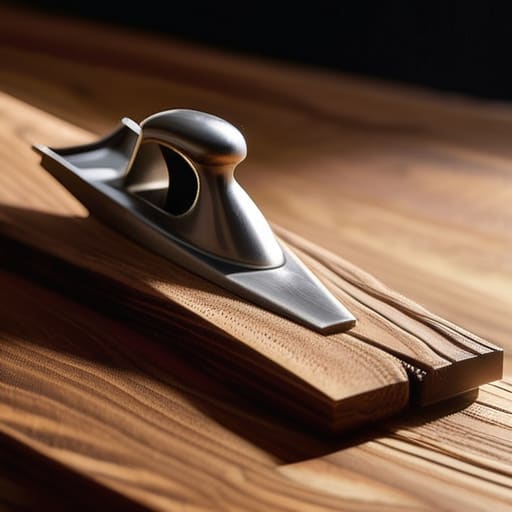
You can have the finest, most expensive steel in the world, but if you’re fighting the wood, you’ve already lost the battle. I spent years watching apprentices try to force a plane through a board without even looking at the growth rings. They’d end up with a surface that looked like it’d been chewed by a dog. The secret isn't in the muscle; it's in understanding wood grain direction techniques. You have to read the timber like a map. If the fibers start to lift or you feel the tool "diving" into the wood, you’re cutting against the grain. Stop immediately, flip the board, and try again.
It’s a simple matter of following the flow. When you’re working with figured wood or tricky grains, I always suggest taking whisper-thin shavings rather than trying to take a heavy bite. Even with perfect planer blade sharpness, a thick cut will catch those loose fibers and tear them right out of the face. If you respect the direction the tree grew, the tool will do the work for you. If you fight it, you’re just making more mess than you’re worth.
Five Ways to Stop the Wood from Splintering
- Use a sacrificial backing board. If you’re cutting through a piece of oak, don't let the blade exit into thin air; clamp a scrap piece of MDF tightly against the back of your workpiece to support those final fibres.
- Stop trying to force it. If you feel the tool hesitating or see the grain starting to lift, you’re pushing too hard or your edge is gone. Back off, check your angle, and let the tool do the work.
- Score your lines with a marking knife first. A saw or a router bit is a blunt instrument compared to a fine blade; by cutting those surface fibres manually before you start your real cut, you're giving the wood a clear path to follow.
- Check your depth of cut. I’ve seen too many young lads try to take a massive chunk out of a joint in one go. Take multiple, shallow passes instead; it's more patience, but you won't be left with a mess to sand out later.
- Keep your chisels truly keen. I don't care how expensive your power tools are—if your chisel isn't sharp enough to shave the hair off your arm, it's just a hammer with a metal stick, and it'll tear your grain every single time.
The Long Way Round is Often the Shortest
At the end of the day, avoiding tear out isn't about buying the most expensive, high-speed machine in the catalogue. It’s about understanding the wood you’re working with and respecting the physics of a cut. Whether you're paying closer attention to your saw tooth geometry, learning to read the grain before you even touch the timber, or simply slowing down to ensure your tool is actually capable of doing the work, the principle remains the same. You can’t force a blunt edge through a stubborn board and expect a clean finish; you’ll only end up fighting the material and wasting your time. Stop trying to outrun the wood and start working with it.
I’ve spent forty years on sites and in classrooms, and I still see young lads trying to make up for a dull tool with more horsepower. It never works. There is a quiet, steady satisfaction in taking a hand tool, ensuring it’s honed to a mirror finish, and watching it slice through a piece of oak like it was nothing more than butter. It might take you a few minutes longer to set up, but you won't spend those minutes sanding out the mistakes you made ten minutes earlier. Trust your hands, trust your edge, and remember that a bit of patience is the best tool in your chest.