A Potting Bench for Standing Work
 Callum Reith-Sowande
Most people think you need a shed full of noisy, expensive power tools just to figure out how to build a potting bench. They'll point you toward a circular saw and a cordless drill, promising you'll be done in an hour, but they're selling you a headache. I remember a young lad in my college workshop, halfway through a project, swearing at a cheap, plastic-bodied jigsaw that wouldn't cut a straight line to save its life. He was sweating, fighting the machine, and making a mess of the timber. I walked over, handed him a well-honed handsaw, and told him to stop wrestling and start working. You don't need a mountain of electricity to build something that lasts; you just need a bit of patience and the right edge.
In this guide, I’m going to show you the honest way to approach this job. I'll walk you through the selection of proper timber and the specific joinery that keeps a bench steady even when it's loaded with heavy ceramic pots. There's no fluff or fancy jargon here—just a clear, practical method on how to build a potting bench that won't wobble or rot after a single season. We'll focus on solid construction and smart design, ensuring your new workspace is as reliable as a well-maintained chisel.
Guide Overview
Tools & Supplies
- Drill/Driver for assembling screws
- Circular Saw or Hand Saw for cutting lumber
- Measuring Tape for precise dimensions
- Level to ensure a flat workspace
- Sandpaper to smooth rough edges
- 2x4 Lumber (approx. 6-8 boards) for the frame
- 1x6 Cedar or Pressure Treated boards (approx. 5-7 boards) for the tabletop
- 2.5-inch Exterior Wood Screws (1 box)
- Wood Glue for added stability
- Sandpaper (80 and 120 grit)
Step-by-Step Instructions
- 1. Start by picking your timber. Don't go running to the big-box DIY store and grabbing some cheap, pressure-treated pine that’s more sap than wood. If you want this bench to last more than two seasons, find yourself some decent larch or cedar. It holds up against the damp without needing a coat of chemicals every six months. Once you've got your stock, square it up on your workbench. I don't care how much you like your electric planer; if you can't get a true face and edge with a well-tuned jack plane, you're just moving sawdust from one side of the room to the other.
- 2. Lay out your frame. A potting bench needs to be sturdy enough to hold heavy bags of compost and wet terracotta pots without wobbling like a jelly. Mark out your legs and your stretchers on your timber using a marking gauge and a sharp pencil. I always tell my students: measure twice, cut once, but I prefer to mark it, check it, and then mark it again. Use a combination square to ensure every corner is a true 90 degrees. If your frame is out of square now, the whole bench will be a nightmare to work with later.
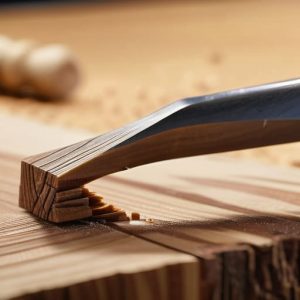
- 3. Cut your joints. Now, you could just slap some screws through the timber, but that’s a lazy way to build. If you want a bench that stays together when the ground gets soft, you should be cutting mortise and tenon joints. It takes a bit more time to get the chisel to bite properly, but once those joints are seated, they aren't going anywhere. Take your time with the mallet; you're looking for a snug fit, not something you have to hammer home with all your might.
- 4. Prepare the work surface. This is the heart of the bench. I like to use slats rather than a solid sheet of wood so that water and spilled soil can drain straight through to the ground. Use your saw to cut the slats to length, and then plane them down so they are perfectly level with one another. You don't want a single pot tipping over because your surface has a slight dip in the middle. A smooth, flat surface is the mark of a properly made tool, and your bench is no different.
- 5. Assemble the carcass. Once your joints are cut and your slats are ready, it's time to bring it all together. I prefer using a bit of waterproof wood glue in the joints to help them stay put, but don't go overboard—you can always clean up a bit of squeeze-out with a damp cloth. Use your clamps to hold everything tight while the glue sets. If you find a joint is a bit loose, don't reach for the wood filler; just shave a hair more off the tenon until it fits like it was grown that way.
- 6. Add the finishing touches. A potting bench is going to live outdoors, so you need to protect it. I usually go for a simple linseed oil finish. It's easy to apply, it's natural, and most importantly, it's easy to repair. When the wood starts to look thirsty in a year or two, you just wipe a bit more on. Avoid those thick, plastic-looking varnishes; they eventually crack and peel, and then you're stuck with a mess that's impossible to fix without sanding the whole thing back to nothing.
Selecting Cedar Wood for Garden Furniture That Actually Lasts
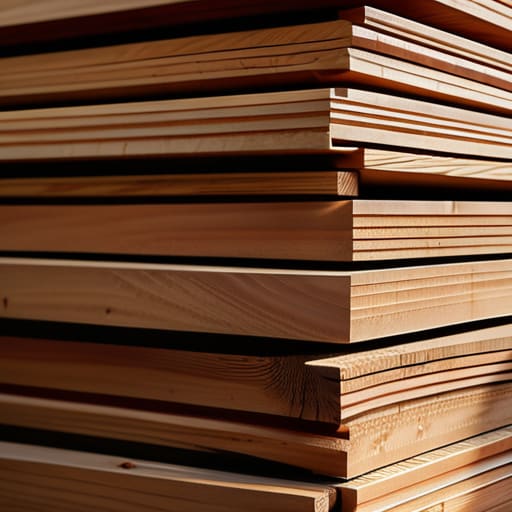
When you’re picking out timber for your potting bench, don't just grab the first stack of boards you see at the yard. If you want a weatherproof garden workbench that won't rot the moment the autumn rains set in, you need to be picky about your cedar. I always look for tight, even grain and avoid anything with too many knots; knots are just weak points where moisture can settle and start the decay process. It’s better to spend an extra twenty minutes inspecting the boards than spending three years replacing a warped frame.
For most outdoor woodworking projects, Western Red Cedar is the gold standard because of those natural oils that fight off the rot. However, keep an eye out for "heartwood"—that’s the darker, more durable center of the tree. The lighter sapwood is fine for some things, but for a heavy-duty station that’ll hold bags of compost and heavy ceramic pots, you want that dense, dark heartwood. It’s more expensive, sure, but I’d rather work with a piece of wood that’s built to last than a cheap board that's destined for the skip.
Mastering Potting Station Design Ideas With Manual Precision
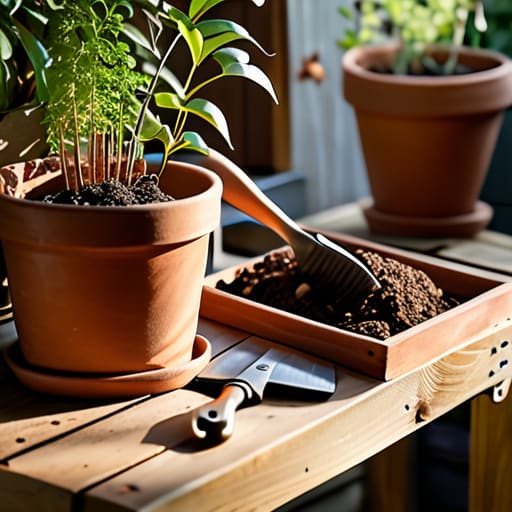
When you’re looking at different potting station design ideas, don't get blinded by fancy blueprints or complex joinery that requires a workshop full of electric sanders. A good bench should be built around how you actually move. I’ve spent years teaching apprentices that a workspace is only as good as its ergonomics. If you’re constantly hunching over to reach a trowel or a bag of compost, you’ll be feeling it in your lower back before the first seedling is even planted. I prefer a design that keeps the most used items within a single arm's reach, allowing for a fluid, uninterrupted workflow.
I also find that most people overlook the importance of integrated garden tool organization. Instead of just slapping a flat tabletop together, think about carving out specific spots for your hand tools. A few well-placed notches or a simple wooden rack can keep your shears and dibbers from getting lost in the dirt. If you're tackling outdoor woodworking projects like this, remember that a bit of extra planning now saves you from a messy, cluttered station later. Aim for a weatherproof garden workbench that prioritizes order over aesthetics; a tidy bench is a productive one.
Five ways to make sure that bench doesn't end up as firewood
- Don't rush the joinery just to get it finished. If you're using cedar, take your time with a sharp chisel to seat your tenons properly. A tight, hand-cut joint will hold up to the seasons far better than anything you've slapped together with a nail gun.
- Check your bench height before you drive a single screw. I’ve seen too many youngsters build a station that’s too low, only to spend the whole afternoon with a sore back. Measure it to your own height; a bit of extra work now saves your spine later.
- Keep the work surface flat, not just level. A potting bench takes a lot of abuse from heavy pots and damp soil. If your tabletop isn't dead flat, your plants will sit crooked and your tools will roll off. Use a hand plane to get that surface true.
- Plan for drainage, or you'll be cleaning up mud for years. Don't just slap a solid board down for a top. Leave small, deliberate gaps between your slats so water can run through rather than pooling and rotting your wood.
- Build in a place for your tools that actually works. A bench isn't much use if you're constantly hunting for your trowel. I always leave a dedicated spot or a small rack for the essentials, so they're within reach but not in the way of the work.
Putting the tools away
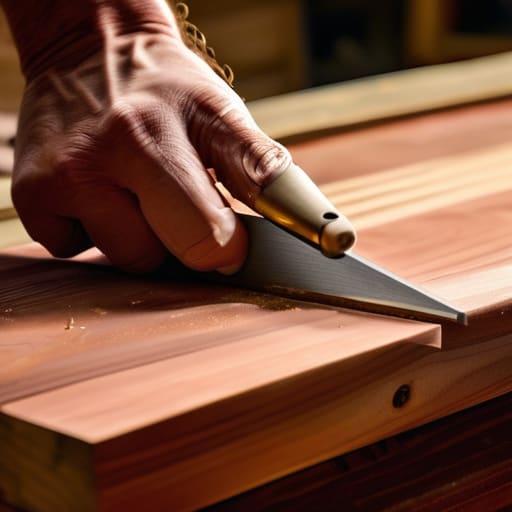
Building this bench isn't about rushing to the finish line so you can get to the gardening; it’s about the work itself. You’ve chosen your cedar wisely to stand up to the rain, you’ve planned the layout so your tools are within reach, and most importantly, you’ve relied on manual precision rather than fighting with a vibrating sander. If you’ve followed the steps, you haven't just assembled some timber; you’ve constructed a solid piece of kit that will outlast most of the cheap plastic rubbish sold in the big-box stores. Remember, a bench built with a steady hand and a sharp edge is a bench that won't wobble when you're leaning on it to prune your seedlings.
At the end of the day, there is a particular kind of satisfaction that comes from looking at a finished piece of joinery and knowing exactly how every joint was seated. When you're out there in the garden, working from a station you built with your own two hands, you'll find the work feels different. It’s not just about having a place to put your pots; it’s about the quiet pride of knowing you didn't take any shortcuts. Don't be in such a hurry to finish that you forget to respect the grain. Take your time, keep your tools honed, and enjoy the fact that you've made something that was actually built to last.