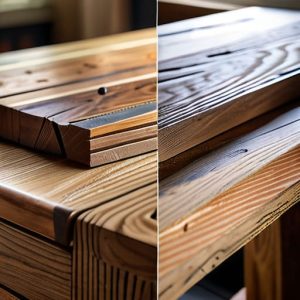
Reading Grain Before You Plane
 Callum Reith-Sowande
I remember standing in a workshop back in the eighties, watching a young apprentice try to force a plane through a piece of oak. He was sweating, leaning his whole weight into it, while the wood just tore itself apart in jagged, ugly chunks. He thought he needed a bigger motor or a heavier machine, but he was just fighting a losing battle because he didn't know how to read grain direction. He was treating the wood like a slab of concrete instead of a living thing, and no amount of power was going to fix that lack of respect for the fiber.
I'm not here to sell you some fancy digital moisture meter or a complicated manual that reads like a physics textbook. I’m going to show you how to use your eyes, your hands, and a bit of common sense to see exactly where the fibers are heading before you ever touch a blade to the surface. My goal is to teach you the honest, practical way to sense the wood, so you can stop wrestling with your projects and start working with them.
Mastering Wood Fiber Orientation Before the Blade Hits
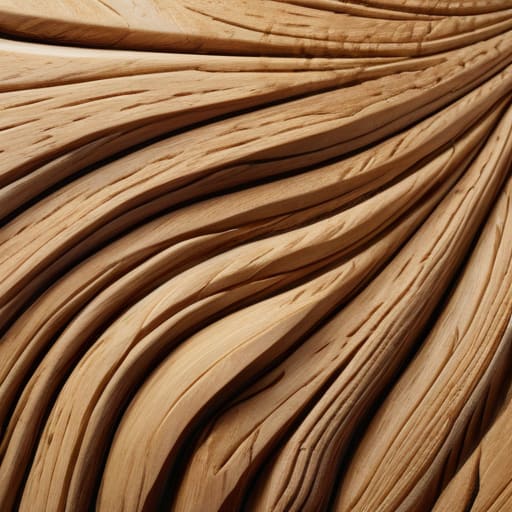
Before you even think about putting a blade to the timber, you need to understand what you’re looking at. I’ve spent decades watching apprentices rush into a cut, only to spend the next hour trying to sand out the disaster they’ve just made. You can’t just glance at a board and assume it’ll behave. You have to look at the way the fibers are running, even when they’re twisting and turning in ways that aren't immediately obvious. This isn't just about being tidy; it’s about preventing wood splintering before it starts.
I always tell my students to run a finger—carefully—along the length of the piece. If it feels smooth, you’re likely working with the grain. If it catches or feels rough, you’ve hit the wrong way. When you're using a hand plane correctly, that tactile feedback is more reliable than your eyes will ever be. If you ignore those subtle shifts in the wood fiber orientation, you aren't woodworking; you're just fighting a losing battle against the material. Take the time to feel the direction, or you'll be paying for it in wasted wood and sore muscles.
Woodworking Grain Identification for the Patient Craftsman
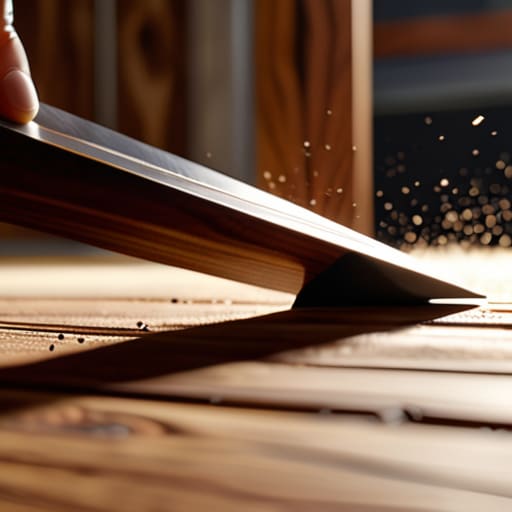
Now, I know what the youngsters say—that you can just crank up the speed on a router and let the machine do the thinking. But if you aren't paying attention to the way those fibers are laid out, you’re just asking for trouble. Real woodworking grain identification isn't about looking for pretty swirls; it’s about understanding which way the wood wants to lift. If you’re using a hand plane, for instance, you’ve got to feel for that resistance. If the blade starts grabbing or digging in, you’ve gone against the grain, and you'll be spending more time sanding away mistakes than actually shaping the piece.
It’s a matter of patience. You have to move slow enough to notice when the tool starts fighting you. When you get it right, the tool skims the surface like it's cutting through butter. When you get it wrong, you end up with ragged edges and ruined stock. The secret to avoiding tear out in woodworking is simply being observant. Stop, look, and feel the direction the fibers are running before you commit to a long stroke. Work with the wood, not against it, and you'll find the job finishes a lot sooner.
Five Ways to Stop Guessing and Start Seeing the Grain
- Run your thumb along the length of the board. It sounds simple, but your skin is a better sensor than any expensive moisture meter. If it feels smooth, you’re going with the grain; if it catches or feels rough, you’re fighting against it.
- Watch how the light hits the surface. I’ve spent years noticing that when you tilt a piece of timber under a workshop lamp, the grain will either catch the light or go dull. That shift in sheen is a dead giveaway of which way the fibers are running.
- Look for the "flicker" in the grain pattern. On decent quality wood, the lines aren't perfectly straight. If you see the pattern swirling or dipping, that's your warning. You can't just plow through a swirl with a plane; you'll tear the fibers right out of the wood.
- Use a chisel to test a small area first. If you're unsure, don't commit to a long cut. Take a shallow paring cut in the corner. If the wood peels away cleanly, you've found the way. If it starts to crush or splinter, turn around and go the other way.
- Pay attention to the end grain. Before you even pick up a tool, look at the ends of the board to see how the growth rings are oriented. If those rings are steep, you're going to have a much harder time than if they're lying flatter. Knowing the slope saves you from a lot of wasted effort.
Respect the Grain, Respect the Tool
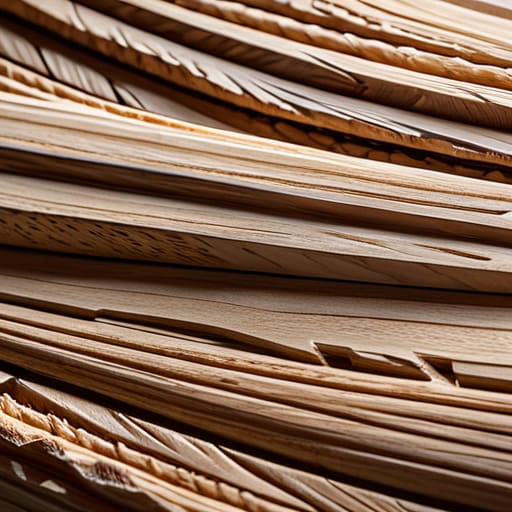
At the end of the day, reading the grain isn't some academic exercise; it’s the difference between a clean, crisp joint and a splintered mess that you'll spend an hour trying to sand out. I’ve seen too many lads try to muscle through a piece of oak by forcing a plane or a chisel against the fiber, thinking they can just overpower the wood. You can't. If you take the time to look at the way the fibers lay, to feel the resistance before you even commit to the cut, you'll find the work flows much easier. It’s about working with the natural structure of the timber rather than treating it like an enemy you need to conquer with brute force.
I know it feels slower to stop and inspect every board, especially when there's a pile of work waiting on the bench. But I tell my students the same thing I told my apprentices forty years ago: slow is smooth, and smooth is fast. When your tools are sharp and your understanding of the grain is solid, the wood practically parts itself for you. Stop rushing to get to the finish line and start paying attention to the material in your hands. Once you truly learn to listen to what the wood is telling you, you won't just be making furniture; you'll be mastering a craft that lasts.