Matching a Finish on a Test Piece
 Callum Reith-Sowande
I remember a young lad in my college workshop, years ago, who thought he could solve a repair by slapping a fresh coat of modern polyurethane over a Victorian sideboard. He spent three hours with a machine, only to end up with a patch that looked like a brightly coloured bruise on an old man's skin. That’s the trouble with most modern advice; people think they can just buy a tin of "matching" stain from the local DIY shop and call it a day. But if you actually want to learn how to match an old finish, you have to stop looking for a magic bottle and start looking at the wood itself.
In this guide, I’m not going to sell you on any fancy chemical shortcuts or expensive spray systems. Instead, I’ll show you how to read the grain, understand how light hits an aged patina, and use a bit of patience to get the job done right. We’ll talk about testing your pigments on scrap wood first and why feeling the texture is just as important as the colour you choose. I'll give you the straight truth on how to make a repair disappear so the piece looks like it was never touched.
Guide Overview
Tools & Supplies
- Sandpaper (various grits for smoothing surfaces)
- Swabs or small brushes (for applying test samples)
- High-intensity lamp (to inspect color under different light)
- Microfiber cloth (for cleaning dust and debris)
- Wood stain (small sample containers)
- Clear topcoat (polyurethane or wax)
- Wood filler (small amount for matching texture)
- Solvent/Mineral spirits (for cleaning and testing)
Step-by-Step Instructions
- 1. Before you even think about opening a tin of varnish, you need to figure out what you're actually dealing with. Take a clean, slightly damp cloth and wipe a small, inconspicuous area. If the liquid beads up, you've likely got a wax or oil finish; if it soaks in, it's probably a spirit or oil-based stain. You can't match a finish if you don't know the chemistry behind it, so don't skip this bit.
- 2. Once you know the base, you need to sample the colour. I never trust my eyes alone when looking at a piece of timber under shop lights. Take a scrap of the same wood species—and I mean the exact same species, not just something that looks similar—and apply your test stains. Build the colour up in thin, translucent layers rather than one heavy coat. It’s much easier to add depth than it is to strip it back once you've gone too dark.
- 3. Now, pay attention to the sheen. This is where most people trip up. Is it a dull, matte finish that's been worn down by decades of hands, or is it a high-gloss shellac? I always recommend getting a few different grades of abrasive, from something around 220 up to a much finer 400 or 600. You want to feel the surface texture with your fingertips to understand how much light it reflects before you start applying your topcoat.
- 4. If you're working on an old piece that has a bit of a patina, you’ll need to account for the "dirt" in the finish. Real old wood isn't just one colour; it has layers of oxidation and age. To mimic this, I often mix a tiny amount of a darker tint into my final coat. It sounds counter-intuitive, but you aren't just matching a colour; you are matching the character of time.
- 5. When you actually start applying the finish, put the spray gun away. A spray finish looks like plastic sitting on top of the wood, and it’ll stand out like a sore thumb against an old hand-rubbed surface. Use a high-quality brush or, better yet, a lint-free cloth for a wipe-on application. You want to work the finish into the grain, not just lay it on top, to ensure it becomes part of the wood.
- 6. The final test is the most important one. Don't just look at your patch from a distance. Take a piece of sandpaper and lightly buff the edge where your new finish meets the old one to blend the transition. Then, step back and look at it from an angle. If you can see a hard line where the new work begins, you've failed. You want the transition to be seamless and invisible, or you might as well have not bothered at all.
Mastering Wood Stain Color Matching Through Intuition
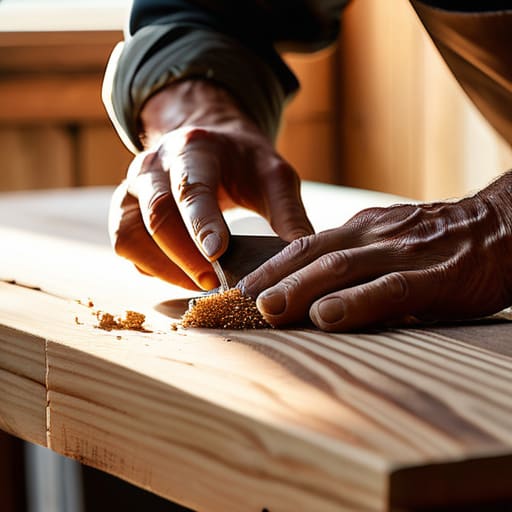
You can spend all day staring at a tin of stain in the shop, but you won't find the answer there. Real wood stain color matching isn't about following a recipe on a label; it’s about how the light hits the grain. I always tell my former students that you have to stop looking with your eyes and start looking with your gut. Take a scrap of the same species, sand it back, and apply your first test. Don't just dab it on; work it into the fibers. If the color looks right in the middle of the board but sits wrong near the edge, you haven't mastered the shade yet.
The real trick is trusting your eyes when things get tricky. Most people fail because they try to force a match by adding more pigment, when what they actually need is a different base. You might find yourself testing finish samples on the underside of a tabletop or tucked behind a leg where it won't be seen. That’s where the truth lies. If you can't match the depth of the old finish on a hidden piece, you'll never get it right on the face.
Surface Texture Replication Why the Hand Wins
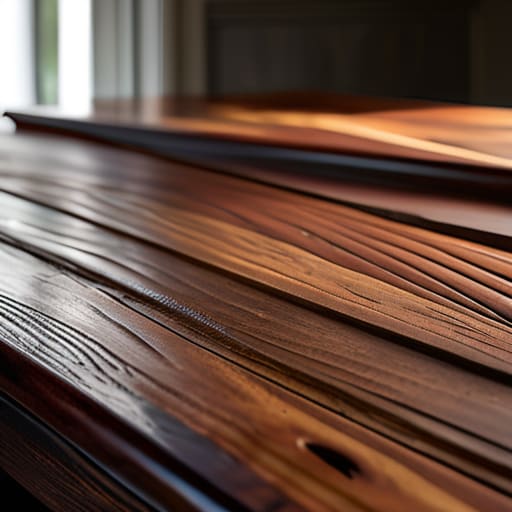
You can spend all day obsessing over wood stain color matching, but if you miss the feel of the wood, the whole job is a failure. I’ve seen plenty of lads try to fix up a piece by hitting it with a high-speed orbital sander, thinking a smooth surface is a better surface. That’s a mistake. Old furniture has a certain "tooth" to it—a subtle, irregular texture left by hand planes or even decades of wax buildup. If you sand it until it’s as slick as a sheet of glass, you’ve already lost the battle.
When you're working on surface texture replication, you have to learn to listen to the grain with your hands, not just your eyes. If the original piece has a slight, honest roughness from a period chisel, you can't just buff that away with modern abrasives. You might need to use a scraper or a very fine grit to mimic that aged character. True craftsmanship is about respect, and that means respecting the way the wood was originally worked. If you don't get the texture right, even the most perfect color match will look like a cheap imitation sitting on top of the grain.
A few things I've learned the hard way about matching finishes
- Stop looking at the wood in direct sunlight; it lies to you. I always take my samples into a corner with steady, indirect light so I'm not fooled by a glare that makes a dark stain look lighter than it really is.
- Don't just slap a finish on a flat scrap of timber. The grain pattern changes how it takes the colour, so always test your mix on a piece of the actual species you're working with, even if it's just a small offcut from the job.
- Build up your layers slowly instead of trying to get the depth in one go. It’s much easier to add another thin coat of oil or wax than it is to sand back a thick, muddy mess because you got impatient.
- Keep a "tester board" nearby with different ratios of stain or pigment. I keep a few small scraps where I've tried different mixes, so I can hold them up against the original piece side-by-side without guessing.
- Remember that a finish isn't just about colour; it's about the sheen. If the old furniture has a dull, satiny feel, don't go turning up with a high-gloss lacquer just because the tin says it's easy—you'll end up with something that looks like plastic.
The final touch
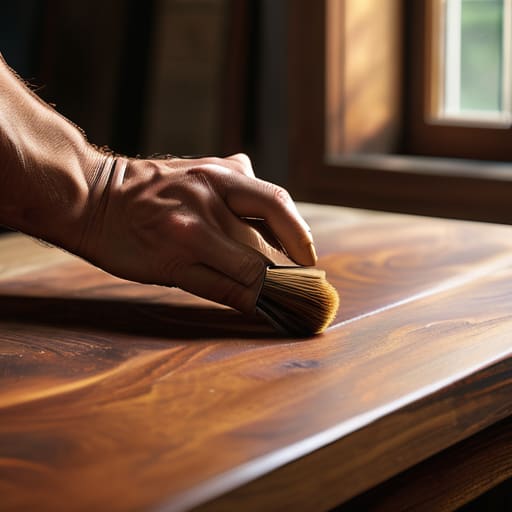
At the end of the day, matching an old finish isn't about finding a magic tin of varnish that does the work for you. It’s about the patience to test your stains in the light, the discipline to replicate the grain's character by hand, and the willingness to feel the wood rather than just looking at it. You’ve got to respect the original maker's intent, whether that was a simple oil rub or a complex shellac. If you rush the process or try to bypass the tactile work with a spray gun, you’ll see it immediately. The goal isn't just to make the repair disappear; it's to ensure the new work belongs in the same room as the old.
I know it’s tempting to just slap on a modern polyurethane and call it a day, but that’s how we end up with a world full of disposable furniture. When you take the time to match a finish properly, you aren't just fixing a piece of wood; you are preserving a bit of history. It takes longer, certainly, and your hands might be a bit stained by the end of it, but there is a deep satisfaction in knowing a repair is seamless. Do it right the first time, and you’ll build something that lasts long after the cheap stuff has crumbled to dust.