A Timber Rack That Holds the Load
 Callum Reith-Sowande
I spent forty years on site and another ten in the classroom, and if there’s one thing I’ve learned, it’s that a messy workshop is a slow workshop. You’ll see folks buying these expensive, pre-fabricated plastic organizers from the big-box stores, thinking they’ve solved their problem. They haven't. Most of that rubbish is made of thin, brittle material that’ll snap the moment you lean a heavy piece of oak against it. If you actually want to learn how to build a lumber rack that doesn't fall apart when your back is turned, you need to stop looking for a quick fix and start looking at solid timber and proper joinery.
In this guide, I’m going to show you how to construct a rack that is built to last, not just to look good in a catalogue. I won't be wasting your time with fancy gadgets or unnecessary steps; we’re going to focus on a design that is sturdy, scalable, and easy to maintain. I’ll walk you through selecting the right wood, securing it to your wall studs, and ensuring the weight is distributed so you aren't constantly worrying about a pile of offcuts coming down on your head.
Guide Overview
Tools & Supplies
- Circular Saw or Miter Saw for cutting lumber to length
- Power Drill for driving screws and pre-drilling holes
- Tape Measure for accurate markings
- Level to ensure the rack is straight and stable
- Speed Square to ensure 90-degree angles
- 2x4 Lumber (8-10 boards depending on size)
- 3-inch Wood Screws (1 box)
- Wood Glue for extra joint stability
- Sandpaper to smooth rough edges
Step-by-Step Instructions
- 1. First, you need to get your timber sorted. Don't just grab whatever's lying about; find some decent, straight-grained softwood or even some leftover oak if you've got it lying around. You'll need two long pieces for the wall rails and two shorter ones for the uprights. I always say, if you start with wonky timber, you're just building a headache for yourself later on.
- 2. Once you've got your wood, it's time to mark it out. Use a sharp carpenter's pencil—not one of those thick, blunt things—and a square. You want your uprights to be perfectly perpendicular to your wall rails. If your measurements are off by even a hair here, the whole rack will lean like a drunkard, and your expensive boards will start sliding off the ends.
- 3. Now, we get to the cutting. Forget the circular saw for this; it’s too aggressive and leaves a messy edge. Grab a fine-toothed hand saw and take your time. A steady, rhythmic stroke is better than forcing a power tool through the grain. If you keep your blade properly sharpened, the saw will do half the work for you, and you won't be fighting the wood.
- 4. Next, you'll need to join the uprights to the rails. I prefer using heavy-duty timber screws, but if you want to do it right, you should drill pilot holes first. If you drive a screw straight into seasoned wood without a hole, you'll split it, and then you've wasted good material. I'll take a simple screw and a well-drilled hole over a fancy mortise and tenon any day if it means the job is done solid.
- 5. Before you mount anything, check the assembly on a flat workbench. If the frame wobbles, find out why. Is a leg too long? Is a joint loose? I don't believe in using glue to hide a shoddy joint. Fix the fit now, while the wood is still in your hands, rather than trying to shim it once it's hanging on the wall.
- 6. Now, find your studs. If you're fixing this to a workshop wall, don't you dare just screw it into the plasterboard. You need to find the solid timber behind it. Once you've located them, level your rails and drive your fixings home. A rack is only as good as its connection to the wall, so don't be stingy with the heavy-duty hardware.
- 7. Finally, give the rack a proper test. Load it up with your offcuts and your usable lengths, starting from the bottom and working your way up. If it holds firm without a groan, you've done it. Now, keep it organized; a rack is no good if it just becomes another pile of scrap for you to trip over.
Mastering Heavy Duty Wood Storage Without the Fluff
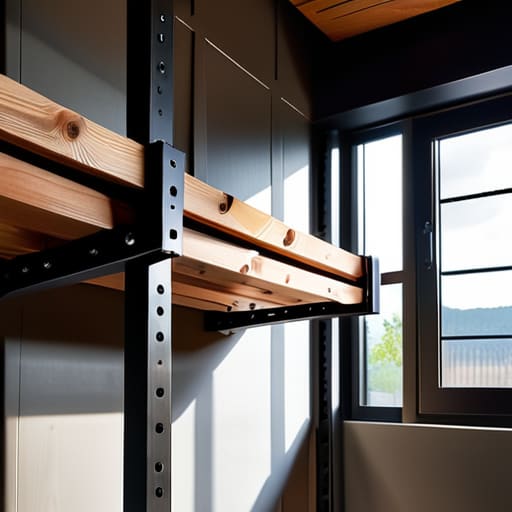
Now, if you’re planning on storing more than just a few scraps of pine, you need to think about the long game. Most people treat garage storage solutions like an afterthought, slapping some flimsy plywood together and wondering why it sags after a month. When you're dealing with true heavy duty wood storage, you aren't just organizing a hobby; you're managing weight. I’ve seen plenty of lads build a wall mounted lumber organizer only to have the whole thing pull away from the studs because they didn't respect the physics of it.
Don't just eyeball where the timber goes. Use a proper stud finder for mounting and ensure your fasteners are hitting the center of that framing. If you're skimping on the screws or using something thin and brittle, you're asking for trouble. I always tell my students that the structural integrity of wood racks depends entirely on how well you marry the rack to the building itself. If the bones of the rack aren't solid, the wood you're trying to protect will end up on the floor.
Securing Structural Integrity Through Precise Workshop Organization
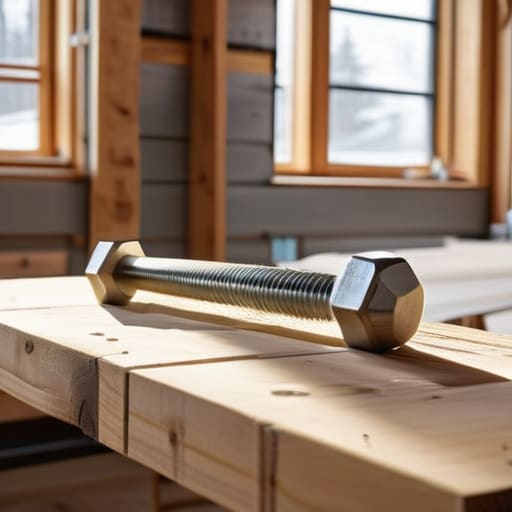
Now, don't go thinking you can just slap some timber onto a wall and call it a day. If you’re serious about heavy duty wood storage, you have to respect the weight of what you're hanging. I've seen too many lads build a decent-looking frame only to have the whole lot come crashing down because they didn't account for the sheer mass of a stack of oak or even some seasoned pine. You need to ensure the structural integrity of wood racks by getting your fasteners into something solid. Don't just trust the drywall; use a proper stud finder for mounting and make sure those lag bolts are biting deep into the center of the studs.
Once you've got the bones right, think about how you'll actually access your stock. A good wall mounted lumber organizer shouldn't just hold wood; it should keep it accessible without you having to play Tetris every time you start a new project. If you crowd the rack too tight, you'll end up scuffing your good boards or, worse, losing your grip and dropping something heavy on your toes. Keep your spacing deliberate and intentional. A bit of extra thought now saves a lot of frustration when you're mid-job.
A Few Things to Remember Before You Start Driving Screws
- Don't go skimping on the timber for the rack itself. If you're using flimsy, off-cut scraps to hold up heavy oak or even just some damp construction pine, the whole thing'll sag within a month. Use proper, straight-grained timber for your uprights.
- Measure twice, but check your level three times. A lumber rack that isn't dead level is just a slow-motion way to have your boards slide off and crush your toes. I've seen enough crooked workshop setups to know that "close enough" isn't good enough.
- Think about how you're actually going to get the wood on and off the rack. If you build it too high or tuck it too deep into a corner, you'll find yourself wrestling with heavy planks more than actually working with them. Keep it accessible.
- Screw it into the studs, not just the cladding. I don't care how many heavy-duty fasteners you use; if you haven't anchored that rack into the structural bones of the building, it's just a decorative feature waiting to fail.
- Leave enough gap between your supports. You want enough room to slide a long board in without it catching on the frame, but don't space them so wide that your smaller pieces end up bowing in the middle. Balance is everything.
Getting the Job Done Right
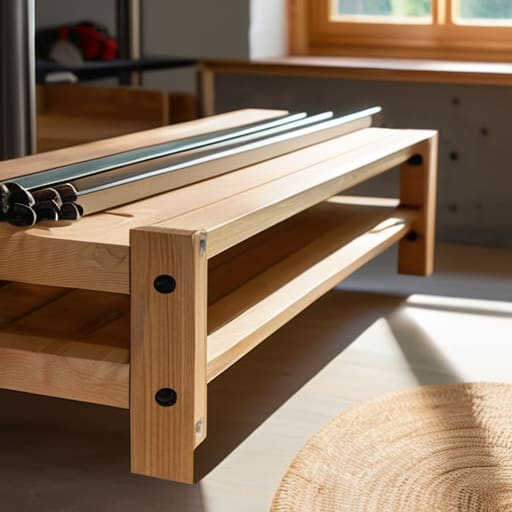
At the end of the day, building this rack isn't about showing off some fancy-pants design you saw in a magazine. It’s about the basics: choosing straight timber, ensuring your supports are anchored into something substantial, and making sure the whole structure won't buckle when you load it with heavy oak or pine. If you’ve followed the steps, you’ve moved past just piling wood in a corner and have actually invested in a bit of proper workshop discipline. Remember, a well-built rack is only as good as the stability of its frame, so don't be tempted to cut corners on your fasteners or your bracing.
Once this is up and your lumber is sorted, you'll find your workshop starts to feel different. There is a certain peace that comes with knowing exactly where your materials are and knowing they are safe. I’ve spent forty years on sites and in classrooms, and if there is one thing I’ve learned, it’s that order breeds quality. When you aren't fighting through a mess of scrap to find a decent piece of timber, you can actually focus on the work that matters—the joinery, the sharpening, and the craft itself. Now, stop reading and get to the bench; those boards aren't going to hang themselves.