Folding Trestles for Occasional Work
 Callum Reith-Sowande
You don’t need a workshop full of expensive, battery-operated jigs to figure out how to build a trestle. Most people think they need a table saw and a dust extractor just to get a decent workbench surface, but that’s a load of rubbish. I spent forty years on site seeing lads waste hours fighting with machines that weren't up to the task, when a bit of steady handwork would have done the job in half the time. If you want a trestle that actually holds its weight and doesn't wobble the moment you put a plane on it, you need to stop looking for the fastest way and start looking for the right way.
In this guide, I’m going to show you how to build a trestle that’s built to last, using nothing more than basic timber and a few sharp hand tools. I won't be feeding you any of that modern, "disposable" nonsense where you screw thin plywood together and hope for the best. Instead, I’ll walk you through selecting the right wood, making your cuts with precision, and ensuring the joints are dead solid. We’re going to do this properly, the way a joiner should.
Guide Overview
Tools & Supplies
- Circular saw or handsaw for cutting timber
- Power drill for driving screws
- Measuring tape for accuracy
- Speed square for marking straight lines
- Sandpaper for smoothing edges
- 4x4 lumber (2 pieces) for legs
- 2x4 lumber (3 pieces) for stretchers and supports
- 2.5-inch wood screws (1 box)
- Wood glue for extra stability
Step-by-Step Instructions
- 1. First, you need to pick your timber. Don't go buying some cheap, soft pine that’s going to bow the moment you put a heavy workpiece on it. I prefer a decent, straight-grained softwood for a trestle like this—something with enough substance to take a screw without splitting. Get your lengths measured out for the top rail and the legs, and make sure they're square from the start.
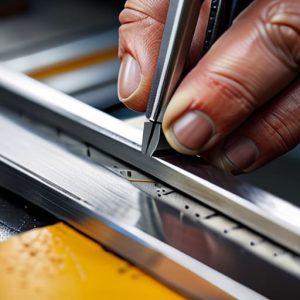
- 2. Once you've got your wood, it's time for the layout. Don't just eye it; grab a marking knife and a square. A pencil line is fine for a rough cut, but if you want a trestle that doesn't wobble, you need to mark your lines with precision. I always mark the leg positions on the top rail twice—once for the actual cut and once to show where the wood should sit—so I don't end up with a mess of sawdust and mistakes.
- 3. Now, we come to the cutting. This is where most people reach for the circular saw, but if you want the ends to sit true, use a tenon saw. Take your time. It’s better to make a cut that’s a hair too short and take the rest off with a sharp chisel than to rush it and end up with a gap that no amount of wood glue can hide. Slow is smooth, and smooth is fast in the long run.
- 4. For the joints, I’m sticking to a simple mortise and tenon. It’s old-fashioned, but it’s what holds up when the weight gets heavy. Use your chisel to clean out the mortises in the top rail. You want the fit to be snug—firm enough that it stays put by itself, but not so tight that you have to hammer it to pieces to get it seated. If you force it, you'll split the grain, and then you've wasted your timber.
- 5. Once the joints are fitted, it's time to fix the legs in place. I like using a bit of glue and some decent wood screws, but don't just drive them in blindly. Drill your pilot holes first. If you don't, you're just asking for the wood to split right down the middle. A well-drilled hole ensures the screw pulls the joint tight and keeps it tight for years to come.
- 6. After the glue has had a chance to set, you'll likely find some unevenness. This is where the real work begins. Take a block plane—and make sure it's actually sharp—and run it over the joints and the edges. You aren't just making it look pretty; you're truing the surface so the trestle sits flat on the workshop floor.
- 7. Finally, give the whole thing a light sanding if you must, but I prefer to leave the tool marks visible. It shows the piece was made with intent. Check the stability one last time on a flat bench. If it doesn't rock, you've done it right. Now, you have a tool that's built to last, rather than something you'll be tossing in the skip in two years' time.
Mastering Trestle Joinery Techniques Over Mindless Assembly
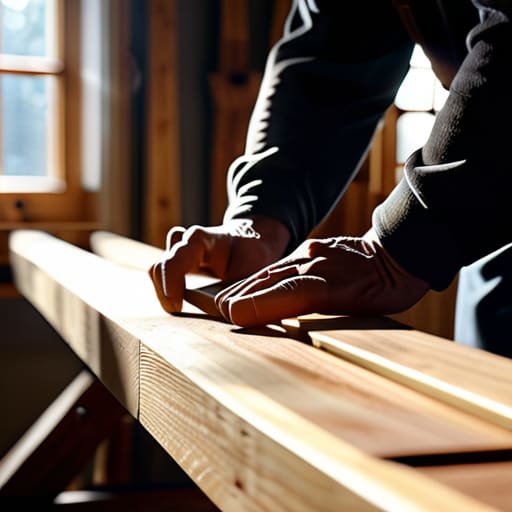
Now, don't go rushing into this just to get a pile of wood standing upright. If you’re following standard DIY sawhorse construction, you might be tempted to just slap some screws through the joints and call it a day. That’s a mistake. A trestle isn't just a holder for things; it’s a piece of furniture that needs to stand its ground. When I was teaching the lads at the college, I always told them that the strength of your trestle joinery techniques determines whether that piece will last a season or a lifetime. If you want something that functions as heavy duty workbench supports, you need to respect the grain and the way those members lock together.
I’ve seen plenty of people ruin a good piece of timber by forcing a joint that wasn't cut true. Take your time with the chisel. If the fit is tight, the tool does the work, not the screw. A well-cut mortise and tenon will hold far more weight than any metal fastener ever could. Precision beats speed every single time. If you find yourself fighting the wood, stop. Check your edge, get it back to a mirror finish, and try again. It’s the only way to ensure your work doesn't wobble when you actually need it.
Selecting Timber Frame Trestle Plans for Lasting Strength
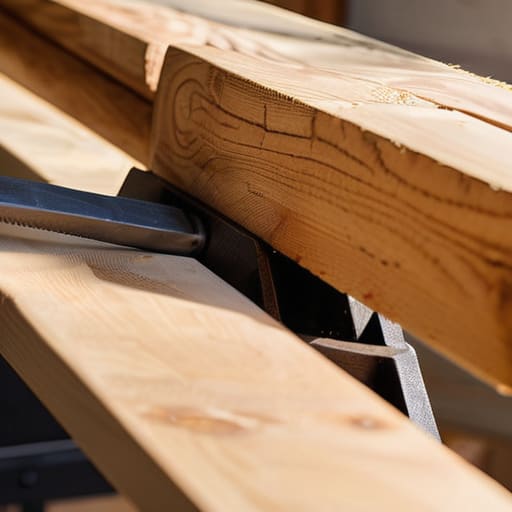
When you’re looking through various timber frame trestle plans, don't just pick the one that looks the prettiest on a screen. Most of those modern designs are built for show, not for the actual rigours of a workshop. If you want something that won't wobble the moment you lean into a cut, you need to look for plans that prioritise structural integrity over aesthetic fluff. I’ve seen too many youngsters follow a drawing for a fancy wooden trestle table design only to find the whole thing racking because they skipped the bracing. Look for designs that use substantial sections and, more importantly, layouts that allow for proper mechanical connections.
If your goal is building heavy duty workbench supports, you have to think about the grain and the weight. A plan might call for a certain timber, but if it doesn't account for how that wood will move over time, you're just building a future headache. I always tell my students: a good plan should tell you not just where the wood goes, but how the load travels through the frame. If the design looks flimsy or relies on nothing but glue and a few short screws, put it back on the shelf. You want a frame that stands its ground.
Five things to remember before you drive the first nail
- Check your timber twice. If you're using reclaimed wood for a trestle, spend more time with a hand plane stripping it back than you do with a sander; you want to see the grain, not just smooth out the mistakes.
- Don't trust a cheap screw to hold a heavy load. I've seen too many lads rely on metal fasteners when a well-cut mortise and tenon would have lasted a century. If you must use screws, ensure they're long enough to bite deep into the heartwood.
- Keep your chisels sharp during the joinery. There is nothing more frustrating—or more dangerous—than trying to force a dull blade into a tight joint. If you're struggling to pare the wood, stop and fix the edge.
- Square your legs before you even think about the bracing. If your legs aren't perfectly true, the whole trestle will wobble, and no amount of bracing is going to fix a fundamental error in the foundation.
- Measure with your eyes, not just your tape. A tape measure tells you a number, but it won't tell you if the timber is bowed or twisted. Feel the wood with your hands to make sure it's actually straight before you start cutting.
Putting the Work to Use
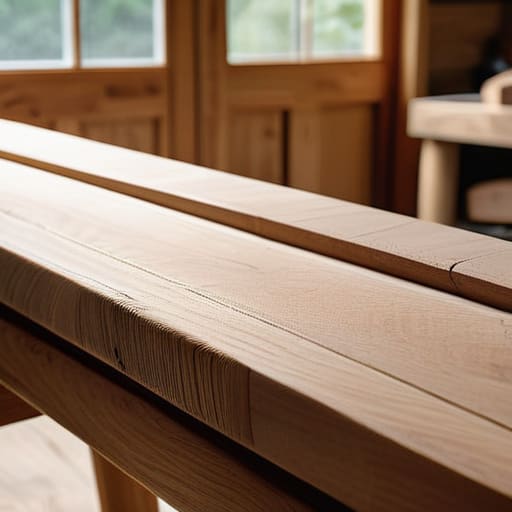
At the end of the day, building a proper trestle isn't about how fast you can drive a screw or how loud your circular saw can scream. It’s about the choices you made in the beginning—selecting the right timber, respecting the grain, and ensuring your joinery is tight enough to hold a load without a single wobble. If you've followed these steps, you haven't just slapped some boards together; you’ve constructed a piece of equipment that relies on integrity of form rather than just brute force. You’ve avoided the trap of the "disposable" build, and that makes all the difference when the real work begins.
I know there’s a temptation to rush to the hardware store for a cheap, pre-made alternative, but don't fall for it. A trestle built with your own hands and a well-honed edge carries a weight that no mass-produced item ever will. When you stand at that bench, you’ll know exactly where every joint sits and why it stays true. Take pride in the slow, deliberate process of making something that lasts. Once you’ve felt the difference that a bit of patience and a sharp chisel can make, you’ll find it very hard to go back to the mindless way of doing things.