A Freestanding Divider That Stays Put
 Callum Reith-Sowande
Most people think that if you want to partition a space, you need to go out and buy a massive, expensive kit or drag a noisy circular saw across the floor for three hours. They think complexity is the same thing as quality. But I’ve spent forty years on site, and I can tell you that learning how to build a room divider doesn't require a workshop full of vibrating, plastic-cased nonsense that’ll be in a landfill by next Christmas. I remember a lad at the college, one of my former students, who tried to rush a timber screen using a cheap jigsaw; he ended up with nothing but splintered edges and a headache. He forgot that precision comes from the hand, not the motor.
I’m not here to sell you on some fancy, complicated design that requires a CNC machine. I’m going to show you how to do this properly, using honest joinery and tools you can actually maintain. We’ll walk through selecting the right timber, making clean, square cuts, and ensuring the whole thing stands sturdy without relying on a handful of cheap screws. By the time we're done, you'll have a piece of furniture that actually belongs in a room, built with a bit of pride.
Guide Overview
Tools & Supplies
- Drill/Driver for assembling the frame
- Measuring Tape for accurate cuts
- Sandpaper for smoothing edges
- Level to ensure vertical stability
- 2x2 Wood Studs (4-6 pieces depending on height)
- Wood Screws (1 box of 2.5 inch)
- Wood Glue (1 bottle)
- Fabric or Decorative Panels (2-4 panels)
- Staple Gun and Staples (1 pack)
Step-by-Step Instructions
- 1. First things first, you need to get your timber sorted. I don't care what the shopkeeper tells you about "pre-finished" boards; if you want a divider that actually holds its shape, you need to pick out something stable like oak or even a decent hardwood. Measure your space twice, but don't just measure the floor; measure the height of the ceiling and check if it's actually level. Most rooms aren't, and if you assume they are, you'll be fighting a losing battle from the very first cut.
- 2. Once you've got your wood, it's time to layout your frame. I prefer using a traditional mortise and tenon joint for anything structural. It takes more patience than just slapping some screws into a piece of pine, but it's the only way to ensure the thing doesn't wobble like a jelly. Use a sharp marking knife to scribe your lines; a pencil is too thick and will leave you guessing when you go to cut. You want to work with precision, not hope.
- 3. Now, get to the cutting. If you’re using a power saw, keep the blade clean, but if you’re like me, you’ll be reaching for the tenon saw. There is a specific feeling when a well-honed tooth bites into the grain—it's a clean, rhythmic slice that tells you exactly where you are. Don't try to rush through the thick bits. If you find yourself forcing the tool, stop immediately and check your edge. A dull saw is just a way to make yourself sweat for no reason.
- 4. After you've cut your tenons, you'll need to clear out the mortises. This is where most people give up and reach for a router, but a set of sharp chisels will do the job much more cleanly. I always keep my bench chisels honed to a mirror finish for this. Work from both sides of the timber toward the middle to prevent the wood from splintering out the back. It’s slow, yes, but it’s honest work that results in a joint that fits like a glove.
- 5. When the joints are cut, it's time for the dry fit. Do not, under any circumstances, reach for the glue until you have run the entire frame together without a single drop of adhesive. If a joint is too tight, don't hammer it with all your might; you'll split the timber. Instead, take a chisel and shave off a hair's breadth of material. It’s better to take too little than too much.
- 6. Once the frame is sitting true, apply your glue and clamp it up. Use a decent quality wood glue, and don't go overboard—you don't want a mess to clean up later. Apply even pressure with your clamps, making sure the frame stays square. I usually check the diagonals with a tape measure; if the two measurements are identical, you know you've done it right.
- 7. Finally, once the glue is dry, you can deal with the infill panels or slats. Whether you're using timber slats for a modern look or a solid panel, make sure they are fitted with a bit of breathing room. Wood moves, and if you pin it down too tight, it will crack. Sand it back by hand using progressively finer grits. If you use a power sander, you'll just burn the surface; a bit of elbow grease and a sharp eye will give you a finish that actually lasts.
Mastering Modern Room Divider Designs With Hand Tools
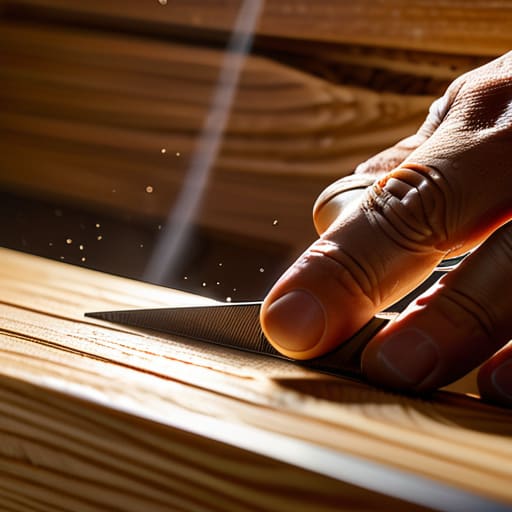
When you look at those modern room divider designs in the high-end catalogues, they often look too clean to be real. Most people think you need a CNC machine to get those tight, even gaps in a slat wall room divider tutorial. They’re wrong. If you’ve got a well-tuned tenon saw and a set of chisels that can actually shave a hair, you can achieve a level of precision that a vibrating, loud-mouthed power tool will only ruin. The secret isn't in the electricity; it's in the control you have over the grain.
If you’re working on space saving room dividers, you’re likely dealing with thinner stock to keep things light. This is where most blokes make a mess of it with a circular saw, leaving jagged edges that require hours of sanding. I prefer to take my time. I’ll mark my lines with a sharp knife—never a pencil—and let the tool do the work. When you're following freestanding room divider plans, remember that accuracy is built in the cutting stage, not fixed in the sanding stage. If your tool is sharp, the wood tells you exactly where it wants to go.
Slat Wall Room Divider Tutorial for the Patient Craftsman
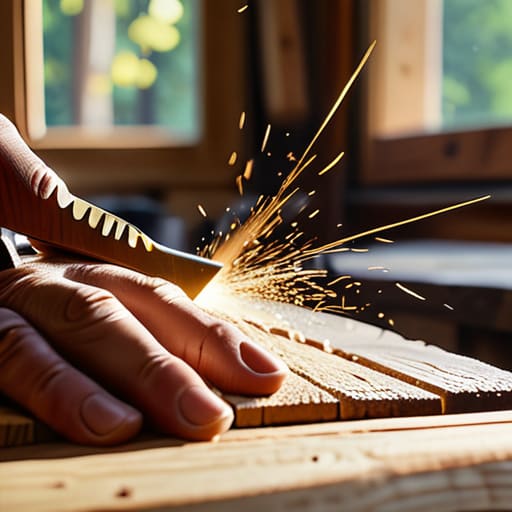
Now, if you’re looking at those modern slat wall room divider plans, don't go rushing straight for the miter saw. A slat wall is all about the rhythm of the timber, and if your cuts are even slightly off, the whole thing will look crooked once it's standing. I’ve always found that using a fine-tooth tenon saw for your individual slats gives you a much cleaner edge than a vibrating power saw ever could. If you take the time to hones your edges properly, the wood will sit flush and true, which is the difference between a piece of furniture and a bit of scrap.
When you're working on this kind of wooden partition wall diy, patience is your best tool. I tell my former students the same thing: measure twice, but check your square three times. Space saving room dividers need to be perfectly plumb, or they’ll look like they’re leaning when they’re actually straight. Use a decent block plane to shave down the underside of each slat until it sits perfectly level on your base frame. It’s slow, methodical work, but once you see those lines running perfectly true from floor to ceiling, you'll see why I don't trust a machine to do it for me.
A few things I wish my apprentices had learned sooner
- Don't trust a cheap spirit level; if your base isn't dead true, your whole divider will lean like a drunkard, and no amount of shimmying will fix a bad foundation.
- Stop buying those flimsy, pre-cut slats from the big-box stores; get yourself some decent hardwood, cut it to length with a fine-tooth saw, and you'll actually have something worth looking at.
- If you're joining pieces together, forget the quick-fix screws; take the time to cut a proper mortise and tenon so the structure holds itself together without needing a constant tightening.
- Check your edges twice; a room divider is often a focal point, so if your mitres aren't tight and your surfaces aren't smooth, the whole thing will look amateurish.
- Sanding is a chore, but don't rush it with a vibrating orbital sander that just burns the wood; go through the grits properly by hand so you don't hide your mistakes under a layer of dust.
A Final Word on the Work
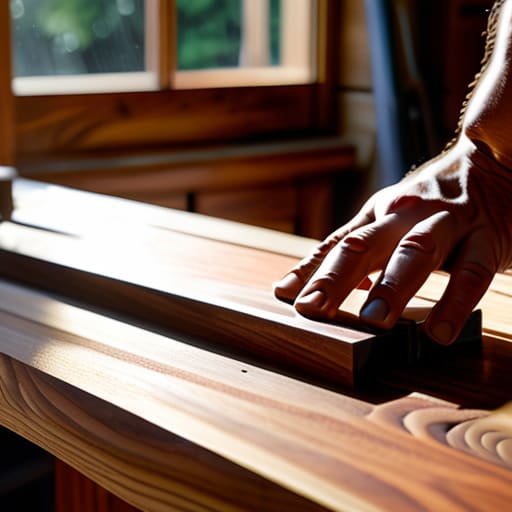
At the end of the day, building a room divider isn't about how much noise you can make in the workshop. It’s about the precision of your joinery and the patience you show to the timber. We’ve talked about choosing the right wood, the importance of a steady hand with a hand saw, and why a properly honed chisel is your best friend when you’re refining those slats. If you’ve taken the time to measure twice and cut once—ideally with a blade that actually bites into the grain—you’ll end up with something far more substantial than a flat-pack piece of furniture. You’ll have a structure that stands true because you built it with intention, not just because you followed a set of instructions.
I know the temptation is always to reach for the power tools when you're tired or in a rush, but I urge you to resist it. There is a quiet satisfaction in looking at a finished divider and knowing that every edge was smoothed by your own hand and every joint was seated perfectly. It’s about more than just dividing a room; it’s about mastering your craft one shaving at a time. Don't rush the process just to see the result. If you treat your tools with respect and your wood with patience, the work will always speak for itself. Now, get back to the bench and finish it right.