Checking a Fence Is Parallel
 Callum Reith-Sowande
I remember a lad back in my teaching days, a bright enough boy, but he had this habit of cranking up the speed on a table saw whenever his cuts started wandering. He thought more power would force the wood into submission, but all he was doing was fighting the machine. The truth is, if you don't know how to align a machine properly, you aren't woodworking; you're just wrestling with expensive scrap. You can have the most powerful motor in the workshop, but if that blade or router bit isn't running true to the fence, you're just making noise and wasting timber.
I'm not here to give you a manual full of technical jargon that belongs in a factory handbook. I want to show you how to use your eyes, your hands, and a few basic tools to get things square. We’re going to go through the proper way to check your fences, square your tables, and ensure everything is running exactly as it should. By the time we're done, you'll understand that precision is much faster than brute force, and you'll stop fighting your gear and start working with it.
Guide Overview
Tools & Supplies
- Dial Indicator with magnetic base for precision measurement
- Feeler Gauges for checking gap tolerances
- Torque Wrench for securing mounting bolts to spec
- Straightedge for initial visual verification
- Precision Shims (assorted thicknesses) 1 pack
- Penetrating Oil (WD-40 or similar) 1 can
- Cleaning Solvent and Rags 1 set
Step-by-Step Instructions
- 1. First, clear the decks and get your eyes on the machine. You can't fix what you can't see, so pull the plug and clear away all that sawdust and scrap. I’ve seen too many lads try to adjust a fence while the motor is still humming, and that's a quick way to lose a finger. Get a clean workspace and a good lamp; you need to see the actual metal surfaces, not just the shadows they cast.
- 2. Grab a high-quality straightedge or a machinist's square. If you're using a piece of scrap timber that’s bowed, you might as well be measuring with a piece of cooked spaghetti. Lay the square against the table or the fence to see where the deviation starts. You aren't looking for "close enough" here; you're looking for the exact point where the metal stops being true.
- 3. Check your fence parallelism. This is where most people go wrong—they assume the fence is square to the blade just because it looks right. Take a piece of straight timber, clamp it to the fence, and run it across the table to the blade. If there’s a gap at one end, your fence is out of parallel, and you'll end up with a piece of timber that tapers like a wedge instead of a board.
- 4. Now, look at the blade or the cutter itself. If you're working on a table saw, check that the arbor is sitting dead true. If the blade is wobbling even a fraction of a millimeter, no amount of fence adjustment will save you. I always say, if the heart of the machine is crooked, the rest of the work is just a waste of good wood.
- 5. Adjust the trunnions or the mounting bolts, but do it in small increments. Don't just crank a bolt and hope for the best. Tighten one side, check your measurement, then move to the other. It’s a slow process, but patience beats frustration every single time. If you rush the adjustment, you'll just find yourself chasing your tail for the next hour.
- 6. Once you think you've got it, perform a test cut on a piece of cheap pine or scrap. Don't you dare use your good oak for a calibration run. Check the edges of the cut with a square and look for any signs of burning or unevenness. If it's not perfectly square, don't settle; go back to step three and find out where you missed the mark.
Ditch the Guesswork for Advanced Laser Alignment Systems

Now, I know what you’re thinking. You’ve spent years checking your straightedges and trusting your eyes, and there’s no shame in that. But if you’re running heavy-duty equipment that’s started acting up, you eventually hit a wall where the naked eye just isn't enough. I’ve seen too many lads try to force a machine into submission when the real issue is a fraction of a degree out of true. That’s when you look into laser alignment systems. They aren't just fancy toys for people with too much money; they take the "close enough" out of the equation.
When you start using precision shaft alignment tools, you aren't just chasing a number on a screen. You are actively reducing mechanical vibration that eats away at your bearings and your sanity. It’s about more than just getting the job done today; it’s about proper preventative maintenance alignment so you aren't replacing the same part every six months. If you want to stop fighting your equipment and start working with it, you have to stop guessing and start measuring.
Reducing Mechanical Vibration Through Superior Machinery Calibration Techni
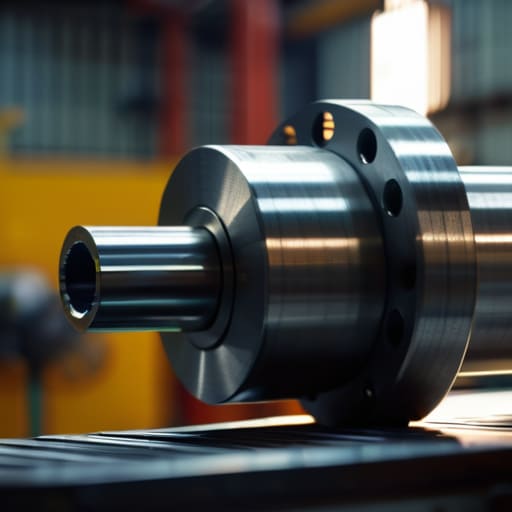
You can have the straightest line in the world, but if your machine is shuddering like a nervous apprentice, you haven't truly finished the job. Most lads think alignment is just about getting the parts in a straight row, but they forget that even a hair’s breadth of misalignment creates a rhythmic shudder. This isn't just a nuisance; it’s energy being wasted as heat and noise instead of work. By focusing on reducing mechanical vibration, you’re essentially ensuring that every bit of power goes into the cut rather than shaking the floorboards.
I’ve seen too many workshops run until a bearing seizes because they ignored a slight wobble. True preventative maintenance alignment means looking beyond the initial setup. You need to check your mounting bolts for tightness and ensure the base itself is dead level on a solid foundation. If the machine is fighting its own weight, no amount of fancy adjustment will save it. Steady work requires a steady platform, and if you don't address the vibration at the source, you're just waiting for something to snap.
Five things to check before you start turning screws
- Clean the mating surfaces properly. I’ve seen too many lads try to align a motor or a blade on a bed of sawdust and old grease. If there’s even a speck of grit between the components, your alignment is a lie from the start. Wipe it down until it's bare metal.
- Check your mounting bolts for wear. You can spend an hour getting everything perfectly true, but if your mounting bolts are worn or the threads are stripped, that machine is going to wander the moment it hits full load. If the hardware is soft, replace it.
- Listen to the machine, don't just look at it. A machine that's slightly out of alignment often tells you through a specific kind of chatter or a rhythmic thrum. If it sounds like it's fighting itself, it is. Trust your ears as much as your gauges.
- Stop over-tightening everything. I know the instinct is to crank every bolt down until your knuckles turn white, but you can actually pull a machine out of alignment just by torquing the fasteners unevenly. Tighten in a pattern, steady and even, like you're tightening a wheel on a car.
- Verify your base is actually level. It sounds simple, but I've spent many a morning at the college correcting students who thought they had a perfectly aligned machine that was actually sitting on a slightly sloped workbench. If the foundation is wonky, the machine will never be true.
The Long View on Precision
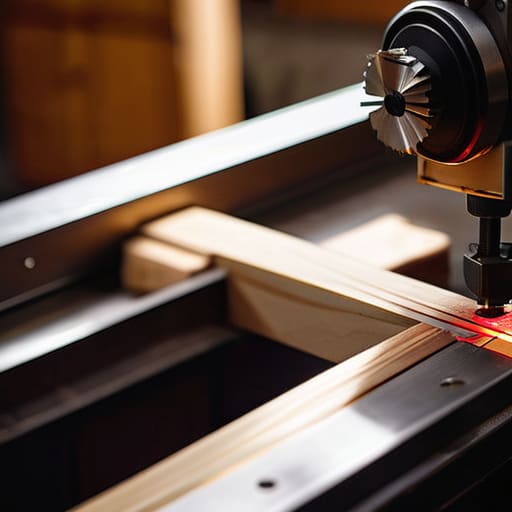
At the end of the day, getting a machine aligned isn't about chasing some perfectionist's dream; it’s about respect for the work and the equipment. We’ve covered the basics, from ditching the guesswork for lasers to making sure you aren't fighting constant vibration. If you skip the calibration, you aren't saving time—you're just borrowing it from the future with interest. You'll pay for it later in ruined timber, snapped bits, and a machine that shakes itself to death. Whether you're using a high-tech laser or a simple dial indicator, the principle remains the same: precision is the only shortcut that actually works in a real workshop.
I spent forty years on sites and another ten in a classroom, and I’ve seen plenty of lads try to muscle their way through a job with brute force and loud motors. They think speed comes from the plug in the wall, but they're wrong. Real speed comes from a machine that runs true and a craftsman who knows his tools. When everything is aligned, the machine stops fighting you and starts working with you. Take the time to set it up right. It’s better to spend an hour getting it straight than a week trying to fix what a crooked setup broke.