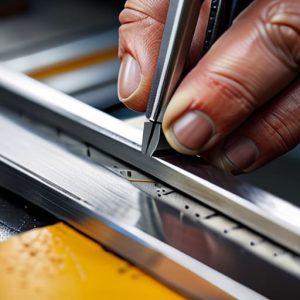
Clamping a Mitred Frame
 Callum Reith-Sowande
Most people think that once a corner on an old frame snaps, it’s headed straight for the bin or a pile of cheap replacement timber. They reach for a heavy-duty glue gun or try to force it back together with some hardware-store screws, only to find the wood splits even further. I’ve spent forty years on site seeing people ruin good work by rushing the fix with the wrong gear. The truth is, learning how to repair a picture frame isn't about brute force or fancy electric sanders; it’s about patience and having a blade sharp enough to clean up those old joints without bruising the grain.
I’m not going to sell you on any complicated jigs or expensive specialized kits you’ll never use again. I’m going to show you how to do this properly using the basic tools you ought to have in your kit already. We’ll walk through cleaning out the old, crusty glue, setting a proper bond, and using a well-honed chisel to make sure those mitres sit flush. If you want to stop throwing away things that are worth saving, this is how you get it done right the first time.
Guide Overview
Tools & Supplies
- Wood glue and applicator for bonding joints
- Sandpaper (medium grit) for smoothing surfaces
- Clamps or heavy weights for holding joints in place
- Small hammer or mallet for gentle adjustments
- Wood glue (1 small bottle)
- Sandpaper (1-2 sheets)
- Wood filler (1 small tube for cracks)
- Masking tape (1 roll for temporary holding)
Step-by-Step Instructions
- 1. First thing's first: you need to get that frame stripped back to its honest state. If there’s old, crusty glue in the joints, don't you dare try to force it back together. Use a sharp chisel to gently flake out the old residue. If you try to glue over old glue, the new bond will be as weak as a wet biscuit, and you'll be right back where you started.
- 2. Once the old gunk is cleared, check the mitre joints for any splits or crushed wood. If the wood is splintered, you can't just slap some glue on it and hope for the best. I usually take a bit of fine sawdust from a similar wood and mix it with a tiny drop of glue to make a homemade filler. It’s better than that pre-mixed stuff in a tub that never quite matches the grain.
- 3. Now, prepare your surfaces. Take a piece of fine-grit sandpaper and lightly clean the mating faces of the joint. You aren't trying to sand the life out of it; you just want to remove any surface oils or dust so the glue can actually bite into the fibers. A clean surface is the difference between a repair that lasts a lifetime and one that fails in a week.
- 4. Apply your glue sparingly. I prefer a decent quality PVA, but don't go slathering it on like you're buttering toast. A thin, even layer on both sides of the joint is all you need. Use a small brush or even a scrap of wood to spread it. If you see too much squeezing out when you close the joint, that's fine, but don't let it flood the wood.
- 5. This is where most people lose their patience, and that’s their mistake. You need to clamp the frame, but you have to do it with a bit of finesse. Use soft pads or even a bit of scrap leather between the clamp and the frame to prevent leaving marks. Tighten them until the joint is closed, but don't over-tighten to the point where you're squeezing every single drop of glue out of the seam.
- 6. While the clamps are doing their work, grab a damp cloth and wipe away the excess glue that's squeezed out. Do this immediately. If that glue dries hard on the face of your frame, you'll be fighting it for hours with sandpaper later, and you'll likely ruin the finish. It’s much easier to clean as you go than to fix a mess later.
- 7. Finally, leave it be. This is the hardest part for the modern man used to instant gratification. Leave the frame in the clamps for at least a few hours, though I always reckon overnight is best. Don't go poking at it or checking the strength every twenty minutes. Let the chemical bond do its job without interference.
Fixing Broken Miter Joints With Surgical Precision
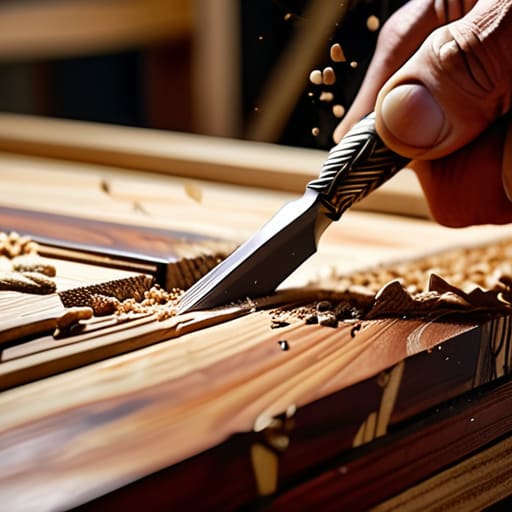
When you're fixing broken miter joints, the biggest mistake I see is trying to force a gap closed with sheer pressure. If that corner isn't seated perfectly, you're just masking a structural failure. Before you even reach for the glue, take a sharp chisel and lightly pare back the damaged fibers of the miter. You want a clean, flat surface to bond to. If you try to glue over crushed or splintered wood, you're just building on a lie, and that joint will fail the moment the frame is hung.
Once the surfaces are clean, don't just squeeze in any old adhesive. You need a decent wood glue for picture frames that won't bleed through the finish or leave a gummy residue. I prefer a slow-setting PVA; it gives you the time to get everything aligned before it grabs. While you're working, don't rely on your hands alone to hold the tension. Use corner clamps to ensure the miter stays tight and square while the bond sets. If you're working on something precious, like restoring antique wooden frames, take your time. Precision isn't about speed; it's about doing it once so you don't have to do it again.
The Right Wood Glue for Picture Frames and Lasting Bonds
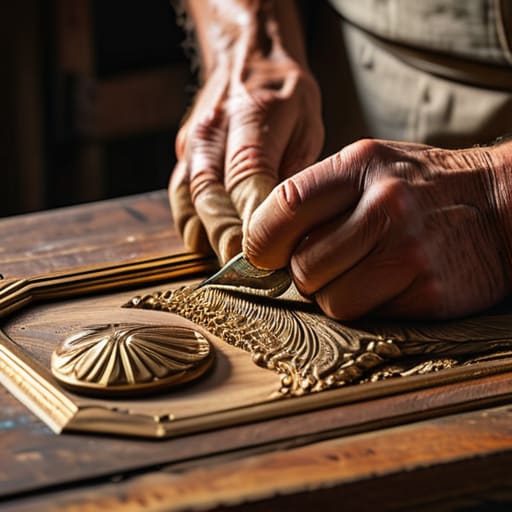
Now, don't go rushing to the hardware store and grabbing the first bottle of yellow PVA you see just because it’s cheap. Most of that stuff is meant for quick furniture builds, not for restoring antique wooden frames where the wood might be brittle or thirsty. If you’re working on something old and precious, you want a glue that won't swell the grain or leave a nasty, gummy residue that ruins the finish. I always lean towards a high-quality, slow-setting wood glue. It gives you the time to actually seat those miters properly rather than fighting a clock while the bond starts to grab.
When you're fixing broken miter joints, the glue is only half the battle; the pressure is the other half. You can have the best adhesive in the world, but if you don't use corner clamps to hold that tension steady, you're just wasting good glue. I’ve seen too many lads try to rely on masking tape or a prayer, only to find the joint has opened up a week later. Get yourself a proper set of clamps, apply a thin, even layer, and let it sit undisturbed. Patience is a tool, too.
Five things I wish my apprentices had learned sooner
- Don't go rushing in with a hammer and some nails; you'll split the molding before you've even realized it's fragile.
- Clean the old, crusty glue out of those joints first, or your new bond will be sitting on a bed of sawdust instead of solid wood.
- If a corner is gapping, don't try to force it shut with pressure alone; use a small, sharp chisel to slightly undercut the miter for a tighter fit.
- Invest in some decent spring clamps rather than relying on heavy weights; you need steady, even pressure to keep those corners square while the glue sets.
- Check your tools before you start; a blunt knife will tear the grain of a delicate frame, so make sure your cutting edge is keen enough to shave hair.
A Job Well Done
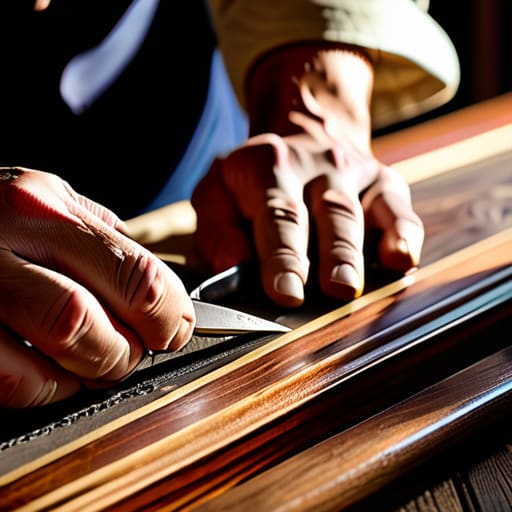
At the end of the day, fixing a frame isn't about rushing to the finish line; it’s about the patience you put into the preparation. You’ve cleaned those joints, selected a glue that actually holds, and used a sharp chisel to ensure the miter sits flush without any messy gaps. If you’ve done it right, you won't need to reach for a heavy sander to hide your mistakes later. Remember, the strength of the repair lives in the precision of the fit and the quality of the bond you've created. A frame that’s been mended with care is often stronger than one that was never broken at all, provided you didn't try to shortcut the process with blunt tools.
I’ve spent forty years watching people throw away good timber just because a joint failed, simply because they didn't have the patience to fix it properly. Don't be one of them. There is a quiet satisfaction in taking something broken and making it whole again using nothing but your own hands and a few well-maintained tools. It might take a little longer than grabbing a power tool and hoping for the best, but true craftsmanship isn't measured by the clock. It’s measured by whether that frame still looks perfect ten years from now. Now, get that chisel back on the stone and keep it sharp.