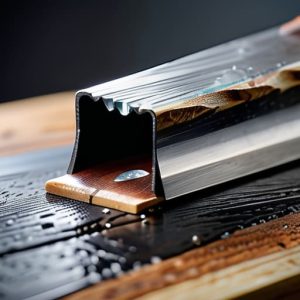
Tidying a Damaged Plywood Edge
 Callum Reith-Sowande
Most people think that once a plywood edge starts to fray or chip, the whole sheet is scrap or needs a thick, ugly strip of solid timber to hide the shame. I spent years watching apprentices reach for the wood filler and a sander the second they made a mistake, thinking they could just sand their way out of trouble. But that’s a fool’s errand; you’ll just end up with a rounded, messy corner that looks even worse than the original nick. If you want to know how to repair a plywood edge properly, you need to stop trying to hide the damage and start learning how to rebuild the structure of the grain itself.
I’m not going to give you any of those fancy, chemical-heavy "quick fixes" that crack the moment the humidity shifts in your workshop. Instead, I’m going to show you how to use a bit of patience, some basic wood glue, and a sharp chisel to get that edge back to where it belongs. We’ll walk through the proper way to set up your workspace and the exact steps to ensure your repair is stronger than the original edge. No fluff, no expensive gadgets—just honest joinery.
Guide Overview
Tools & Supplies
- Sandpaper (various grits for smoothing)
- Utility knife (for trimming excess material)
- Putty knife (for applying filler)
- Wood filler or wood putty (1 small container)
- Edge banding or veneer (1 small roll)
- Wood glue (1 small bottle)
Step-by-Step Instructions
- 1. First, you need to clear the damage away. Don't go trying to glue wood chips that are already loose or crumbling; they won't hold a bond. Take a sharp chisel—and I mean properly sharp—and carefully pare back the splintered layers until you reach solid, stable wood. You want a clean, flat surface to work with, not a jagged mess of loose veneer.
- 2. Once the area is clean, you'll need to create a bit of a "well" for your filler. If the chip is deep, use your chisel to slightly bevel the edges of the gap. This prevents the repair from sitting proud of the surface, which is a mistake that'll catch your eye every time the light hits the board. I always say, it's better to remove a little too much than to leave a lump you have to sand down later.
- 3. Now, grab a decent quality wood filler or, if you're doing it right, some fine sawdust mixed with a bit of PVA. Apply the filler in small increments. Don't try to fill a deep hole in one go; the filler will shrink as it dries, leaving you with a dip. Work it in firmly with a small spatula or the back of your chisel to ensure there are no air pockets trapped inside.
- 4. Let it sit. This is the part where most people get impatient and rush. If you try to work on it before it's fully cured, you'll just pull the filler right back out of the grain. Leave it long enough that it feels bone dry to the touch. I usually leave mine overnight, especially if I'm working with a deeper void.
- 5. Once it's set, it's time for the shaping. This is where you resist the urge to grab the orbital sander. A sander will just round over the edges of your plywood and ruin the profile. Instead, take a wide, sharp chisel and very gently shave the excess filler down until it's level with the surrounding veneer. It's a slow process, but it's the only way to get a flush finish.
- 6. For the final touch, if there is still a tiny bit of texture left, use a fine-grit sandpaper—maybe 220 or 320—on a flat sanding block. Using a block is vital; if you just use your fingers, you'll follow the contour of the wood and end up with an uneven surface. Sand with the grain only, and stop the moment it feels smooth under your hand.
- 7. Finally, you'll want to seal that repair so it doesn't look like a patch job. If you're painting, a quick wipe with a tack cloth is enough. If you're staining, you might need to dab a tiny bit of matching stain into the repair to help it blend. The goal isn't to make it invisible, but to make it look like it was always meant to be there.
Forget the Filler Master Repairing Chipped Plywood Corners
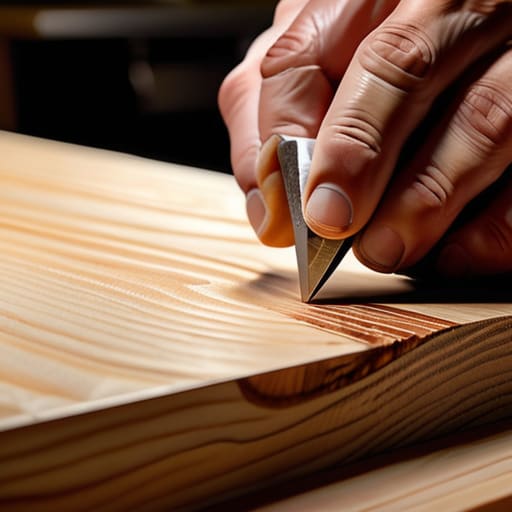
Most people see a smashed corner and immediately reach for a tub of wood filler. They think they can just smear some paste in the gap, sand it down, and call it a day. But I’ve spent forty years seeing that same mistake: filler shrinks, it cracks, and it never quite matches the density of the actual wood. If you’re repairing chipped plywood corners, you aren't just fixing a hole; you're trying to restore the structural integrity of that edge. Instead of masking the problem with grit and glue, I prefer to take a sharp chisel and carefully pare back the damaged veneer until you reach something solid.
Once you've cleaned up the mess, don't just hope for the best. If the chip is significant, you’re better off using a small scrap of matching veneer or even a dedicated veneer edge repair kit to build the corner back up. It takes a bit more patience to glue a physical piece of wood into that notch than it does to slap on some filler, but the result is something that won't crumble the first time you bump the workbench. A proper repair should be felt, not just seen.
The Surgeons Touch Better Edge Banding Application Techniques
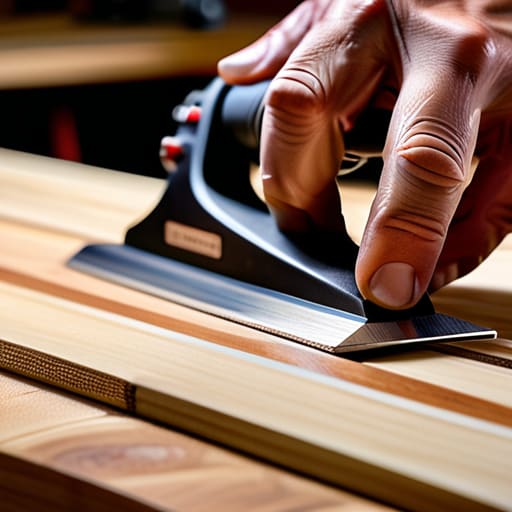
Now, if you’re using an iron-on edge banding guide to fix a long run, don't just press it down and hope for the best. Most lads make the mistake of rushing the heat. You want a steady, even glide—not a frantic sweep. If the glue gets too hot, it'll boil and bubble, leaving you with a mess that no amount of sanding can fix. I always say, patience is a tool in itself. Once it’s set, let it cool completely before you even think about touching it with a blade.
When it comes to the finishing touches, avoid the temptation to go straight in with a heavy-grit sandpaper. If you try to force it, you’ll end up rounding over the very edge you just spent an hour perfecting. Instead, use a very fine abrasive and work with the grain. My trick for sanding plywood edges smooth is to use a hard sanding block rather than just your fingers; it keeps the profile flat and true. If you're working with a veneer edge repair kit, remember that the goal isn't just to cover the gap, but to make it disappear.
A few things I’ve learned the hard way
- Stop trying to sand your way out of a bad edge. Sanding just rounds things off and makes the mistake look softer, but it doesn't fix the structural mess. Use a sharp chisel to pare back to clean wood first.
- If you’re using wood filler, don't just smear it on like icing on a cake. Mix it thick, pack it in tight, and let it sit. If it's too runny, it’ll just shrink and leave you with a divot once it dries.
- When you're patching a corner, don't just use sawdust and glue. If you can, find a scrap piece of the same ply, cut a tiny wedge, and glue that in. It's a bit more work, but it holds the shape much better than any chemical filler.
- Check your grain direction before you start paring. I've seen many a lad ruin a perfectly good piece of ply because they tried to force a chisel against the grain instead of working with it.
- Keep your tools sharp during the repair. If you're using a dull chisel to fix a delicate edge, you aren't repairing—you're just crushing the wood fibers, and you'll end up with a mess that needs even more fixing.
A final word on the matter
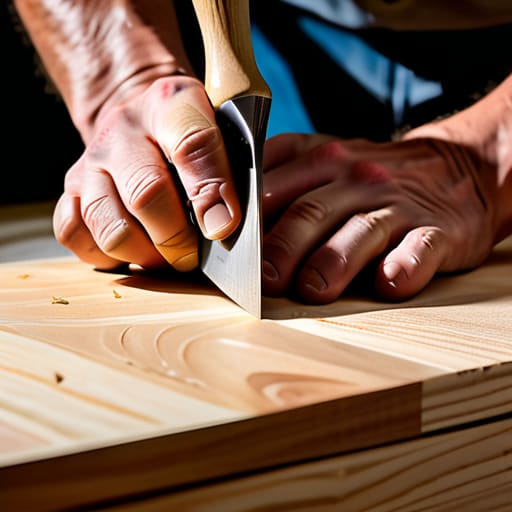
At the end of the day, repairing a plywood edge isn't about finding a magic product in a tin; it’s about the patience to do it right. Whether you’re using a sharp chisel to clean up a splintered corner, applying edge banding with a steady hand, or carefully working a bit of filler into a chip, the goal is the same: restoring the integrity of the wood. Don't let a bit of damage make you think the whole sheet is scrap. If you take the time to prep the surface properly and avoid the temptation to just sand everything smooth, you'll find that a bit of careful handwork goes a long way toward a professional finish.
I know it’s tempting to just reach for the power tools and try to sand your way out of a problem, but I’m telling you, trust your hands. There is a particular kind of satisfaction that comes from fixing something that looked broken by using nothing but a keen edge and a bit of common sense. It might take a few minutes longer than the quick fix, but when you run your hand over that edge and it feels seamless, you'll know it was worth the effort. Keep your tools sharp, keep your movements steady, and stop treating your workshop like a race.