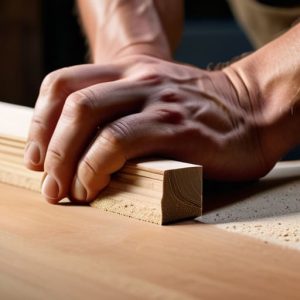
Sharpening a Blade Too Small to Hold
 Callum Reith-Sowande
I remember standing in a workshop back in the late eighties, watching a young apprentice try to shape a curved stair rail with a router. He was fighting the machine, swearing at the grain, and leaving nothing but scorched marks and a mess of sawdust. I stepped in, handed him a well-tuned spokeshave, and showed him that the real secret isn't about more power—it's about the edge. Most folks think they need expensive, motorized grinders to get results, but if you don't know how to sharpen a spokeshave blade properly, you're just wasting your time and your wood. A blunt tool is a dangerous tool, and a tool that can't hold an edge is nothing more than a paperweight.
I’m not here to sell you on some fancy, high-tech gadgetry that you'll end up throwing in the bin in two years. I want to show you the honest, steady way to get a mirror finish on that steel using nothing but grit and patience. I’ll walk you through the exact process I used for forty years on-site, from setting the bevel to the final hone. By the time we're done, you'll be able to take clean, effortless shavings that look like ribbons, proving once and for all that a sharp hand tool will always outwork a blunt power tool.
Guide Overview
Tools & Supplies
- Sharpening stones (Water stones or oil stones)
- Honing guide (To maintain consistent angle)
- Microplane file (For removing nicks in the edge)
- Honing oil or water (Depending on stone type)
- Fine grit sandpaper (For flattening stones)
Step-by-Step Instructions
- 1. First thing you need to do is strip the tool down. Don't go trying to sharpen the blade while it's still clamped in the body; you'll end up scratching the metal or, worse, distorting the plane sole. Take the blade out, remove the chip breaker if yours has one, and lay everything out on your bench. I always make sure my workspace is clear of any sawdust before I start, because even a single grain of grit can ruin a good edge.
- 2. Now, you need to check the condition of the bevel. If you've been using this tool heavily, the edge might be chipped or rounded off from a bit of bad luck. Take a coarse diamond stone or a medium-grit whetstone and work the bevel until you can feel that the nicks are gone. You aren't looking for a mirror finish yet; you're just trying to establish a flat, true surface to work from.
- 3. Once you've got a clean surface, it's time to move to your fine stones. This is where most people get impatient and rush, but that's a mistake. You need to maintain a consistent angle throughout the entire stroke. If you're using a 25-degree bevel, keep it there. I like to use a honing guide for this part, especially if I'm working on a blade that's seen better days, just to ensure I'm not wandering off the mark.
- 4. After you've worked the bevel, you have to address the back of the blade. This is the part most beginners ignore, and it's exactly why their tools never seem to cut true. Lay the back of the blade perfectly flat on your finest stone—something like a 6000 or 8000 grit—and rub it until it's polished like a mirror. If the back isn't flat, the edge will never be truly sharp, no matter how much time you spend on the bevel.
- 5. Now we bring them together. This is the "micro-bevel" stage. Instead of sharpening the whole face again, you just hone a tiny sliver at the very tip of the edge using your finest stone. This saves time and keeps the overall angle stable. You’ll know you’re getting there when the metal starts to look silky smooth and you can see a thin, bright line where the bevel meets the back.
- 6. The final test is the most satisfying part. Take a piece of scrap softwood or even a bit of shaving from a cedar block and run the blade through it. A properly sharpened spokeshave shouldn't "tear" the wood; it should slice through it like it's soft butter. If you feel any resistance or see any fuzziness, you haven't finished the job, and you need to head back to the stones.
- 7. Before you put the tool back together, take a moment to clean everything. Wipe the blade and the body clean of any metal filings or stone slurry. When you reassemble it, make sure the chip breaker is seated firmly against the blade. A well-tuned tool is a joy to use, and a bit of extra care during reassembly ensures that the edge you worked so hard for actually stays true while you're working.
Honing a Razor Edge With Precision Sharpening Stones for Woodworking
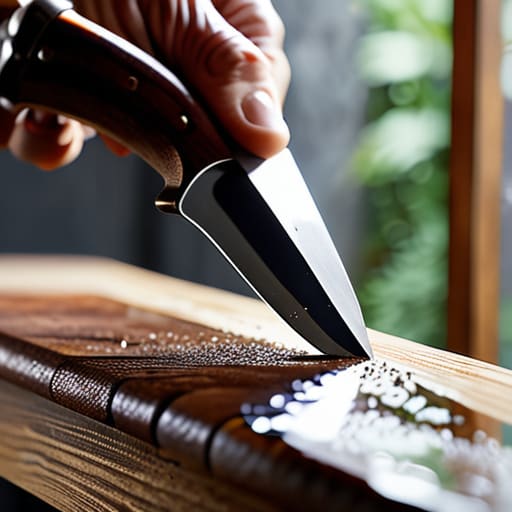
Once you’ve got the primary bevel established, the real work begins. This is where most lads get impatient and rush, but if you want a finish that actually feels like silk on the timber, you have to commit to honing a razor edge on your finest stones. I don't care how much you want to get back to the workbench; if you skip the fine grits, you’re just leaving microscopic scratches that will tear the grain later. I always prefer using waterstones for this stage, provided you keep them flat. A dished stone is a joiner's worst enemy, and it'll ruin your geometry before you've even started.
If you find your hands aren't quite steady enough to hold that angle by feel, there is no shame in using a honing guide. It keeps your progress consistent, which is vital when you're working with the thinner blades found in smaller spokeshaves. I’ve spent many a quiet afternoon at my bench just refining edges, and I can tell you, the difference between a "working" edge and a truly keen one is night and day. Don't settle for good enough.
Using a Honing Guide and Removing Nicks From Metal
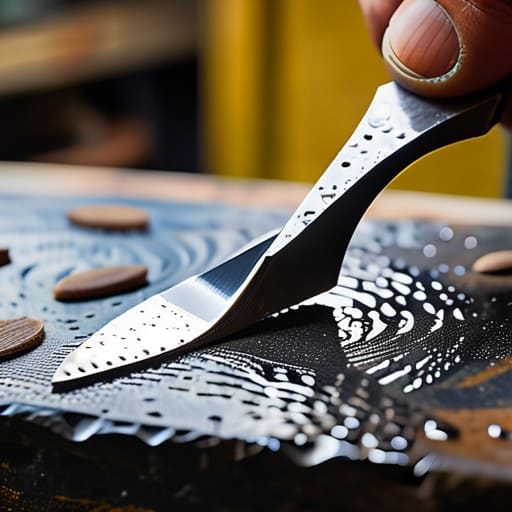
Now, if you’re like I was when I started out, you might think a honing guide is just a crutch for people who can't hold an angle. I used to think that, too. But after forty years on the tools, I’ve learned that consistency is what separates a clean shave from a ragged mess. Using a honing guide takes the guesswork out of your bevel angle adjustment, ensuring that every pass across your stones is identical. When you're working on a spokeshave, where the blade is often thinner and more temperamental than a plane iron, that mechanical stability is worth its weight in gold.
You’ll also run into trouble if you’ve been careless and knocked the edge against a workbench or a stray screw. You can't just polish your way out of a chip. You’ll need to spend some serious time removing nicks from metal on a coarse grit stone before you even think about moving up the progression. I always tell my students: don't rush the repair. If you try to hone a razor edge over a gouge, you’ll only end up with a wavy, useless piece of steel. Flatten the damage first, or you'll be fighting the tool forever.
Five Bits of Wisdom Before You Set the Stone to Steel
- Don't go chasing a mirror polish before you've got a true flat. I've seen too many lads spend an hour polishing a bevel only to find the whole thing is crooked. Get the geometry right first; the shine can wait.
- Watch your pressure. You aren't trying to grind the metal away like you're using a bench grinder. Use a steady, even stroke. If you push too hard on the end of the stone, you'll round over that edge you just worked so hard to flatten.
- Clean your blade between stones. A single grain of grit from a coarse stone trapped on your fine honing stone is enough to scratch your edge right back to square one. It’s a waste of time, and I won't stand for wasted time.
- Check the back of the blade more often than you think you need to. A spokeshave blade is useless if the back isn't dead flat. If that back is even slightly convex, you'll never get a true cutting edge, no matter how much you hone the bevel.
- Listen to the tool. When you're testing the edge on a scrap piece of softwood, it should sing through the grain, not tear it. If it feels like it's dragging or "chattering," you haven't finished the job. Stop, go back to the stone, and do it properly.
The Final Edge
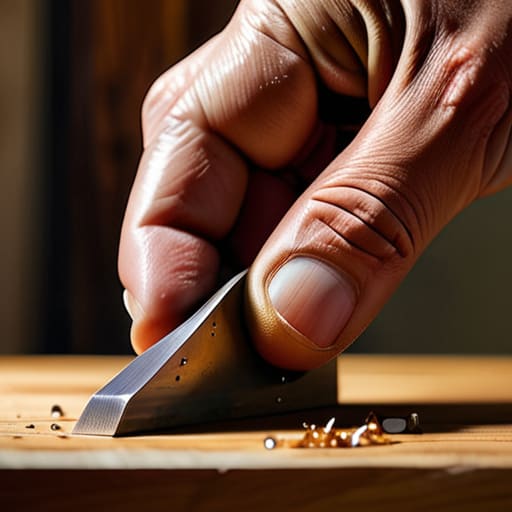
At the end of the day, sharpening a spokeshave isn't some complicated science experiment; it’s just about patience and respecting the steel. You’ve gone through the motions of flattening the back, working out those nasty nicks with a honing guide, and finally finding that true, mirror finish on your finest stones. If you’ve done it right, that blade shouldn't just cut the wood—it should slice through the grain like it isn't even there. Remember, if you find yourself struggling or forcing the tool, stop immediately. That’s your signal that you’ve lost your edge, and you’ll only end up ruining the workpiece or, worse, your hands. Don't rush the process.
I know it feels easier to just reach for the electric sander or a router when you're in a hurry, but those machines can't give you the control a hand tool offers. There is a particular kind of satisfaction that comes from feeling a perfectly honed blade take a shaving so thin you can see through it. It changes how you work. It forces you to slow down, to listen to the wood, and to actually master your craft instead of just rushing toward a finished product. Keep your tools sharp, keep your mind steady, and you'll find that the old ways aren't just better—they're more rewarding.