Testing a Combination Square for Square
 Callum Reith-Sowande
I’ve spent forty years on site and another ten in the classroom, and if there is one thing that gets under my skin, it’s the way modern tool reviews try to turn a simple piece of steel into a high-tech gadget. You’ll see these glossy videos talking about "ergonomic grips" and "proprietary coatings" as if you’re buying a smartphone instead of a layout tool. When you're trying to figure out how to review a combination square, most people are looking at the wrong things; they’re distracted by the packaging and the brand name. A square doesn't need to look pretty or feel like a luxury car—it just needs to hold a true line when your back is against the wall.
I’m not here to sell you on a lifestyle or some overpriced piece of kit that’ll end up in a landfill in two years. I’m going to show you how to test for what actually matters: the tension of the barrel, the flatness of the blade, and whether that locking mechanism actually stays put when you apply pressure. I’ll give you a straightforward way to judge a tool by its functional integrity, ensuring you only spend your hard-earned money on something that will actually last.
Woodworking Tool Evaluation Criteria That Actually Matter
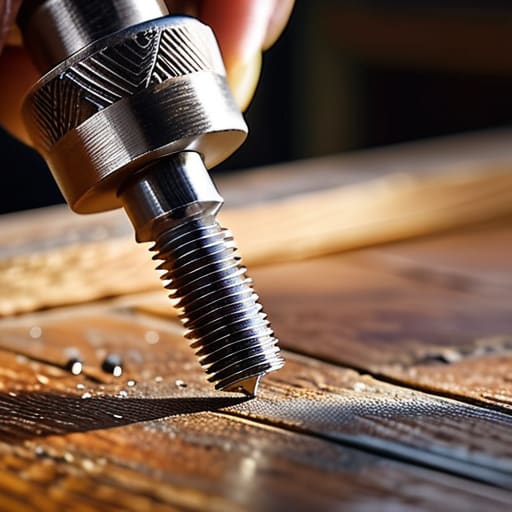
When you’re looking at a new square, don't get distracted by the shiny finish or a fancy brand name on the box. Most of what the salesman tells you doesn't mean a thing once you've actually put it to a piece of seasoned oak. I start by looking at the locking mechanism durability. If that thumb screw feels loose or slips the moment you apply a bit of pressure against the stock, you aren't holding a tool; you're holding a liability. A square that won't hold its position is just a very expensive way to make a mistake.
Once you've checked the feel, you have to move into some proper precision layout tool inspection. I don't care how much it cost; if the blade isn't perfectly true, it's junk. I always run a quick square blade perpendicularity test by checking the face against the blade at different points along the length. If there’s even a hair of a gap, it's gone back to the shop. You can't build a cabinet on a foundation of guesswork, and you certainly can't do it with a tool that wanders.
A Machinist Square Calibration Check for Real Accuracy
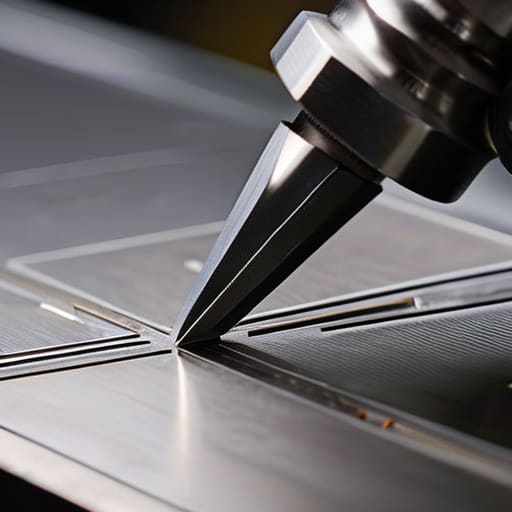
Now, don't just take the factory's word for it. You can buy a square that looks grand on the shelf, but if it isn't true, it’s nothing more than a heavy piece of scrap metal. To see if you’ve actually got a decent bit of kit, you need to perform a proper machinist square calibration check. I don't use fancy lasers; I use a known straight edge or a high-quality engineer's square. Clamp your combination square to a flat surface, draw a fine line with a marking knife, flip the tool over, and see if it aligns with that same line. If there's a gap, you're chasing ghosts all day.
This isn't just about checking the 90-degree angle; you need to run a square blade perpendicularity test as well. Check the 45-degree setting by using the square against a known perfect corner. If the blade wanders even a hair, your joinery will never sit flush, no matter how much glue you use. A real precision layout tool inspection takes patience, but it's the only way to ensure you aren't building a cabinet that leans like the Tower of Pisa.
Five Things I Look For Before I Let a Square Into My Kit
- Check the movement in the slider. It shouldn't slide like a greased pig, but it shouldn't be so tight that you're fighting it just to make a mark. If it wobbles or feels loose right out of the box, it's a paperweight, not a tool.
- Feel the finish on the blade. I don't care if it's stainless or chrome; if the edges feel burred or rough, it'll catch on your timber and ruin a clean line. A good square should feel smooth enough to glide.
- Look at the locking mechanism. Most modern ones use a thumb screw that'll strip or slip the moment you apply a bit of pressure. If that screw doesn't bite and hold firm, you'll spend more time re-checking your work than actually cutting it.
- Test the etched markings. I've seen plenty of fancy-looking squares where the lines rub off after three months of hard graft. If the graduations aren't deeply etched or clearly stamped, you're better off sticking to your old wooden rule.
- Inspect the base for flatness. Take a look at the face of the stock. If there's even a hint of a curve or a dip in the metal, your 90-degree angle is nothing more than a suggestion. A square that isn't flat is just a way to make mistakes more precisely.
The Bottom Line on Your Next Square
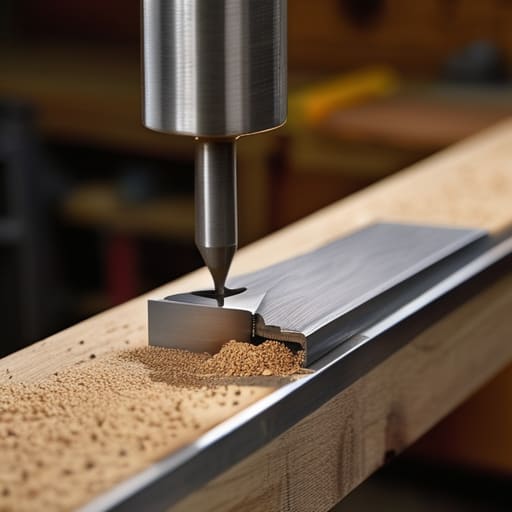
At the end of the day, reviewing a combination square isn't about reading a shiny brochure or checking off a list of fancy features. It’s about whether that tool can actually do the job without lying to you. You need to know if the blade slides smooth without wobbling, if the locking nut holds firm under pressure, and—most importantly—if it actually holds a true 90 degrees when you put it to the bench. Don't get distracted by heavy brass accents or pretty packaging; if the steel is soft or the markings are shallow and hard to read, you’re just buying a very expensive paperweight. Test the accuracy, check the build, and trust your own eyes.
I’ve spent forty years watching lads buy cheap, disposable gear only to curse when their joints don't close up tight. It’s a waste of money and a waste of your time. A proper square is an investment in your own skill, a steady companion that stays true for decades if you treat it right. Stop looking for the easiest purchase and start looking for the tool that lasts. When you finally find one that rings true, you'll realize that precision isn't a luxury—it's the very foundation of everything we build.