Lifting One Board and Putting It Back
 Callum Reith-Sowande
Most people think that if they want to fix a gouge or a split, they need to go out and buy some expensive, noisy sander or a specialized filler kit from the big-box stores. They spend a fortune on "solutions" that end up looking like a patch job within six months. The truth is, if you want to know how to repair a wooden floor board so that it actually lasts, you don't need more power; you need better control. I remember a lad in my college workshop once trying to sand out a deep scratch with a belt sander—he ended up thinning the board so much he practically vanished the floor. I had to take the machine away and hand him a well-honed chisel.
In this guide, I’m going to show you how to do things the right way, without the unnecessary noise or the wasted money. We’ll look at how to properly clean out a damaged area, how to prepare your timber, and how to use a few simple hand tools to make the repair nearly invisible. I'm not here to sell you a miracle product; I'm here to teach you the proper craft of making a floor look whole again.
Guide Overview
Tools & Supplies
- Sandpaper (various grits for smoothing)
- Putty knife (for applying filler)
- Wood rasp or file (for shaping edges)
- Screwdriver (if tightening loose boards)
- Wood filler (one small container)
- Wood stain (small bottle to match color)
- Clear sealant or polyurethane (small bottle)
Step-by-Step Instructions
- 1. First, you need to clear the area and get a proper look at what you’re dealing with. Don't just start hacking away; take a moment to see if the board is just loose or if the wood itself is actually damaged. If there's a crack or a gouge, use a fine pencil to mark out the exact perimeter of the mess. You want to work with the grain, not against it, so keep an eye on which way those fibres are running before you make your first move.
- 2. Now, get your chisel ready. I don't care if you've got a brand new set from the shop; if they aren't scary sharp, put them back in the rack. You're going to use that chisel to carefully pare away the damaged section. You aren't trying to smash the wood out; you're carving a clean, flat-bottomed recess where the repair will sit. If you try to do this with a router, you'll just end up with ragged edges and a headache.
- 3. Once you've cleared the damaged bit, you'll need a "plug" or a Dutchman to fill the gap. Don't bother with those plastic fillers that come in a tub; they're rubbish and they'll shrink the moment they dry. Find a piece of scrap timber that matches the species and grain of your floor as closely as possible. Cut your plug to the exact size of the hole you just carved, making sure it's a snug fit that requires a light tap from a mallet to seat it home.
- 4. This is where most people rush and ruin the whole job. You need to glue that plug in using a decent quality wood glue. Apply it to both the plug and the recess, then drive it in. Once it's seated, use your sharpest chisel to trim the excess wood flush with the floor surface. Remember, you're not just cutting; you're shaving the wood down. If you find yourself struggling to slice through the grain, your edge is dull, and you're just bruising the timber.
- 5. After the glue has had plenty of time to set—and I mean properly set, not just tacky—it's time to tidy up the surface. Grab a block plane if you have one, or a very fine piece of sandpaper. Your goal is to blend the new piece into the old floor so seamlessly that you can't feel the join with your thumb. If you can feel a ridge, you haven't finished the job.
- 6. Finally, you'll need to address the colour. Even the best match won't look right if the sheen is off. Use a bit of wood stain or a wax finish to bring the new plug up to the same tone as the surrounding boards. It takes a bit of patience to get the shade right, but it's much better than having a bright patch in the middle of your floor that looks like a sore thumb.
Quietly Fixing Floorboard Squeak Repair Without the Heavy Machinery
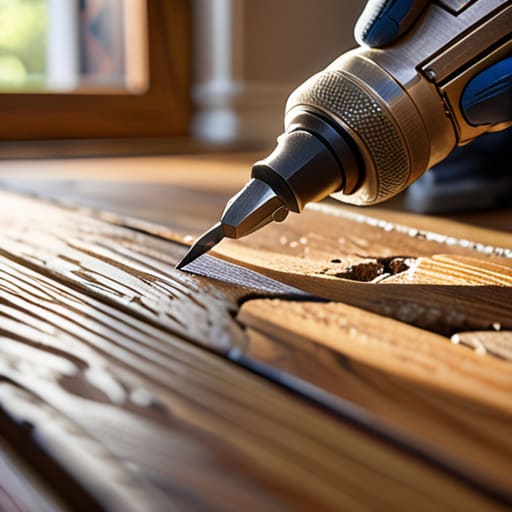
Most folks hear a squeak and immediately reach for a drill or a heavy-duty floor sander, thinking they need to tear the whole room apart. That’s a mistake. Usually, a squeak is just a bit of movement where a board has rubbed loose against a joist. Before you start replacing individual floor planks, try a bit of precision work. I’ve found that if you can find the exact spot where the noise lives, you can often drive a thin, sharp screw through the board and into the joist from above. It’s a surgical approach, not a sledgehammer one.
If the gap is too wide for a screw to do the job, don't go buying a bucket of cheap, pre-mixed junk. Most of that stuff is just sawdust and glue that won't hold up to foot traffic. Instead, take some offcuts from your actual floor, grind them down into a fine dust, and mix it with a high-quality resin. This creates a custom wood filler for floor cracks that actually behaves like the timber it's sitting in. It's slower, sure, but it'll be there long after the power tools have been put away.
Replacing Individual Floor Planks Instead of Buying a New Floor
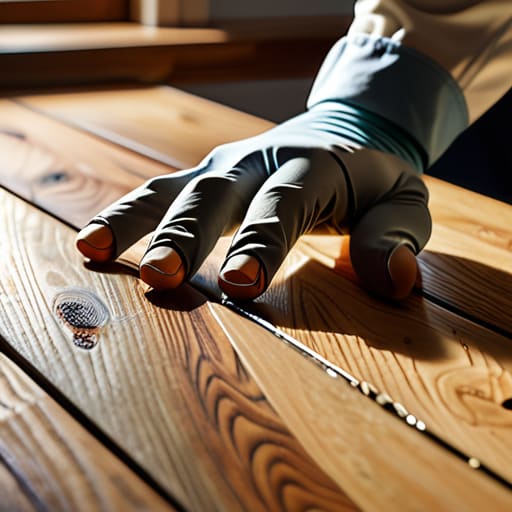
Now, there comes a point where a bit of filler or a quick shim won't cut it. If a board is split right down the grain or has a nasty rot patch, you’re looking at replacing individual floor planks rather than trying to patch a sinking ship. I’ve seen too many youngsters pull up an entire room's worth of timber just because one board looked tired. That’s a waste of good wood. Instead, you need to get surgical. Carefully pry up the boards around the damaged one, being mindful not to split the healthy timber next to it. If you're careful with your pry bar, you can save the surrounding joists and keep the structure sound.
Once you’ve got the old plank out, don't just shove a new one in and hope for the best. You’ll need to spend some time matching wood stain colors if the floor has any age to it. A fresh piece of oak is going to look like a bright sore thumb against a floor that’s been settling for twenty years. I usually keep a few scraps of reclaimed timber in the shed for exactly this reason; it's much easier to work with wood that has already seen some life.
A few things I wish my apprentices had listened to
- Don't go buying a whole new pack of timber just because one board is wonky; learn to work with what you've got and match the grain if you're replacing a section.
- Keep your chisels honed to a mirror finish before you touch the floor, otherwise you'll just be crushing the wood fibres instead of cutting them.
- If you're using wood filler to hide a gap, don't buy that cheap, pre-mixed stuff in a tub—it'll shrink and crack within a month.
- Always test your stain or oil on a scrap piece of the same wood first; nothing ruins a repair faster than a patch that looks like a dark bruise.
- Stop trying to force a new board into place with a heavy hammer; if it doesn't want to go, you haven't cut your joint clean enough.
A bit of common sense goes a long way
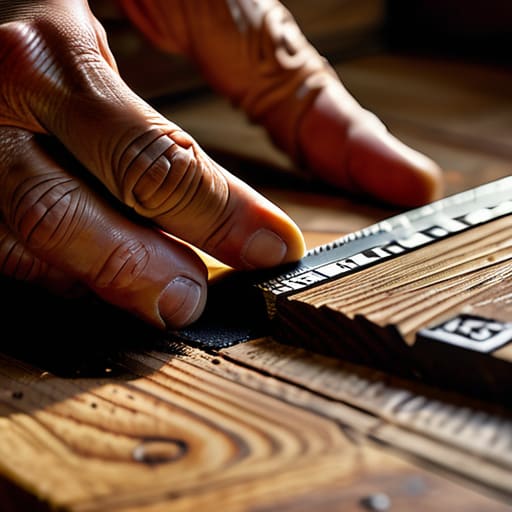
At the end of the day, repairing a floorboard isn't about having the most expensive kit in the shed; it’s about having the right approach. Whether you’ve spent the afternoon silencing a nuisance squeak with a bit of clever shim work, or you’ve gone the harder route of cutting out a damaged section to fit a fresh plank, the principle remains the same. You don't need a screaming circular saw or a heavy-duty router to fix a bit of timber. If you take the time to keep your chisels sharp and your measurements precise, you’ll find that precision beats brute force every single time. It’s about working with the wood, not against it, and ensuring that every repair is done with the intent to last another forty years.
I know the modern world wants you to think that if something is broken, you just rip it out and buy a replacement. They want you to treat your home like a disposable commodity. But there is a quiet, steady satisfaction in looking at a floor you’ve mended yourself and knowing it’s solid because you put the work in. Don't be intimidated by a bit of wear and tear. Pick up a tool you actually know how to use, trust your hands, and remember that a well-maintained tool is the best partner you'll ever have on a job. Get stuck in.