Repairing a Burn in a Tabletop
 Callum Reith-Sowande
I remember a lad I taught back at the college, a bright enough boy, but he had a habit of letting his router bit dwell a second too long in one spot. He stared at that black, charred scar on a piece of expensive walnut like he’d just committed a crime, reaching immediately for the heavy orbital sander to try and grind it out. That’s the mistake most people make when they're wondering how to repair a burn mark; they think more power is the answer, but all they end up doing is widening the wound and losing the dimension of the timber.
I’m not going to give you a list of fancy chemical fillers or tell you to hide the mistake under a thick coat of pigment. Instead, I’ll show you how to use a properly honed scraper to take that damage out with precision. We’re going to talk about the right way to shave away the scorched fibers without ruining the surrounding grain, ensuring you get back to a smooth, clean surface that looks like the mistake never happened.
Guide Overview
Tools & Supplies
- Sandpaper (various grits for smoothing surfaces)
- Heat gun or hair dryer (to soften finishes)
- Wood filler or epoxy putty (enough to fill the crater)
- Wood stain or touch-up marker (matching original color)
- Clear coat or lacquer (to seal and match sheen)
Step-by-Step Instructions
- 1. First, you need to assess the damage. Take a close look at the burn to see if it’s just a light surface scorch or if the heat has actually charred the fibers deep into the grain. If the wood is blackened and crumbling, you’re going to have to go deeper, but if it’s just a superficial mark, you can be much more surgical about it.
- 2. Put the power sander back in its box. If you try to sand out a burn with a belt or orbital sander, you’ll just create a wide, shallow dip in the timber that’ll be even harder to hide later. Instead, grab a sharp cabinet scraper. A well-tuned scraper allows you to take off microscopic layers of wood, meaning you only remove exactly what is burnt and nothing more.
- 3. Start your scraping work with the grain. Hold the scraper at a slight angle and use steady, even pressure to peel away the scorched layer. You’ll see the dark dust coming off first; keep going until you see the fresh, bright color of the healthy wood underneath. If you feel the tool jumping or skipping, stop immediately and check your edge—a blunt scraper will tear the wood rather than slice it.
- 4. Once the burn is gone, you’ll likely have some slight surface irregularities left behind. This is where a few sheets of high-grit sandpaper come in, but don't go mad with them. Use a sanding block to ensure you aren't rounding over the edges of your workpiece, and work your way up through the grits—start with 120 and finish with 220—to smooth the transition between the repaired area and the original surface.
- 5. Now, you have to deal with the colour mismatch. Even if you've removed the burn, the wood in that spot might look a shade lighter because you've exposed "new" wood. I usually find a bit of diluted wood stain or even a matching wax helps to bridge that gap. Apply it sparingly with a rag, building the colour up slowly rather than trying to soak the whole area at once.
- 6. Finally, seal the repair. Once your stain or colour match has dried completely, apply your final finish—be it oil, wax, or lacquer—across the entire surface of the piece. Don't just rub it into the repaired spot; you need to blend the finish across the whole board so the repair becomes invisible to the eye.
Precision Filler Application Techniques for Seamless Surface Damage Restora
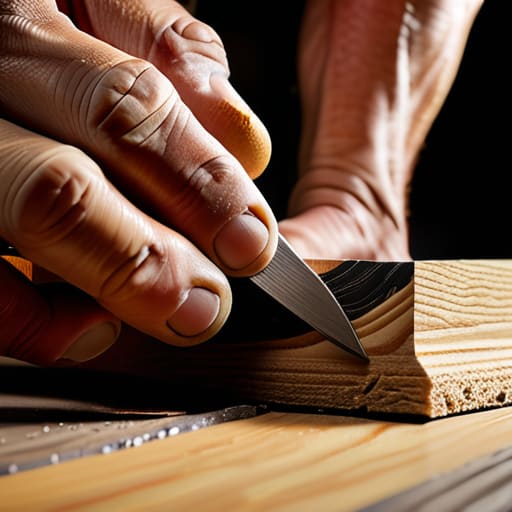
When you’re getting into the fine details of surface damage restoration, most lads make the mistake of globbing filler on like they’re spreading butter on toast. That’s a recipe for a headache later on. If you want a seamless finish, you need to work in thin, deliberate layers. I always tell my students: don't try to fill the whole void at once. Use a small, stiff putty knife or even a well-sharpened chisel to press the material deep into the grain. You want to avoid leaving air pockets, as those will just show up once you start sanding damaged surfaces later.
Once the filler is set, the real work begins. You aren't just looking to level it; you're looking to marry it to the surrounding timber. If you're using a commercial wood burn repair kit, pay close attention to how the material shrinks as it dries. I prefer to overfill slightly, then use a fine-grade abrasive to bring it flush. The goal is to make the repair invisible, not just flat. If you've done it right, you won't need to spend hours buffing and polishing finishes just to hide your handiwork.
Mastering Matching Paint Colors Without the Industrial Guesswork
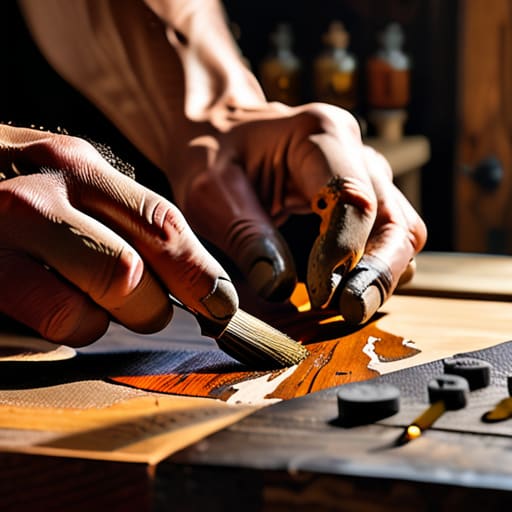
Now, once you’ve finished your surface damage restoration and the filler has set, you’re faced with the part that makes most blokes sweat: the colour. Don't go running to the local DIY shop to grab a tin of "Oak" or "Walnut" and hope for the best. Those mass-produced stains are a gamble, and they rarely account for the natural aging of the timber you’re actually working on. If you want a proper result, you need to stop guessing and start sampling. I always take a small scrap of the same timber—or even a hidden bit from the underside of the workpiece—to test your mix before it ever touches the repaired area.
If you're working with a painted finish rather than a stain, the trick is to avoid the temptation of a single, heavy coat. Even with the best matching paint colors, a thick layer will sit on top like a scab and catch the light. Instead, I find that building up the pigment in thin, translucent layers allows the underlying grain to breathe through. It’s much easier to add a bit more colour than it is to strip it all back because you were too impatient to let the first coat dry.
A few things I’ve learned the hard way
- Stop reaching for the power sander; you’ll only end up gouging the good wood around the burn. Use a sharp, well-honed scraper to lift the charred layer away cleanly.
- If you're using filler, don't just glob it on and hope for the best. Mix it thick, apply it slightly proud of the surface, and let it dry fully before you even think about leveling it.
- Check your grain direction before you start scraping. If you go against it, you aren't repairing a burn mark, you're creating a whole new set of problems to fix.
- Never trust your eyes alone when matching stain or paint. Take a scrap piece of the same timber, apply your fix there first, and see how it reacts once it's actually dry.
- Keep your tools sharp throughout the whole process. A dull blade will tear the fibres of the surrounding wood, leaving you with a fuzzy mess that no amount of sanding will ever truly fix.
Finishing the Job Properly
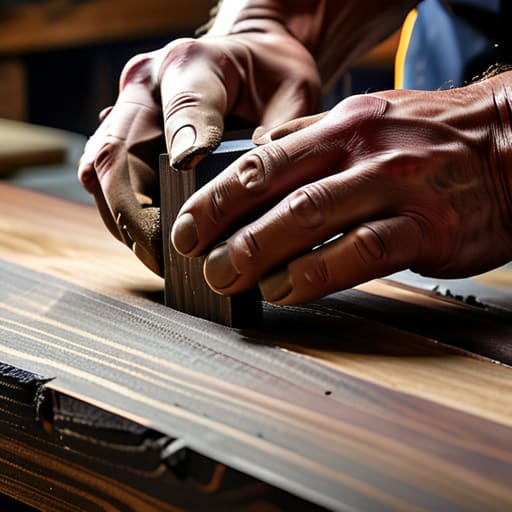
At the end of the day, fixing a burn mark isn't about finding a magic product to hide the mistake; it's about the patience you put into the preparation. Whether you've spent time scraping back the charred timber or carefully blending your filler to match the grain, remember that the secret is in the incremental approach. You can't rush the drying times or the sanding stages without leaving a tell-tale mark that'll haunt you later. If you've matched your colors correctly and kept your tools clean, you aren't just covering up a scar—you are restoring the integrity of the wood itself.
I’ve seen too many young lads reach for a heavy-duty sander to grind away a mistake, only to end up with a massive dip in the surface that's ten times worse than the original burn. Don't let that be you. Take your time, trust your hands, and remember that a well-executed repair should be invisible to anyone but the man who did the work. There is a quiet sort of pride in looking at a piece of timber and knowing that even though it took a hit, it's now stronger and smoother than it was before. Get it right the first time, and you won't have to do it twice.