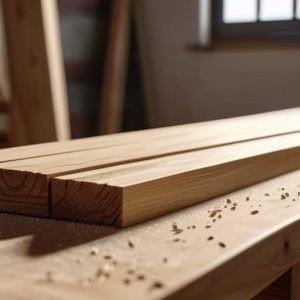
Letting Timber Settle Before You Cut
 Callum Reith-Sowande
I remember a lad I taught back at the college, a bright enough boy, who spent three weeks crafting a beautiful walnut tabletop, only to watch it split right down the middle two months later. He’d used the best oils and the finest chisels, but he’d neglected the one thing that actually matters: knowing how to check timber moisture before the first cut is even made. He thought because the wood felt dry to the touch, it was ready for the bench. That’s the trap. You can have the sharpest plane in the world, but if you’re working with unstable wood, you’re just polishing a disaster waiting to happen.
I’m not here to sell you some fancy, over-complicated gadget that needs a software update just to tell you if a plank is damp. I want to show you the honest, practical ways to get an accurate reading so you can trust your materials. We’ll go over the difference between those cheap pin meters and the more reliable pinless versions, and I’ll tell you exactly where to probe to get the truth. By the time we’re done, you won't be guessing anymore; you'll be working with confidence.
Guide Overview
Tools & Supplies
- Moisture meter (Digital pin or pinless type)
- Sandpaper (To smooth surface for pinless readings)
- Timber samples (The wood being tested)
- Notebook (To record readings)
Step-by-Step Instructions
- 1. First, you need to decide which way you're going to play it: the quick way or the right way. If you’ve got a digital pin meter, you can get a reading in seconds, but don't let that make you lazy. Those little pins only tell you what's happening right where they pierce the surface. If you want the truth of the whole piece, you’ll need to be more thorough than a simple poke in the wood.
- 2. If you're using a pin meter, make sure you're hitting the right spots. Don't just take one reading in the middle and call it a day. You need to test the ends of the boards and the center, because moisture tends to escape from the ends much faster than the middle. If the ends are bone dry but the center is still holding onto water, your project is going to warp the moment you start cutting it.
- 3. Now, if you're serious about precision—the kind of precision I taught my apprentices for years—you should be looking at a combative moisture meter. This is the one with the flat pins that you press into the grain. It gives you a much better sense of the internal moisture without leaving a mess of tiny holes all over your expensive timber. Just remember to keep the pressure steady; you aren't trying to crush the fibers, just make contact.
- 4. You must also account for the environment you're working in. If you've just brought a load of oak in from a damp shed into a heated workshop, those readings are going to be completely useless. You have to let the timber "acclimatize" to your workspace. I usually leave my stock in the shop for at least a week before I even think about putting a chisel to it.
- 5. Once you've taken your readings, compare them to what the wood actually needs to be. If you're making indoor furniture, you're looking for something around 6% to 8%. If you're building something for an outdoor deck, you can let it run a bit higher. Never guess based on how the wood feels to the touch; wood is a liar, and it'll feel dry right up until the moment it splits your joints apart.
- 6. Finally, keep a little notebook. I know it sounds old-fashioned, but writing down the moisture levels of your different batches of timber helps you spot patterns. You'll start to learn how certain woods behave in your specific shop, and that's when you stop being a man who just follows instructions and start being a proper craftsman.
Pin vs Pinless Moisture Meters Choosing Your Sharpest Tool
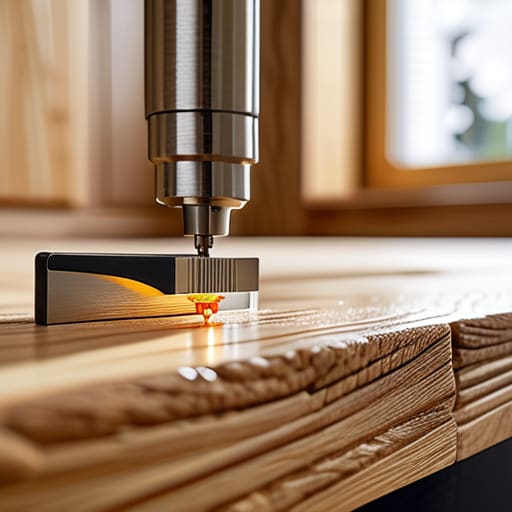
Now, when you go out to buy a meter, you'll find two main wood moisture meter types, and you need to know which one suits your job. Pin meters are the old reliable. They use two metal spikes that you drive directly into the grain to get a reading. They're dead accurate for a specific spot, which is exactly what you want when you're checking the timber acclimatisation process in a room before laying down a new floor. Just remember, once you've poked those pins in, you've left a mark. If you're working on a finished surface, you'll want to be careful where you place them.
Pinless meters are a different beast entirely. They use electromagnetism to scan the surface without leaving a trace. They're brilliant for a quick sweep of a large area, but they don't give you that deep, internal reading a pin meter can. If you're serious about preventing wood warping and cracking in expensive hardwoods, I’d say having both is the only way to be sure. A pinless meter tells you the general state of play, but the pins tell you the truth.
The Timber Acclimatisation Process Respecting the Woods Rhythm
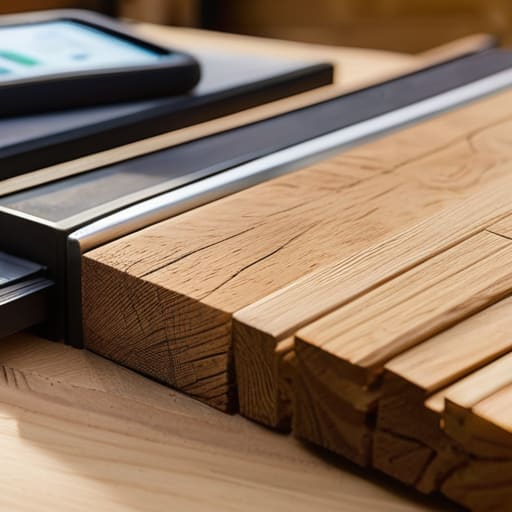
You can’t rush the wood. I’ve seen plenty of young lads try to rush a job, slapping down expensive oak flooring only to watch it buckle a month later because they didn't respect the timber acclimatisation process. You aren't just moving boards from a truck to a room; you're moving them from one climate to another. If that timber hasn't sat in the space where it’s going to live, it hasn't found its equilibrium yet. You need to let it breathe, letting the relative humidity and wood stability find a balance before you even think about picking up a saw.
Don't just check the surface and call it a day. I always tell my students to check the middle of the stack, too. If you're installing something like hardwood, you need to know the ideal timber moisture content for flooring isn't just a number on a screen—it's a commitment to the longevity of the work. If you skip this step, you're essentially inviting trouble, and no amount of clever joinery will stop the wood from moving once it starts fighting you.
Five Things I’ve Learned the Hard Way About Moisture
- Don't just take one reading and call it a day. Wood is a living thing, even after it's been cut. Take five or six measurements across the length and width of the board to find the average, otherwise, you're just guessing.
- Always check the heartwood and the sapwood separately if you can. They hold moisture differently, and if you're working with a thick piece, the middle might still be damp even if the surface feels bone dry to your touch.
- Stop checking the wood while you're still in the middle of a job. If you've just brought a load of timber into a warm workshop, it hasn't settled yet. Give it a day or two to find its level before you start trusting those meter readings.
- Watch your environment as much as the timber. If you're running a heater in the shop or if it's a particularly humid afternoon, your readings are going to jump around. Consistency is more important than the number itself.
- Remember that a meter is a tool, not a miracle worker. If the reading looks wrong, check your pins or your battery. I've seen many a lad ruin a good piece of oak because he trusted a faulty reading instead of his own common sense.
A Final Word Before You Cut
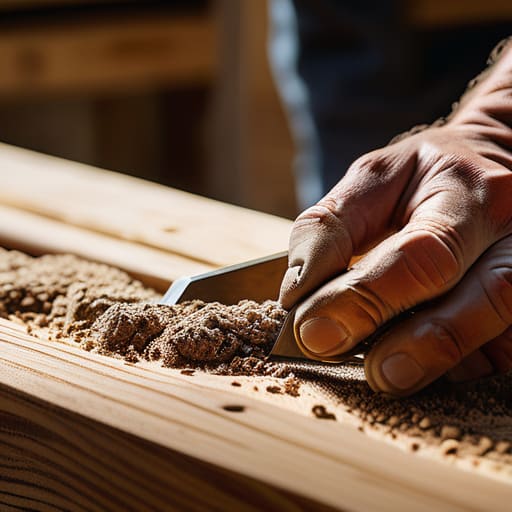
At the end of the day, checking your moisture levels isn't about following a manual; it’s about respecting the material you’re working with. Whether you’re using a pin meter to get a deep reading in a thick piece of oak or a pinless device for a quick surface check, the goal is the same: certainty. You’ve got to let the wood settle, give it time to find its rhythm in your workshop, and never, ever rush the acclimatisation. If you skip these steps to save twenty minutes now, you’ll spend twenty hours later fixing cracks, warping, and joints that simply won't stay tight. Measure twice, cut once, and check your moisture every single time.
I’ve seen too many young lads walk onto a site with a brand-new power planer and a sense of misplaced confidence, only to watch their hard work twist and split a week later because the timber was still "alive" with moisture. It’s frustrating to watch, but it’s a lesson learned the hard way. Woodworking is a slow game, and there is a quiet, steady satisfaction in knowing your foundation is sound. Don't let the rush of modern life dictate your pace. Take the time to do it properly, use your tools with intention, and remember that patience is the sharpest tool in your kit.