Giving a Screw Something to Bite
 Callum Reith-Sowande
I’ve spent forty years on site, and if there is one thing I’ve learned, it’s that most people try to fix mistakes by making them bigger. You’re standing there, a cordless driver screaming in your hand, forcing a screw into a hole that’s already given up the ghost, and all you’re doing is turning expensive timber into useless sawdust. People think they need a whole new piece of oak or some fancy chemical filler to fix the mess, but they’ve got it wrong. Learning how to repair a stripped screw hole isn't about buying more plastic junk from a hardware chain; it’s about understanding how the wood actually holds a grip.
I’m not going to waste your time with any of those "quick fix" gimmicks that fall apart the moment you put any real weight on them. Instead, I’m going to show you a few proper, old-school methods that I used to teach my apprentices back at the college. We’ll look at using simple wooden dowels and some basic glue to give that screw something solid to bite into again. By the time we're done, you'll be able to fix a stripped hole so well that even I wouldn't be able to tell it was ever broken.
Guide Overview
Tools & Supplies
- Screwdriver [To remove the old screw]
- Drill [To enlarge the hole slightly if needed]
- Wood filler or wood glue [Small container]
- Wooden toothpicks or matchsticks [10-15 count]
Step-by-Step Instructions
- 1. First, clear the mess. You can't fix what you can't see, so take a thin screwdriver or a pick and scrape out the loose wood fibres and old, crushed sawdust from the hole. If you try to pack new material into a hole full of debris, you're just building a house on sand; you need to get down to the solid timber before you even think about adding anything else.
- 2. Don't go reaching for a tube of hardware-store filler just yet. If the hole is relatively small, your best bet is to find some decent offcuts of the same wood you're working with. Take a sharp chisel and carefully cut a small wooden dowel or even just a square peg from a scrap piece. It has to be a tight fit, so don't be afraid to shave a little more off with your blade until it feels snug.
- 3. Now, you need to prep the hole for the new plug. Take a drill bit that matches the diameter of your wooden peg and bore out the stripped area to clean it up. You aren't making the hole bigger for the sake of it; you're simply turning a jagged, ruined mess into a perfectly round cylinder that the new wood can actually grip.
- 4. Apply a bit of decent wood glue—not that watery stuff, but something with some actual body to it—to both the hole and your new wooden plug. Gently tap the plug into place with a hammer, but don't force it so hard that you split the surrounding timber. You want it to sit flush with the surface, so if it’s sticking up, give it a light tap to seat it properly.
- 5. Once that plug is in, wipe away any glue that's squeezed out of the seam with a damp rag. If you leave it to dry on the surface, you'll spend half your afternoon sanding it back later, and that's just wasted movement. Let it sit undisturbed until the glue is completely set; I usually leave mine overnight because I've got nothing but time and a steady hand.
- 6. Now comes the part where you bring it back to life. Use a sharp chisel or a flush-cut saw to trim the plug so it's perfectly level with the rest of the wood. If you've done your job right, the grain should line up well enough that you won't even notice it's there once you sand it smooth and move on to the next task.
- 7. Finally, you can go back to your original screw. Since you've replaced the ruined wood with a solid, fresh plug, you can now drive the screw home with a manual driver. You'll feel that satisfying bite of the thread into the wood, which is a hell of a lot more rewarding than watching a power drill spin aimlessly in a hole of sawdust.
The Wood Glue and Dowel Method Restoring Structural Integrity
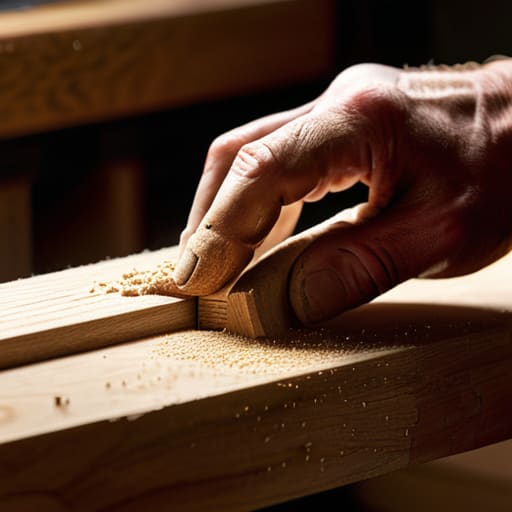
Now, if you’ve gone and bored a hole too wide with a drill, or if the wood has simply crumbled away from years of being tightened and loosened, you can't just rely on a bit of wood filler for screw holes. Most of those pre-mixed pastes are nothing more than colored dust; they have no strength. If the joint needs to hold weight, you need to go back to basics with the wood glue and dowel method. I’ve spent decades seeing men try to patch a structural failure with a bit of putty, only to watch the whole thing fail a week later.
Instead, take a small hardwood dowel, coat it well in decent PVA, and drive it home into the mess. Once the glue has set, you’ll need to pare it back flush with a sharp chisel. This isn't just about filling a gap; it's about replacing the lost timber with something solid. Once you’ve got that new plug in place, you can start drilling larger pilot holes to ensure your new screw has something real to bite into. It takes a bit more patience, but it's the only way to ensure the repair lasts longer than the next time you pick up a screwdriver.
Forget Wood Filler for Screw Holes Use Real Timber Instead
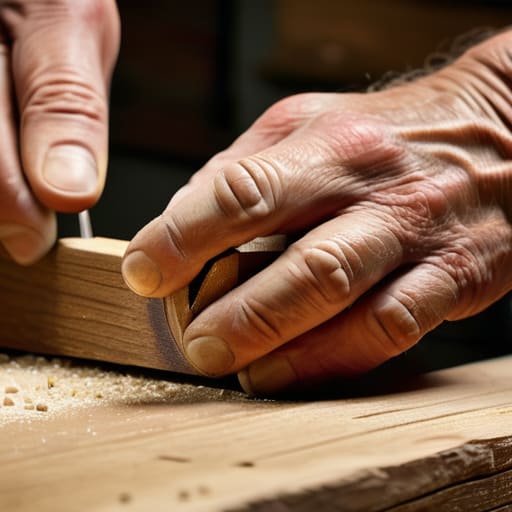
I’ve seen too many youngsters reach for a tub of plastic-based wood filler the moment a screw starts spinning aimlessly. It’s a mistake. You might think you're fixing the problem, but filler has no structural soul; it’s just colored dust held together by a bit of resin. The second you try to drive a screw back into that mess, the filler will crumble like a dry biscuit. If you want a fix that actually holds, you need to stop treating the repair like a cosmetic patch and start treating it like proper joinery.
If you can’t go the full route of the wood glue and dowel method, at least use a sliver of actual timber. I’ve seen people try using toothpicks to fix screws in a pinch, and while that’s fine for a loose cabinet hinge, it won't hold a heavy door closer. For anything that carries a load, you need a solid piece of hardwood or even a scrap of pine that matches the density of your workpiece. You aren't just filling a gap; you are restoring the grain so the threads have something real to bite into.
A Few Hard-Won Rules for When the Threads Won't Bite
- Stop trying to force a larger screw into the same hole; you'll just split the surrounding timber and end up with a mess that no amount of glue can fix.
- Always clear the dust out of the hole with a bit of compressed air or a vacuum before you start; if you're driving a new plug in, you don't want old sawdust acting like a lubricant and letting it slip right back out.
- If you're using the toothpick or matchstick trick, don't be stingy with the glue; you need that filler to turn the loose bits into a solid mass, not just a temporary wedge.
- Check your screw gauge before you commit; if you've decided to go slightly larger to get a grip, make sure the new head isn't so big it sits proud of the surface.
- Patience is your best tool here—let your glue dry completely before you put any real tension on that screw, or you'll just be back where you started, staring at a spinning bit.
Doing It Right the First Time
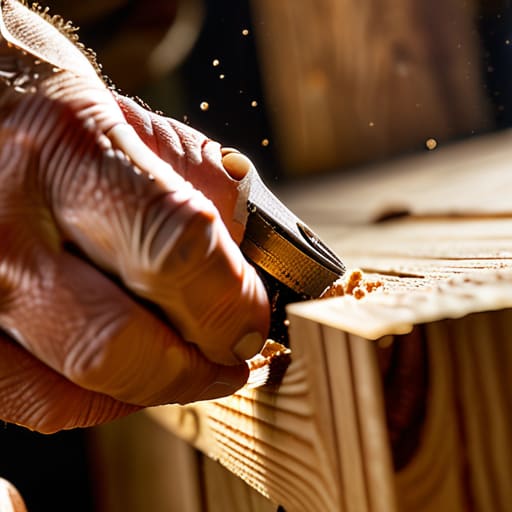
At the end of the day, repairing a stripped hole isn't about finding a quick fix to hide a mistake; it’s about restoring the strength of the timber. If you’ve followed what I’ve said, you’ve moved past the temptation of using cheap fillers that just crumble under pressure. Whether you decided to go with a solid dowel or a well-placed scrap of real timber, you’ve ensured that the next time you drive a screw, it has something substantial to bite into. Remember, a screw is only as strong as the wood surrounding it, so don't settle for anything less than a proper mechanical bond.
I spent forty years on site watching men rush through these little details, only to have the whole job fail six months later because they were too lazy to do it properly. It’s easy to grab a power driver and try to force a screw into a hollowed-out mess, but that’s just fighting a losing battle. Take the extra ten minutes to do the work manually, feel the grain, and respect the material. When you stop treating tools and timber as consumables and start treating them with a bit of care, you’ll find that the quality of your work speaks for itself long after the power tools have been put away.