Getting a Carcass Square and Keeping It
 Callum Reith-Sowande
I remember a lad I taught back at the college, a bright enough boy, but he spent three hours fighting a router to get a clean line on a side panel, only to end up with a splintered mess that looked like it’d been chewed by a dog. He thought the more expensive machinery he bought would make the job easier, but he was missing the point entirely. Most people think you need a workshop full of screaming, vibrating power tools to master how to build a cabinet carcass, but that’s a load of rubbish. If you know how to square your timber and seat a joint with a properly honed chisel, you’ll find that the "slow" way is actually the only way to get a carcass that stays dead true for twenty years.
In this guide, I’m not going to sell you on some fancy, high-tech jig that’ll end up in a landfill by next Christmas. Instead, I’ll show you the honest, fundamental steps of how to build a cabinet carcass using steady hands and reliable methods. We’ll go over marking out with precision, the importance of a solid reference face, and why a bit of patience with a hand saw beats a frantic run at a circular saw every single time.
Guide Overview
Tools & Supplies
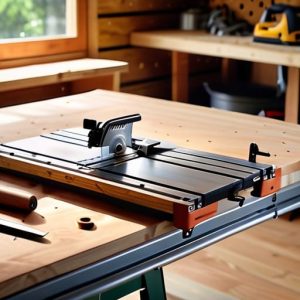
- Table saw or Circular saw for accurate ripping and crosscutting
- Drill/Driver for fastening joints
- Pocket hole jig for strong, hidden joinery
- Speed square to ensure 90-degree corners
- Clamps to hold panels in place during assembly
- 3/4" Plywood (1-2 sheets depending on size)
- 1-1/4" Pocket hole screws
- Wood glue for structural integrity
- Edge banding to cover exposed plywood edges
Step-by-Step Instructions
- 1. Before you even touch a piece of timber, you need to lay out your plan on a flat surface. I don't care what the fancy software says; you need to mark out your sides, bottom, and rails on the actual material. Use a sharp pencil and a square that isn't bent, because if your starting lines are off by a hair, the whole carcass will end up looking like a trapezoid by the time you're finished.
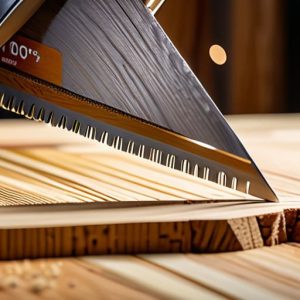
- 2. Once your lines are set, it's time for the cutting. Now, you can reach for that noisy table saw if you must, but if you want real precision, I'd suggest a fine-tooth tenon saw. Take your time with the stroke; you aren't racing a clock, you're finding the grain. Aim to leave just a fraction of a millimetre of waste so you have something to clean up later with a sharp chisel.
- 3. This is where most people lose their patience and their accuracy. After the initial cut, take a wide, razor-sharp chisel and a wooden mallet to pare those edges down. It’s a slow process, I'll grant you that, but you can feel the wood yielding under the blade. You’ll find that paring to a fit gives you a level of control that no power sander can ever match.
- 4. Now we move on to the joinery—let's stick to simple housing joints or perhaps a basic rabbet for this carcass. Don't go trying anything fancy until you've mastered the basics. Use your chisel to clear out the waste in the grooves, working from both sides toward the middle so you don't blow out the timber on the exit. It’s much easier to take a little more off than it is to glue a piece of wood back on.
- 5. Once the joints are cut, it’s time to dry-fit everything. Do not, under any circumstances, reach for the glue until you have sat the whole box together on your bench. It should be snug, but it shouldn't require a sledgehammer to get it closed. If it's too tight, don't force it; just go back to your chisel and remove a shaving at a time until it slides home with a satisfying click.
- 6. If the dry-fit is true, apply your glue sparingly. Too much glue is a mess that gets into the grain and prevents your finish from soaking in properly. Spread it thin, assemble the carcass, and then use your clamps to pull it all together. Check your corners one last time with your square while the glue is still wet; accuracy is a habit, not a one-time event.
- 7. Finally, once the glue has fully set and the carcass is rigid, you can deal with the back panel. I prefer a simple rebate to let the back sit flush, which adds a bit of extra strength to the whole structure. Once that's in, you've got yourself a solid, honest box that isn't going to wobble the moment you put a heavy plate on it.
Mastering Cabinet Carcass Dimensions and Layout Without the Guesswork
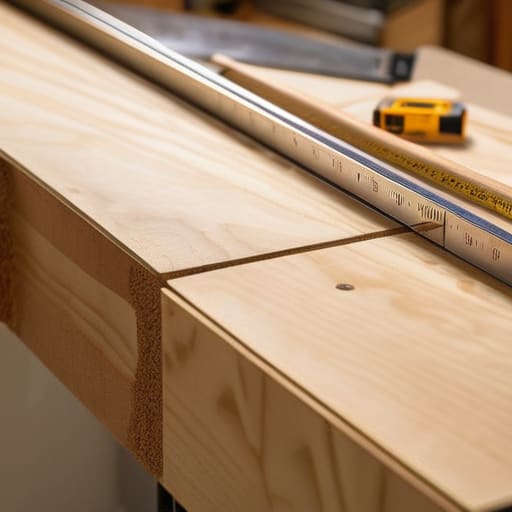
You can have the best timber in the world, but if your layout is off by a hair, the whole carcass will end up looking like a dog's breakfast. I’ve seen too many lads rush straight to the saw, only to realize halfway through that their sides aren't even the same length. Before you make a single cut, get your pencil and a decent square out. When you're working on cabinet carcass dimensions and layout, I always tell my students to measure twice, mark once, and then measure a third time just to be sure. It’s not about being slow; it’s about being right.
Once you’ve got your marks, don't just rely on a tape measure for everything. A marking knife is your best friend here; it gives you a physical line to seat your saw or chisel into, which prevents that dreaded "creep" where your blade wanders off the line. If you’re using plywood, remember that the grain direction matters for strength. I find that ensuring cabinet box squareness early on is much easier if you check your diagonals before you even think about reaching for the glue. If those two measurements don't match, your box is a trapezoid, not a cabinet.
Why Plywood Cabinet Construction Tips Favor Precision Over Power
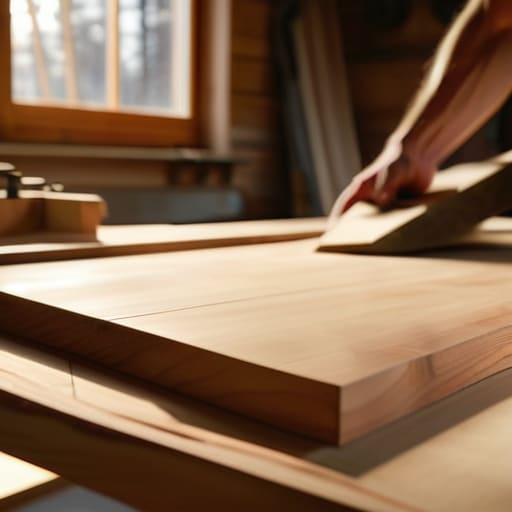
You’ll see plenty of blokes rushing through a job, leaning heavily on a table saw and hoping for the best. But when you’re working with plywood, you have to respect the material. Plywood isn't solid timber; it’s layers of veneer held together by glue, and if you treat it like a slab of oak, you’ll find yourself fighting the grain or splintering your edges. My best plywood cabinet construction tips always start with the realization that a machine can only take you so far. A power tool might cut the sheet, but it’s the hand tool that finishes the job with dignity.
If you rely solely on pocket hole joinery for cabinets, you might get the box together quickly, but you'll miss the subtle nuances of fit. I’ve spent decades watching apprentices struggle with wobbling units because they prioritized speed over stability. To truly succeed, you need to focus on ensuring cabinet box squareness by checking your diagonals manually, rather than just trusting a digital readout. If the carcass isn't square from the start, no amount of fancy hardware will save it. Take your time; a steady hand beats a fast motor every single day.
Five ways to keep your carcass from wandering
- Stop relying on the factory edge. Plywood comes off the sheet with edges that look straight but are often slightly rounded or nicked. I always take a block plane or a sharp chisel to those edges first; if you don't establish a true, square edge yourself, your entire carcass will be out of alignment before you've even glued a single joint.
- Check your squareness with a physical tool, not just your eyes. A spirit level or a digital gauge is fine, but nothing beats a well-made try square held firmly against the corner. If the tool doesn't sit flush, the wood isn't square, and no amount of clamping will fix a fundamental error in your layout.
- Don't go overboard with the glue. I’ve seen too many young lads flood a joint with PVA, thinking it'll make up for a loose fit. Glue is there to bond two tight surfaces, not to act as a filler for gaps. If you have to use a lot of glue to make a joint stay, your joinery is poor, and the carcass will eventually sag.
- Clamp with intention, not just force. You aren't trying to crush the wood into submission; you're trying to pull the joints together evenly. If you tighten your clamps too hard in one spot, you'll pull the whole box out of square. Work your way around the carcass, checking your diagonals as you go.
- Mind your screw heads. If you're using screws to reinforce your carcass, make sure they aren't splitting the plywood or sitting proud of the surface. I prefer to pre-drill every single hole. It takes an extra minute, but it saves you from a ruined panel and a lot of frustration later on.
The Final Cut
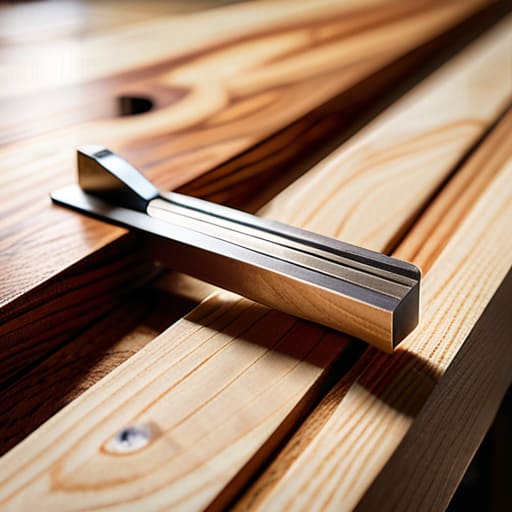
At the end of the day, building a solid cabinet carcass comes down to what you do before the first piece of wood is even cut. It is about the layout, the precision of your measurements, and—most importantly—the state of your edge tools. If you’ve spent the time getting your dimensions right and choosing the right plywood, you’ve already done the hard part. Don't let a rushed, sloppy assembly ruin a good plan. Remember, a carcass is only as strong as its joints, and those joints are only as clean as the tools you use to make them. If you find yourself fighting the material, stop, step back, and check your iron.
I know it’s tempting to just grab the cordless driver and power saw to get the job done quickly, but there is a specific kind of satisfaction that comes from a carcass built with deliberate, steady hands. When you rely on your own skill and a well-maintained chisel rather than just raw horsepower, you aren't just building furniture; you're building something that lasts. A machine might get you to the finish line faster, but a sharp hand tool will get you there with more pride. Take your time, respect the grain, and trust your edges.