A Hood That Catches Most of It
 Callum Reith-Sowande
People will tell you that if you want a clean workshop, you need to go out and spend a month's wages on a high-end, industrial-grade extraction system. That’s a load of rubbish. I spent years watching young lads at the college try to solve every problem with a bigger motor and more electricity, only to end up with a shop full of expensive machines that still couldn't catch the fine floury dust settling on their joinery. The truth about how to build a dust hood isn't about how much power you can pull from the wall; it’s about understanding airflow and getting the geometry right. If you don't direct the air where the waste is actually being made, you're just moving the mess around.
I’m not going to give you a complicated blueprint that requires a CNC machine to execute. Instead, I’m going to show you how to build something solid, functional, and—most importantly—repairable using basic materials you likely already have on your bench. We’ll go through the proper way to shape the transitions and seal the joints so you aren't fighting leaks all day. By the end of this, you’ll have a custom setup that works harder than any overpriced plastic unit you could buy off a shelf.
Guide Overview
Tools & Supplies
- Circular saw for cutting wood panels
- Drill/driver for fastening screws
- Jigsaw for cutting intake holes
- Sandpaper for smoothing edges
- 3/4" Plywood (1 sheet)
- Inline duct fan (4-6 inch diameter)
- Flexible ducting (matching fan size)
- Wood screws (various lengths)
- Wood glue for structural joints
Step-by-Step Instructions
- 1. First, you need to get your dimensions sorted before you even touch a saw. Don't just eyeball it; grab a tape measure and find the exact center of your machine's extraction port. I’ve seen too many lads build a massive hood only to find the airflow is fighting the geometry of the box. Measure the distance from the machine to the ceiling and the width of your workspace, then mark it all out on your sheet material.
- 2. Once you've got your marks, it's time to cut your panels. I prefer using a bit of 12mm or 18mm MDF for this. It’s heavy, but it's stable enough to hold its shape once it's up. Use a fine-tooth saw to keep the edges clean; if you leave them ragged, you'll just be creating more turbulence and more dust for you to clean up later.
- 3. Now, you’ll want to cut the opening for your extraction hose. This isn't a job for a jigsaw if you want it done right. I usually take a piece of scrap, trace the flange of my vacuum hose, and then use a sharp chisel to refine the edges. You want a tight, clean fit so you aren't losing suction through the gaps. If it's loose, you might as well not have a hood at all.
- 4. Before you start screwing things together, take a moment to dry-fit the pieces. This is where most people rush and end up with a lopsided mess. Make sure the angles where the panels meet are flush and tight. If there's a gap, don't just hope the sealant will fix it; adjust your cuts until the join is solid. A hood with air leaks is just a fancy way of making a mess.
- 5. When you're ready to assemble, use plenty of wood glue and some decent screws. I like to pre-drill every single hole to prevent the MDF from splitting. A split panel is a wasted panel, and in my shop, we don't throw away good timber just because we were impatient with a drill bit. Tighten them down until the whole structure feels like a single, solid unit.
- 6. The final step is sealing the internal joints. Even if your joinery is perfect, the microscopic gaps will still swallow your suction. Take a brush and work some wood glue or a dedicated sealant into every internal corner. You want the air to move in one single, uninterrupted direction from the machine into the hose. Once that's dry, hang it up, hook up the vacuum, and see the difference for yourself.
Mastering Cfm Requirements for Dust Extraction Without Overcomplicating It

Now, don't let the technical manuals scare you off. When you're looking at cfm requirements for dust extraction, most people get bogged down in complex math and expensive sensors. You don't need a degree in fluid dynamics to get this right; you just need to understand that air is lazy. It wants to take the path of least resistance. If your hood is too far from the tool or your ductwork is a mess of sharp bends, that suction is going to vanish before it ever reaches the chip. I’ve seen many a young lad spend a fortune on a high-wattage motor, only to find his floor still covered in fine dust because his dust hood ductwork design was fundamentally flawed.
Keep it simple. Focus on minimizing friction. Every extra elbow or narrow junction in your line is a thief stealing your airflow. If you are building a custom dust collector hood, make sure the aperture is sized appropriately for the tool you’re actually using. A massive hood on a small sander is a waste of energy, and a tiny one on a planer is just an expensive way to make a mess. Aim for steady, consistent pull rather than chasing impossible numbers on a spec sheet.
Smart Dust Hood Material Selection for Maximum Airflow Efficiency
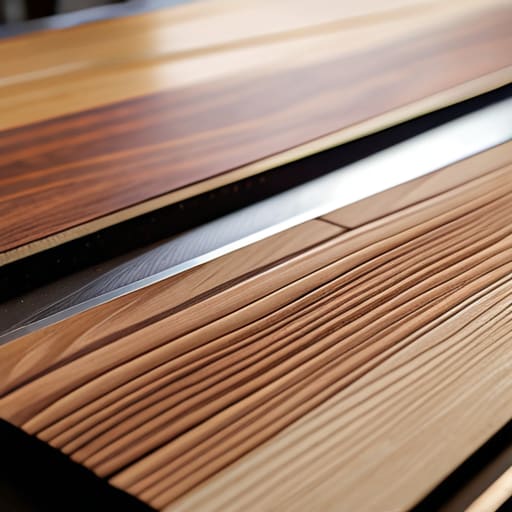
Now, when you’re looking at dust hood material selection, don't just grab whatever scrap ply is lying about the bench. If you use a material that’s too porous or uneven, you're fighting a losing battle against friction. I’ve seen lads try to build a hood out of rough-cut timber, only to find the airflow is so turbulent the dust just swirls around the room instead of heading for the collector. You want something with a surface so smooth it practically feels slick to the touch—think high-grade MDF or even a smooth-faced marine ply. The goal is to minimize resistance so your air moves where it's supposed to.
I've always said that a tool is only as good as the hand holding it, and your extraction is only as good as the path the air travels. If your dust hood ductwork design includes sharp, jagged corners or rough-textured walls, you're essentially putting a brake on your whole workshop dust collection system. Keep those internal transitions as gradual and as smooth as a well-honed bevel. If you're building a custom setup, take the extra ten minutes to sand those internal surfaces. It’s the difference between a system that actually clears the air and one that just makes a lot of noise while you cough.
Five Things I’ve Learned the Hard Way About Dust Hoods
- Keep the air path straight. I’ve seen lads build these massive, winding boxes with three different bends, thinking more volume is better. It isn't. Every time you force air around a corner, you lose suction. If you can't see a straight line from your machine to the collector, your design is flawed.
- Don't skimp on the seals. A dust hood is useless if it's sucking air from the workshop instead of from the tool. I always tell my students to check every joint with a bit of smoke or a light breeze. If it isn't airtight, you're just wasting electricity and moving air for no reason.
- Think about the weight before you mount it. There is nothing more frustrating than building a sturdy, efficient hood only to find it’s so heavy you can't adjust it without a winch. Keep it light. Use thin, rigid materials that won't vibrate, but don't build a tank that you're afraid to move.
- Accessibility is everything. If you build a hood that's a nightmare to clean out, it’ll stay dirty. A dirty hood creates turbulence, and turbulence kills your CFM. Make sure you can get a hand or a brush in there to clear the buildup without having to dismantle the whole rig.
- Respect the static pressure. You can have all the horsepower in the world, but if your hood is too small for the hose diameter, you're fighting a losing battle. Match the size of your hood to your extraction system, not your ego. A well-proportioned hood works quietly; a poorly sized one just screams at you.
Final Thoughts on Keeping a Clean Bench
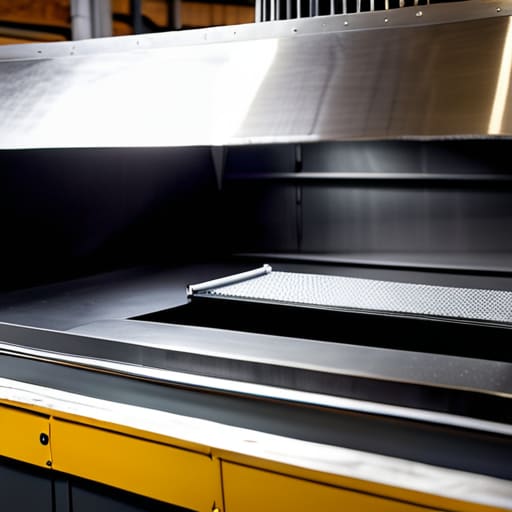
At the end of the day, building a decent dust hood isn't about buying the most expensive industrial blower on the market. It comes down to the fundamentals we've discussed: getting your CFM math right so you aren't just moving air around, and choosing materials that don't fight against your airflow. If you’ve built a hood that prioritizes smooth internal geometry and stays airtight, you’ve already done more for your lungs and your workshop than most of the lads I see buying plug-and-play plastic junk. A well-constructed hood is an investment in your workspace, not just another bit of kit to be tossed when the motor burns out.
I’ve spent forty years seeing men lose their focus because they were fighting a cloud of fine sawdust instead of working their timber. Don't let your tools—or your lungs—suffer because you were too impatient to build a proper extraction system. Once this is up and running, you'll find that a clean shop leads to a steady hand and a clear mind. Take the time to do it right, build it to last, and remember that the best tool in your shop is the one that lets you focus on the grain, not the dust.