A Hand Drill Still Beats Cordless for Small Holes
 Callum Reith-Sowande
I remember standing in a workshop back in '84, watching a young lad wrestle with a heavy cordless drill, swearing as he blew a hole straight through a piece of seasoned oak. He was fighting the machine, trying to force it to do what it wasn't meant to do, while I stood there with a simple, silent brace and bit. People think modern power is the only way to get a clean hole, but they couldn't be more wrong; if you actually learn how to use a hand drill, you'll find a level of control that no battery-operated motor can ever mimic. It isn't about being slow; it’s about being deliberate.
I’m not here to sell you on some fancy, expensive kit that’ll end up in a landfill in three years. I want to show you the honest way to master the manual twist, from choosing the right bit to feeling the grain through your own palms. We’ll go over the proper grip, how to manage the pressure without slipping, and why a bit of patience is your best tool in the box.
Guide Overview
Tools & Supplies
- Hand drill (Corded or cordless power drill)
- Drill bits (Set appropriate for material)
- Workpiece (Wood, metal, or plastic)
- Safety glasses (1 pair)
Step-by-Step Instructions
- 1. First, you need to pick your bit, and for the love of all that is holy, make sure it is actually sharp. If you’re using an old bit you found in the bottom of a drawer, take a stone to it first; a dull bit won't cut the wood, it'll just mash the fibres and leave you with a mess.
- 2. Once you've got your bit, tighten it into the chuck. If you're using one of those old-fashioned bit braces, you'll need to use your hand to hold the head steady while you tighten the mechanism. Don't go overdoing it, but ensure it's firmly seated so you aren't fighting a wobbling bit halfway through the hole.
- 3. Now, mark your spot. Don't just eyeball it and hope for the best like a novice. Take a center punch or a sharp nail and give the wood a proper indentation. This gives the tip of the bit a place to live so it doesn't wander off across your workpiece the moment you start turning.
- 4. Get into position. Hold the frame of the drill with your dominant hand, and if it’s a brace, use your other hand to steady the top. You want to apply steady, even pressure downwards. If you're too light, the bit will skip; if you're too heavy, you'll just stall the mechanism and frustrate yourself.
- 5. Start the rotation. Use long, smooth strokes to get the bit moving. You aren't trying to race a petrol engine here; you're looking for a rhythmic, controlled motion. If you feel the resistance suddenly increase, stop, back the bit out a fraction to clear the shavings, and then continue.
- 6. Watch the exit. As the tip of the bit approaches the underside of the timber, ease up on the pressure. This is where most people ruin their work by letting the bit blow out the back of the wood. Slow down, let the sharpness of the tool do the work, and you'll come out with a clean hole on both sides.
Refining Your Grip How to Hold a Hand Drill
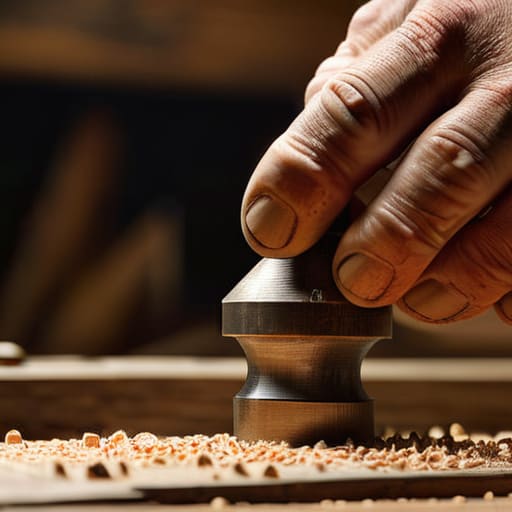
You can’t treat a hand drill like a cordless impact driver; you can't just squeeze a trigger and let the machine do the thinking. To get any real work done, you need to become part of the tool. When I was teaching my apprentices, I’d tell them the same thing: your grip is what dictates your accuracy. For most of the job, you want your dominant hand wrapped firmly around the top chuck, providing the downward pressure, while your other hand supports the frame or the handle. This is the foundation of maintaining hand tool precision; if your hands are fighting each other, your hole will wander.
It’s a bit of a dance, really. You’ll find that how to hold a hand drill changes slightly depending on whether you’re drilling into wood vs metal. With timber, you can afford a more aggressive, driving grip to bite into the grain. But when you're working with something harder, you need to lighten your touch and let the rotation do the heavy lifting. If you find yourself white-knuckling the frame, you’ve already lost the battle. Relax your shoulders, find the rhythm, and let the tool find its own way through the material.
The Art of Manual Drill Techniques
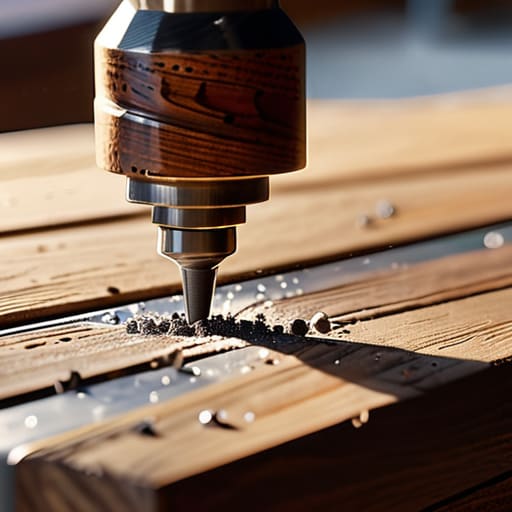
You’ll find that the real skill isn't in the strength of your arm, but in how you manage the rhythm. When you're working through different materials, you have to adjust your pressure constantly; there is a world of difference between drilling into wood vs metal. With timber, you want a steady, driving motion to prevent the grain from splintering. Metal, however, requires a lighter touch and a slower cadence. If you force it, you’ll simply heat the bit until it's useless, and as I always say, a burnt bit is a wasted bit.
I also tell my former students that you must listen to the tool. A hand drill tells you exactly what it’s doing through the vibrations in your palm. If the resistance feels uneven, stop. Check your alignment and ensure you aren't wandering off-center. Maintaining that level of control is what separates a professional finish from a hole that looks like it was chewed by a rodent. It’s about patience and tactile feedback, not brute force. Once you master that connection, you’ll stop looking for the battery charger.
Five ways to stop fighting the tool and start working with it
- Check your bit before you even touch the wood. If the cutting edge is dull or nicked, you'll spend more time wrestling the handle than actually making a hole, and you'll likely wander off your mark in the process.
- Don't try to force the speed. A hand drill isn't a race; it's about steady, rhythmic pressure. If you find yourself leaning your whole weight into it just to get it to bite, you're doing it wrong. Slow down and let the tool do the work.
- Keep your workpiece steady. I've seen too many lads try to hold a piece of timber with one hand and the drill with the other. Use a clamp or a bench vice. If the wood moves, your hole moves, and you'll end up with a mess.
- Listen to the sound of the wood. You'll hear a difference between a clean, crisp cut and a dull, tearing sound. When it starts sounding ragged, it's time to ease off the pressure or check if your bit is getting clogged with shavings.
- Clear the dust as you go. It’s tempting to just drive the bit straight through, but pulling the drill out halfway to clear the flutes prevents the bit from binding. A clear path makes for a much smoother hole.
Putting the tool to work
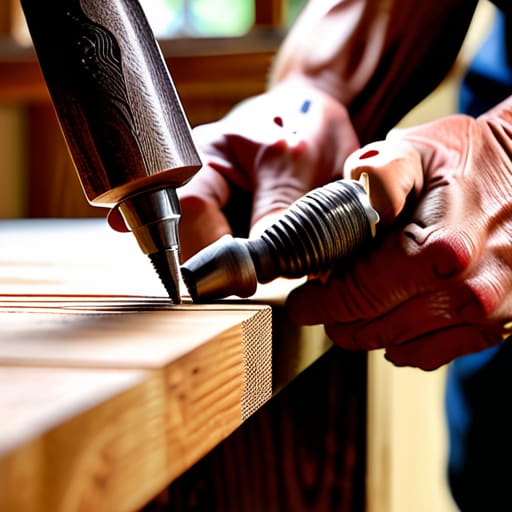
At the end of the day, using a hand drill isn't about brute force; it’s about the marriage of steady pressure and a bit of patience. You’ve learned how to find that right grip, how to keep your body positioned so you aren't fighting the tool, and how to listen to the wood as the bit bites in. If you remember to keep your bits clean and your movements controlled, you’ll find you aren't just making holes—you’re making them exactly where they belong. It takes a bit more discipline than just pulling a trigger on a cordless driver, but once you master the rhythm, you stop wrestling with the material and start working with it.
I know the modern world wants everything done at a sprint, but there is a quiet sort of pride in doing a job properly by hand. When you finish a piece of work and see a clean, precise hole without the splinters or the frantic noise of a motor, you'll know the difference. Don't let anyone tell you that you're being slow just because you're being careful. A bit of manual effort might take a few extra minutes, but precision is never a waste of time. Put the battery charger away for an afternoon and just feel the work. You might find you don't miss the noise nearly as much as you thought.