A Window Seat With Storage
 Callum Reith-Sowande
I remember standing in a student’s workshop back in the late nineties, watching a lad struggle with a vibrating, battery-hungry circular saw, trying to force a straight line through some oak for a built-in bench. He was sweating, swearing, and the cut was as crooked as a dog's hind leg. He thought he needed more power to finish the job, but the truth is, he just needed a bit of patience and a well-tuned hand saw. Most people think you need a garage full of expensive, disposable power tools to learn how to build a window seat, but that's a load of rubbish. You don't need a mountain of plastic gear; you need proper joinery and a steady hand.
In this guide, I’m going to show you how to approach this project the right way—the slow way that actually lasts. I won't be feeding you any of that "quick-fix" nonsense you see in glossy magazines. Instead, I'll walk you through the fundamental framing, the importance of a clean joint, and why your hand tools should be your first choice, not an afterthought. We’ll focus on building something that doesn't just look good on day one, but stays solid as a rock for the next forty years.
Guide Overview
Tools & Supplies
- Circular saw for cutting lumber to size
- Drill/Driver for assembling the frame and attaching hardware
- Kreg Jig for pocket hole joinery
- Level to ensure the base is even
- Sandpaper for smoothing surfaces
- 2x4 lumber for the internal frame
- 3/4 inch plywood for the seat and top
- Wood screws (various lengths)
- Wood glue for reinforced joints
- Paint or stain for the finish
Step-by-Step Instructions
- 1. First, you need to get your measurements right. Don't just eyeball the space under that window; get a tape measure and find the exact width, depth, and height. I’ve seen too many lads build a bench only to find it’s an inch too wide for the alcove because they were too rushed to check the corners. Write these numbers down on a piece of scrap timber or a proper notepad—don't rely on your memory.
- 2. Once you have your dimensions, it's time to lay out your frame. I prefer using solid timber for the carcass rather than those flimsy, particle-board bits you find in big-box stores. Use a square to mark your joints, and for heaven's sake, ensure every line is true. If your layout is crooked, your seat will be crooked, and no amount of sanding will ever fix a structural mistake.
- 3. Now, we get to the cutting. This is where most people reach for the circular saw because they're in a hurry, but if you want a clean edge that doesn't splinter, pick up your handsaw. Take your time with the cuts. A slow, steady stroke with a sharp saw will give you a much cleaner face than a vibrating power tool ever could. It’s about control, not speed.
- 4. Assembly is where the strength of the piece is decided. I always recommend using a combination of good quality wood glue and mechanical fasteners. If you're feeling traditional, a few well-placed mortise and tenon joints will make that seat last a lifetime. Just remember: glue is your friend, but don't go overboard and turn the whole thing into a sticky mess that won't take a finish.
- 5. Once the frame is sturdy, you can move on to the seat itself. Whether you're using thick oak planks or a single piece of plywood, make sure it's level. If you're using solid wood, remember that it's going to move with the seasons. I usually leave a tiny bit of breathing room or use slotted holes for the fixings so the wood can expand and contract without cracking your frame.
- 6. The final stage is the finishing, and this is where you can't cut corners. Sand everything by hand. Start with a coarser grit to get the marks off, and work your way up to a fine finish. If you try to skip the middle grits, you'll just end up with a surface that looks smooth but feels like sandpaper once you apply the oil. A bit of patience here makes the difference between a clumsy job and a craftsman's piece.
Mastering Built in Bench Construction With Hand Tools
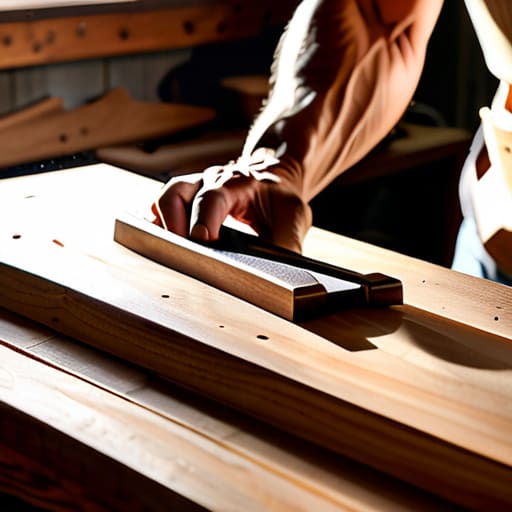
When you're deep into the built-in bench construction, the temptation to grab a circular saw and power through the carcass is strong. Resist it. If you want those joints to sit tight against the wall without a gap that'll haunt you later, you need to rely on your bench planes and a well-set chisel. I’ve spent forty years seeing lads try to force a fit with a cordless impact driver, only to end up with a wobbly mess. Using a hand plane to shave a fraction off a rail isn't just "old fashioned"—it’s the only way to get a true, square edge that holds up over time.
While you're planning your custom window seat design ideas, don't forget that a bench is more than just a seat; it's a structural element. If you're incorporating integrated storage solutions, like pull-out drawers or cubbies, your tolerances need to be spot on. I always tell my students: if you can't feel the wood resisting your tool, you're just hacking at it. Take the time to check your levels and your squareness with a marking knife rather than a thick pencil. It’s the difference between a piece of furniture that lasts a lifetime and something that's destined for the skip.
Calculating Diy Window Seat Dimensions for a Perfect Fit
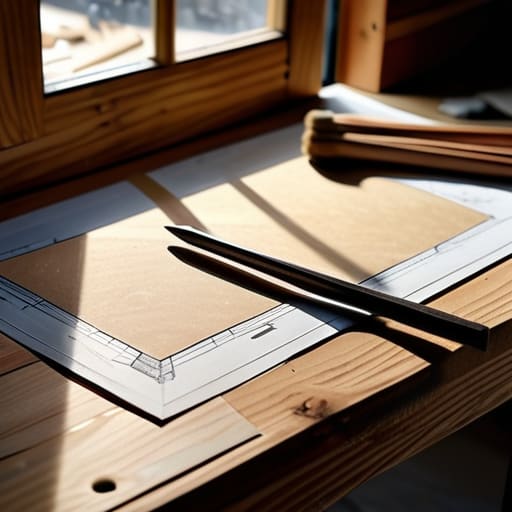
Before you even touch a piece of timber, you need to sit down with a pencil and a scrap of paper. Most folk make the mistake of measuring only the width of the alcove, but they forget about the depth and the height. If you’re planning on integrated storage solutions beneath the bench, you’ve got to account for the thickness of your base and the clearance for the drawer runners. A common pitfall is ignoring the window sill height; if your seat is too high, you’ll be staring at the glass rather than looking through it.
I always tell my students: measure the floor where it meets the wall, not where you wish it met the wall. Floors settle and walls are rarely, if ever, square. If you’re looking for custom window seat design ideas, don't forget to factor in the thickness of your window seat cushion foam too. A bench that feels perfect when empty can become an uncomfortable perch once you add six inches of high-density foam. Get those DIY window seat dimensions right on paper first, or you'll spend your whole weekend fighting with a spirit level and a lot of regret.
Five Things I’ve Learned the Hard Way
- Check your floor for level before you even think about cutting a single piece of timber. Houses settle, and if that floor is sloping—which it almost certainly is—a perfectly square bench will look like a joke once it’s sitting in the room. Use a spirit level, not your eyes.
- Stop relying on those cheap, plastic speed squares. If you want a window seat that looks like it belongs in a proper house rather than a garden shed, get yourself a solid brass or heavy steel square. It won't warp, and it'll actually tell you the truth when you're marking your joints.
- Don't go rushing in with a heavy-duty jigsaw for the decorative trim. You'll end up with jagged edges that no amount of sanding will ever truly fix. Take a fine-tooth handsaw and do the heavy lifting with patience; it's much easier to clean up a clean cut than to fight a ragged one.
- When you're choosing your timber, look past the pretty grain and check the stability. If you buy a piece of wood that’s already bowed or twisted because the shopkeeper wanted to move stock, you're just setting yourself up for a headache when you try to join it to the wall.
- Invest in a decent set of chisels and learn to hone them properly. You’ll need them for paring back those mitres and cleaning out the joinery where the bench meets the casing. A blunt chisel won't cut the wood; it'll just mash the fibres, and you'll never get that crisp, professional finish.
The Final Grain
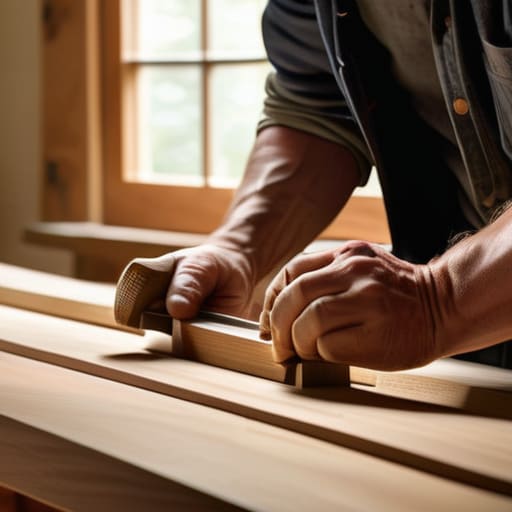
Building a window seat isn't just about screwing some boards together and hoping they don't wobble. It’s about the math you did before the first cut, the way you accounted for the floor's wonkiness, and—most importantly—the quality of your joinery. If you’ve taken the time to measure twice and kept your chisels sharp enough to shave with, you’ll find the assembly goes far smoother than any man relying on a cheap, vibrating sander ever could. Remember, a well-constructed bench is only as good as its weakest joint, so don't rush the process just to get to the cushion stage.
At the end of the day, a piece of furniture like this is meant to outlast us. I’ve spent forty years seeing men build things meant to be replaced in five, but when you use your hands and respect the timber, you’re building something that stays. Don't be in such a hurry to finish that you forget to enjoy the work. There is a particular kind of satisfaction in sitting on a bench that you shaped, planed, and fitted yourself. Take pride in the steady work, and the result will speak for itself long after the sawdust has settled.