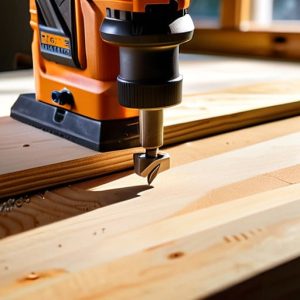
Two Jigs Worth Making First
 Callum Reith-Sowande
You can spend a small fortune on fancy, cast-iron clamping systems and heavy-duty vices, but if you don't know how to make bench hooks and shooting boards, you’re just fighting your own timber. I remember my first year as an apprentice, trying to plane a straight edge while the workpiece skated across the bench like a puck on ice. It wasn't the wood's fault; it was mine for not having a proper setup to hold it steady. Most modern shops are cluttered with expensive gadgets that solve problems they created in the first place, but a bit of scrap timber and a solid design will give you more control than any hydraulic clamp ever could.
In this guide, I’m going to show you the honest way to build these two essentials from scratch. We aren't going to worry about ornamental flourishes or unnecessary complexity; we are focusing on sturdy, reliable geometry that works every single time you pick up a plane. I’ll walk you through the exact dimensions and joinery I used during my years teaching in the college, ensuring your tools can do the work they were meant to do without the constant struggle.
Guide Overview
Tools & Supplies
- Table saw or circular saw for straight ripping
- Hand saw or miter saw for crosscuts
- Drill and driver for securing stops
- Sandpaper for smoothing edges
- Square to ensure 90-degree angles
- Plywood or MDF (1/2" to 3/4" thickness) 2 sheets
- Wood glue for permanent joints
- Screws or nails for assembly
- Sandpaper (various grits)
Step-by-Step Instructions
- 1. Start with a piece of decent, heavy timber for the base—I usually go for a scrap of thick birch plywood or a solid piece of oak if I’m feeling indulgent. You want something with enough heft to stay put when you’re working, because a bench hook that skitters across the bench is worse than useless. Mark out your fence line with a square, making sure it’s perfectly perpendicular to the edge, or you'll find your workpiece wandering mid-cut.
- 2. Once you've marked your lines, it's time to cut. I don't care how much you like your jigsaw, but if you want this to work, you should cut the fence using a fine-toothed hand saw. A clean, straight edge is the difference between a stable tool and a frustrating mess. If the cut is ragged, you'll just spend the next hour trying to plane the fence flat instead of actually working.
- 3. Now, you need to create the "stop"—that's the bit that actually holds the wood against the bench. I prefer to use a separate piece of hardwood for this, glued and screwed into the fence. Make sure the face of the stop is dead flat. I’ve spent many a morning in the college workshop correcting students who thought they could just slap a piece of MDF on there and call it a day.
- 4. For the shooting board, the logic changes slightly. You aren't just making a stop; you're making a reference surface. You’ll need to build a frame that sits flush against your bench or a miter box. The most important part here is the angle of the fence. If you’re aiming for a 45-degree bevel, don't trust a cheap plastic protractor; use a reliable sliding bevel and check it against a known square.
- 5. Once the frame is assembled, you need to attach your sacrificial fence. This is the part that takes the abuse from your workpiece. I always use a piece of straight-grained timber that I can replace easily once it gets beat up. Don't go wasting your good stock on a part that's meant to be a consumable; treat it like any other part of the tool that will eventually need a bit of love.
- 6. The final, and perhaps most vital, step is the leveling. Take your finest plane—the one you spent all last weekend sharpening—and plane the entire surface of the shooting board until it is perfectly true. If the board isn't flat, your miters won't be either. You can have the sharpest chisel in the world, but if your reference surface is lying to you, you're just making expensive firewood.
Mastering Precision Joinery Tools Without the Electric Noise
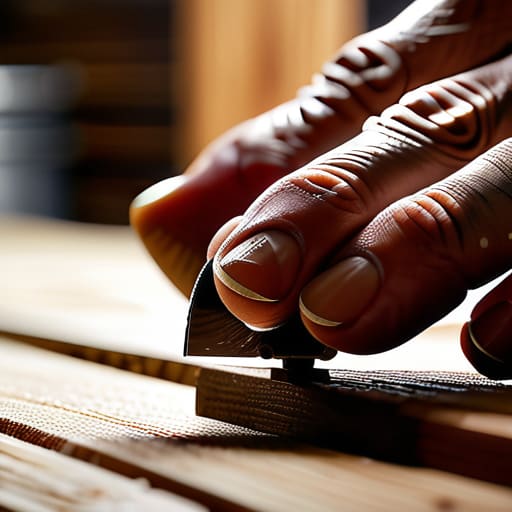
Once you’ve got your hooks and boards built, you’ll notice something about the way you work. There’s a quietness to it that lets you actually hear the wood. When I was teaching the apprentices, I always told them that if you can’t hear the shaving curling off the blade, you aren't paying enough attention. These precision joinery tools aren't just about holding the wood still; they are about feedback. A shooting board, for instance, gives you a physical sense of the grain that a table saw simply cannot replicate. It turns the task of squaring up timber from a loud, dusty chore into a controlled, meditative process.
Don't go thinking these are just bits of scrap wood cluttering up your bench. Think of them as essential woodworking shop aids that bridge the gap between a rough cut and a finished joint. I’ve seen many a lad rush straight to the power sander because they lacked the patience for a proper setup, but that’s where the mistakes happen. If you take the time to dial in your shooting board, you’ll find that hand plane accuracy becomes second nature, and you'll spend far less time fixing errors later on.
Achieving Hand Plane Accuracy Through Better Diy Woodworking Jigs
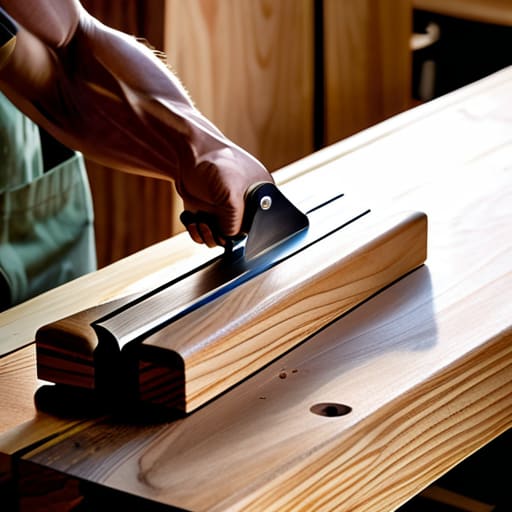
If you’ve followed my steps for building these aids, you’ve already got a better setup than most of the lads I used to teach. But a jig is only as good as the way you use it. When I’m working on a piece of oak that needs a perfectly true edge, I don't just rely on the wood being straight; I rely on the stability of my shooting board. You see, even the best precision joinery tools can't compensate for a workpiece that shifts mid-stroke. I always make sure my bench hook is clamped tight—no wobbling allowed—because if that hook moves even a fraction of a millimeter, your entire edge is ruined.
Another thing to keep in mind is the importance of squaring up timber before it ever touches your shooting board. If your stock is twisted or bowed, you'll spend more time fighting the wood than actually refining the joinery. I treat my DIY woodworking jigs as extensions of my own hands. They aren't just bits of scrap wood; they are the foundation of your accuracy. Take the time to check that your boards are dead flat and your fences are truly square. It might feel like extra work, but it's much faster than trying to fix a mistake with a power sander later.
Five Ways to Get It Right the First Time
- Don't bother with fancy, expensive timber for these jigs. Use a decent piece of scrap hardwood or a stable plywood; the goal is rigidity and weight, not grain matching. If the jig flexes when you lean on it, your joinery will too.
- The stop block on your bench hook needs to be dead true. If that face isn't perfectly square to the base, every single saw cut you make will be slightly off-angle, and you'll spend the rest of the afternoon trying to plane out mistakes that shouldn't have happened.
- When you're building a shooting board, the angle of the fence is everything. I always use a dedicated bevel gauge to set it, and then I double-check it with a square. If you're off by even half a degree, you aren't shooting a joint; you're just making more sawdust.
- Make sure your bench hook has enough "meat" to it. It needs to stay put when you're sawing. I usually add a bit of extra weight or a way to clamp it down firmly. A sliding bench hook is a recipe for a slipped saw and a ruined workpiece.
- Keep your jigs clean and free of buildup. Sawdust gets trapped in the corners of your shooting board and can lift your timber just enough to throw your accuracy off. A quick brush-down between jobs keeps the precision where it belongs.
The Foundation of a Proper Workshop
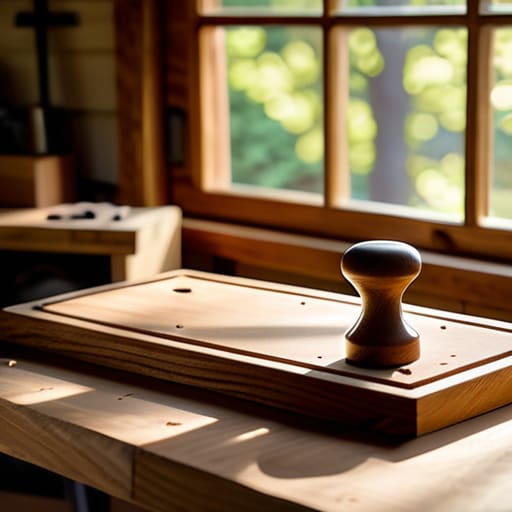
At the end of the day, these jigs aren't just bits of scrap wood cluttering up your bench; they are the difference between fighting your material and working with it. By building your own bench hooks and shooting boards, you’ve taken control over the stability of every cut and every plane stroke. You don't need a high-end, expensive clamping system from a catalog when you have a solid, well-aligned board that you made with your own two hands. Remember, the goal wasn't just to finish the project, but to ensure that every piece of timber is held exactly where it needs to be, allowing your tools to do what they were meant to do without any unnecessary struggle.
I know there’s a temptation to just reach for the power sander or the electric planer when things get tedious, but I urge you to resist it. There is a quiet, deep satisfaction in seeing a joint slide together perfectly because your shooting board held the line true. It’s about more than just efficiency; it’s about the mastery of the craft and respecting the tools you carry. Once you start relying on these handmade guides, you’ll find that the noise of the workshop fades away, leaving nothing but the sound of a sharp blade doing honest work. Keep your edges keen, keep your jigs square, and let the wood tell you when the job is done.