The Brace Does Things a Drill Cannot
 Callum Reith-Sowande
I remember standing in the workshop during my first year as an apprentice, watching my mentor reach for a heavy, cast-iron brace instead of the cordless drill sitting right there on the bench. I thought he was just being old-fashioned, but when he started boring through that thick oak, it was silent, steady, and precise. Most people think using manual tools is a chore or a way to waste time, but if you actually learn how to use a brace and bit properly, you’ll realize you aren't just making holes—you're gaining control. A power drill will tear through your grain and leave you with a mess to fix, whereas a well-set brace lets you feel the wood as you work.
I’m not here to give you a lecture or a list of fancy jargon you’ll never use. I want to show you the honest, practical way to set your bit, how to find that perfect rhythm with your arms, and why leaning into the tool is better than fighting it. We’ll cover everything from choosing the right auger bit to the exact moment you need to ease off the pressure. This is about working smarter, not harder, with tools that will last longer than your grandchildren.
Guide Overview
Tools & Supplies
- Brace (Hand-cranked manual drill)
- Bit (Auger or twist bit compatible with brace)
- Center punch (To mark starting point)
- Wood workpiece (1 piece)
- Safety glasses (1 pair)
Step-by-Step Instructions
- 1. Before you even touch the wood, you need to pick the right bit for the job. If you’re going through a thick piece of oak, don't try to force a tiny auger bit through it; you'll just end up fighting the tool and losing your grip. Match the diameter of the bit to the depth of the hole you need, and make sure the cutting edges are actually sharp. A dull bit is just a glorified lever, and you'll be working twice as hard for half the result.
- 2. Once you’ve got your bit seated in the chuck, you need to mark your spot. Don't just eye it. Take a center punch or even a sharp nail and give the wood a proper indentation. This gives the tip of the bit a place to live so it doesn't wander across your workpiece the moment you start turning. If that bit skips, you've already ruined the piece.
- 3. Get your stance right. You shouldn't be standing stiffly like a soldier; you want to lean into it. Place the head of the brace against your chest or your stomach, depending on how much leverage you need. You want to use your body weight to provide the downward pressure, not just your wrist. If you rely solely on your arms, you'll be exhausted before you've even cleared the first inch of timber.
- 4. Start the rotation with slow, deliberate turns. Don't go charging in like you're trying to start a lawnmower. Use your top hand to guide the sweep of the brace and your bottom hand to apply that steady, downward force. You're looking for a rhythmic motion here. Once the bit has bit into the grain and established its path, you can pick up the pace slightly.
- 5. This is the part where most people fail: you have to clear the chips. Every few turns, pull the bit partially out of the hole to flick away the sawdust and wood shavings. If you let those chips pack in tight around the flutes, the bit will bind, and you'll find yourself straining against the tool instead of cutting through it. Keep that fluting clear so the bit can breathe.
- 6. When you feel the resistance change—usually when you hit a knot or the underside of the timber—slow down. Don't try to power through a knot with brute force; that's how you snap a bit or split the wood. Instead, listen to the tool. A good brace tells you exactly what it's doing through the handle. If it feels like it's struggling, back off, clear the waste, and try again with a steadier hand.
Mastering Hand Drill Technique for Precision Control
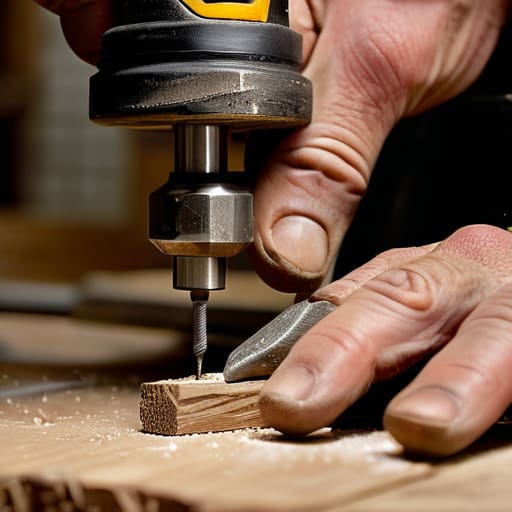
The trick to mastering your hand drill technique isn't about brute force; it’s about rhythm. When you’re drilling large diameter holes, the temptation is to lean your whole weight into the head of the brace. Don't. If you do, you'll likely slip or, worse, split the timber you're working on. Instead, use your non-dominant hand to steady the top of the brace and let your body weight provide a steady, controlled pressure. You want to feel the bit biting into the grain, not fighting against it. If you feel the tool stuttering, stop. Back the bit out, clear the shavings, and start again.
I've seen too many young lads treat manual boring tools like they’re using a cordless driver, forcing the pace until they lose control. Real woodworking manual drilling requires patience. You need to listen to the wood. A clean, rhythmic sound tells you the edge is sharp and the path is true. If the resistance suddenly changes, it’s usually because you’ve hit a knot or the bit is getting choked with sawdust. Clear the flutes often, and never rush the process.
Drilling Large Diameter Holes Without the Battery Drain
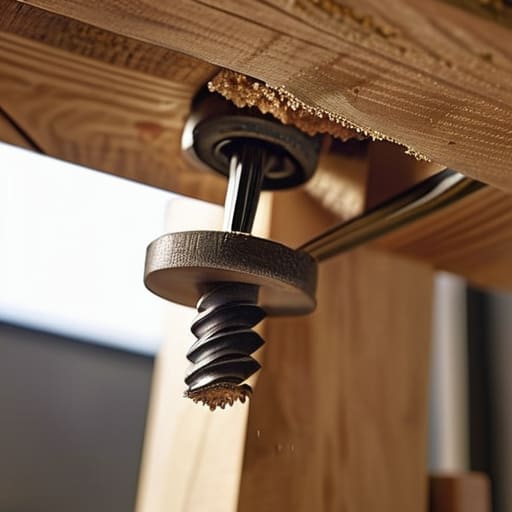
When you’re faced with a massive timber beam and need to clear a wide hole, the temptation is to reach for the cordless driver. But those batteries die exactly when the work gets interesting, and a power drill will often wander off-course in thick grain. For drilling large diameter holes, you want a heavy-duty auger bit paired with a sturdy brace. The trick isn't about brute force; it’s about the rhythm. You have to let the screw tip of the auger bite into the wood, drawing the tool forward. If you try to muscle it, you'll just tire your shoulders out before the job is halfway done.
I always tell my former students that patience is a mechanical advantage. When using manual boring tools for big diameters, you must clear the chips frequently. Don't just keep turning; pull the bit back every few rotations to let the flutes eject the sawdust. If you let the waste build up, you'll create friction that heats the steel and ruins your edge. Keep your movements steady, and you'll find that woodworking manual drilling is actually more efficient than fighting a motor that wants to kick back.
Five Ways to Stop Fighting the Wood
- Don't try to muscle it. If you're leaning your whole weight into the sweep, you're doing it wrong. You want a steady, rhythmic pressure through your chest, letting the screw on the bit pull itself into the grain.
- Check your bit's edge before you start. I’ve seen lads spend twenty minutes sweating over a hole that a sharp bit would have cleared in thirty seconds. If it’s dull, it’ll wander; if it’s sharp, it’ll track.
- Watch your lead hand. Your non-driving hand isn't just there for decoration; it needs to apply downward pressure on the head of the brace to keep it from skittering across the surface when the bit first bites.
- Listen to the wood. A good brace makes a specific sound—a steady, slicing noise. If you hear it crunching or straining, you're pushing too hard or your bit is choked with shavings. Back off and clear the flutes.
- Mind your exit. When you get close to the back of the timber, ease off the pressure. If you keep driving hard, the bit will blow out the back and leave you with a splintered mess instead of a clean hole.
The Value of the Slow Way
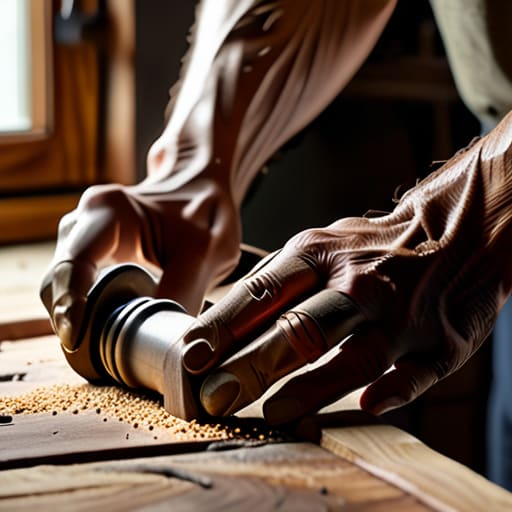
At the end of the day, mastering the brace and bit isn't about being a luddite; it’s about having total command over your workpiece. You’ve learned that it starts with the right bit, requires a steady hand to keep that pilot hole true, and relies on your body weight rather than some noisy motor to get the job done. If you listen to the wood and feel the resistance through the handle, you’ll stop fighting the material and start working with it. It’s a matter of patience and knowing when to lean in, ensuring every hole is as clean as the last without the risk of a battery dying or a high-speed bit tearing through your grain.
I know the modern workshop is full of gadgets that promise speed, but speed is useless if you’ve ruined a good piece of oak in the process. There is a certain quiet satisfaction in finishing a task with a tool that doesn't need a charging cable—just a bit of oil and a bit of elbow grease. Don't let the rush of the modern world rob you of the skill that comes from working by hand. Once you get the rhythm of the brace, you’ll find that you aren't just making holes; you're building a connection to the craft that no power tool can ever replicate.