A French Cleat Wall for Tools
 Callum Reith-Sowande
I spent thirty years on site and another ten in the classroom, and if there is one thing I’ve learned, it’s that a cluttered workbench is a sign of a cluttered mind. Most people think they need fancy, expensive modular systems to get organized, but that’s just more plastic junk destined for a landfill. The truth is, if you want to actually work instead of just searching, you need to learn how to build a tool wall that respects the tools you actually use. I remember a particular afternoon in the college workshop, watching a lad spend twenty minutes digging through a bin of mismatched screwdrivers while his timber sat waiting; it was a complete waste of talent.
I’m not here to sell you on some high-tech gadgetry that’ll break by next Christmas. Instead, I’m going to show you how to build a proper, sturdy setup using basic timber and common sense. We’ll go over the right way to layout your chisels and planes so they stay protected, and I'll explain how to ensure everything is within reach without turning your shop into a mess. This is about creating a workspace that works for you, not against you.
Guide Overview
Tools & Supplies
- Tape measure for precise layout
- Drill/Driver for mounting
- Level to ensure straight lines
- Saw for trimming materials
- Pencil for marking measurements
- Plywood or Pegboard (1 large sheet)
- Wood screws (1 box)
- Wall anchors (1 pack)
- Timber studs or cleats (2-3 pieces)
Step-by-Step Instructions
- 1. First, you need to decide what you're actually hanging. I've seen lads build massive pegboard systems only to realize they have no place for their heavy mallets or their larger planes. Sit down with your tools and sort them by frequency of use. If you haven't touched a specific chisel in three years, it doesn't belong on the wall; it belongs in a drawer or a chest. You want your most trusted implements right at eye level where they are easy to grab.
- 2. Pick your substrate. Now, some people will tell you to buy those flimsy, pressed-wood pegboards from the big-box stores, but I won't have it. They warp, they sag, and they don't hold a heavy tool for long. If you want something that lasts, use thick plywood or even better, a French cleat system. A proper piece of 18mm birch ply will give you a solid, honest foundation that won't give way when you hang a heavy block plane.
- 3. Map it out before you drive a single screw. Take a pencil and a piece of chalk and mark out the "zones" on your wood. I like to keep my sharpening gear in one area and my measuring tools in another. You don't want to be hunting through a jumble of steel when you're trying to find a marking gauge. Plan the layout based on how your hands naturally move when you're working.
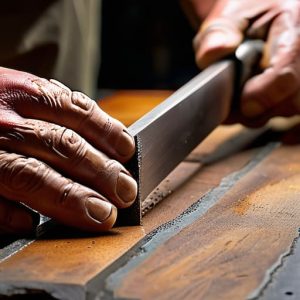
- 4. If you're going the cleat route, this is where the real work begins. You'll need to cut your strips at a precise 45-degree angle. If that angle is off by even a fraction, your tool holders will never sit flush, and they'll clatter every time you walk past. Use a sharp bevel edge chisel to clean up your cuts—don't rely on a saw to do all the heavy lifting if you want a tight, professional fit.
- 5. Now, get that wall mounted. Don't just screw it into the plasterboard and hope for the best; that's a recipe for a broken toe and a ruined tool. You must find the studs in the wall and fix your board directly to them. I prefer using heavy-duty coach screws to ensure that when I hang a heavy set of joinery chisels, the whole thing stays dead steady.
- 6. Start building your individual holders. I don't care for those plastic hooks you see in the aisles; they're made of rubbish and they'll snap. Instead, make your own holders out of scrap hardwood. A simple block of oak with a routed groove is all you need to hold a chisel safely. It’s better to spend an hour making a holder that fits your tool perfectly than to use a cheap bit of plastic that fails you mid-job.
- 7. Finally, hang the tools and check the balance. Once everything is up, stand back and look at it. If you find yourself reaching awkwardly or if a tool feels like it's about to tip over, adjust the position immediately. A tool wall should be an extension of your workspace, not a cluttered mess that gets in your way. It should be organized for speed, so you can get back to the wood.
Pegboard vs French Cleat Choosing Your Foundation
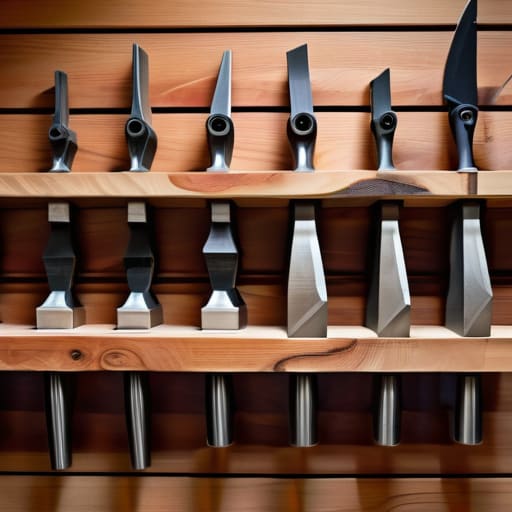
Now, you’ll likely find yourself stuck on the old debate of pegboard vs french cleat before you even pick up a saw. If you’re looking for a quick fix, pegboard is fine for light bits—screws, small pliers, or bits of twine. It’s cheap and easy to slap up, but it’s flimsy. I’ve seen too many men try to hang heavy block planes or mallet sets on a bit of thin fiberboard, only to have the whole thing sag or tear out of the wall. It’s a waste of time if you want a system that lasts.
If you want to do it right, you go with the French cleat. It’s more work, certainly, but it’s the only real way to handle custom tool storage diy that actually respects the weight of decent gear. A cleat system allows you to build individual holders for your chisels or planes and move them around as your kit grows. It’s about organizing workshop space with intention. Once you’ve built a solid cleat foundation, you aren't just storing tools; you're building a workspace that stays steady under your hands.
Custom Tool Storage Diy That Honors the Edge
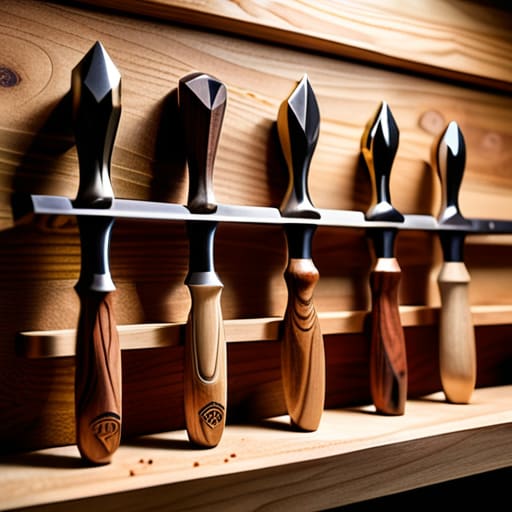
If you’ve decided against the standard pegboard approach, I suggest you look into some custom tool storage DIY that actually accounts for the weight and fragility of real implements. A standard plastic hook won't do for a heavy, well-balanced smoothing plane or a set of bevel-edge chisels. Instead, I like to fashion small wooden blocks or dedicated cradles. If you're mounting tool holders for something like a mallet or a heavy framing chisel, make sure the support is solid. You don't want your precision tools wobbling every time you reach for them; a tool that shifts is a tool that gets nicked.
When you're organizing workshop space, remember that accessibility is secondary to protection. I’ve seen too many fellas treat their chisels like screwdrivers, just tossing them onto a rack. For my sharpest edges, I build small, lined wooden trays that clip into my cleat system. This keeps the steel from rubbing against metal or hard plastic, which is one of the best garage storage solutions for anyone who actually cares about their bevels. It takes a bit more time upfront, but a tool kept safe is a tool that stays sharp.
Five Rules for a Wall That Actually Works
- Keep your most used chisels at eye level. There is no sense in building a beautiful display if you have to squat down or reach up every time you need to take a fine paring cut.
- Leave enough breathing room between your hooks. If you cram your tools together like sardines, you’ll end up knocking the edge off one tool just trying to grab another.
- Don't just hang them; group them by task. I keep my marking tools in one spot and my cutting edges in another. It stops the mindless searching that kills your momentum.
- Test the weight before you commit. A heavy set of planes or a collection of mallets will pull a flimsy pegboard right off the studs if you aren't careful with your fixing points.
- Build in space for your sharpening gear. A tool wall isn't just for storage; it should be a roadmap of your workflow, keeping your stones and honing guides within arm's reach of the tools themselves.
A Wall That Works as Hard as You Do
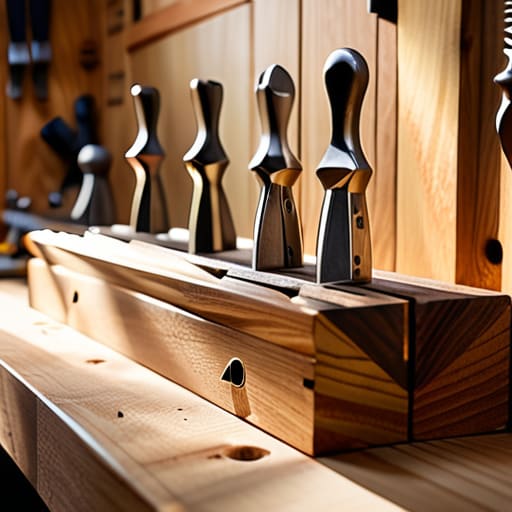
Building a proper tool wall isn't about making a workshop look pretty for a magazine spread; it’s about respect. Whether you decided on the quick versatility of pegboard or went the extra mile with a solid French cleat system, the goal remains the same: accessibility. You've laid the foundation, you've chosen your mounting method, and you've built storage that actually honors the shape and the edge of your implements. Remember, if you can't see a tool, you won't use it, and if you have to dig through a drawer to find your marking gauge, you've already lost the rhythm of the work. A well-organized wall ensures that your workflow stays uninterrupted by the chaos of a cluttered bench.
At the end of the day, a workshop is a living thing that grows with you. Your tool wall won't be finished the moment the last screw is driven in; it will evolve as you acquire new chisels, restore old planes, and refine your craft. Don't be afraid to move things around or add a new notch when a new tool earns its place in your kit. Treat your storage with the same care you give to your sharpening stones, and it will serve you faithfully for decades. A tidy shop is a quiet shop, and in that quiet, you'll find you can finally hear the grain and focus on the cut.