Checking a Level Against Itself
 Callum Reith-Sowande
I remember a lad I taught back at the college, a bright enough kid, who spent three weeks’ wages on a fancy digital laser level because the brochure promised "unmatched precision." He spent more time calibrating the bloody thing than actually setting his frames. It’s the same nonsense I see online today—people getting bogged down in tech specs and digital readouts when they should be looking at the bones of the tool. If you want to know how to review a spirit level, you don't look at the fancy screen; you look at the vial, the build, and whether it can actually hold its ground on a dusty site.
I’m not here to sell you on the latest gadget or some over-engineered piece of plastic that’ll end up in a landfill by Christmas. I’m going to show you how to test a level the way a proper tradesman does: by checking the stability of the base, the clarity of the liquid, and the honesty of the bubble. I’ll give you the straight truth on what to look for so you can buy a tool that lasts a lifetime, not just a single job.
Machined Edge Quality and the Truth of Contact
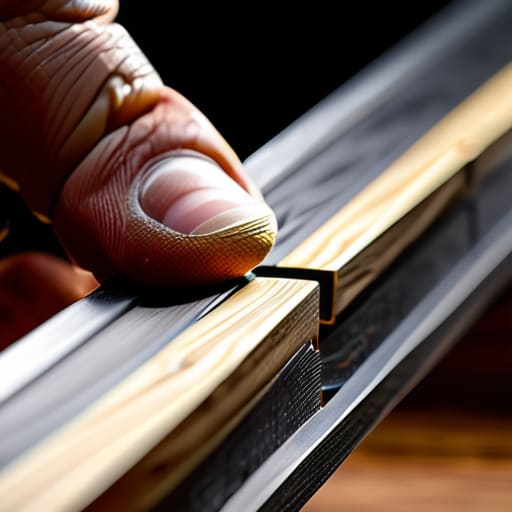
When you pick up a level, the first thing you shouldn't look at is the vial; you should look at the metal itself. I’ve seen plenty of modern, cheap-as-chips levels where the base is slightly bowed or has a burr from a sloppy factory run. If that bottom edge isn't perfectly flat, you aren't measuring a surface; you're measuring a mistake. I always run my thumb along the bottom edge to check the machined edge quality. If it feels uneven or rough, it’ll rock on your timber, and a rocking level is nothing more than a glorified paperweight.
It’s not just about how it feels, though; it’s about how it sits. A decent tool should have a dead-flat contact point that doesn't skip when you slide it across a joist. If the frame is made of thin, flimsy aluminium that flexes under your grip, you can forget about reading level accuracy entirely. You want something with enough heft and structural integrity that the metal stays true, regardless of how much you're bumping it around a job site.
The Brutal Reality of Vial Accuracy Testing
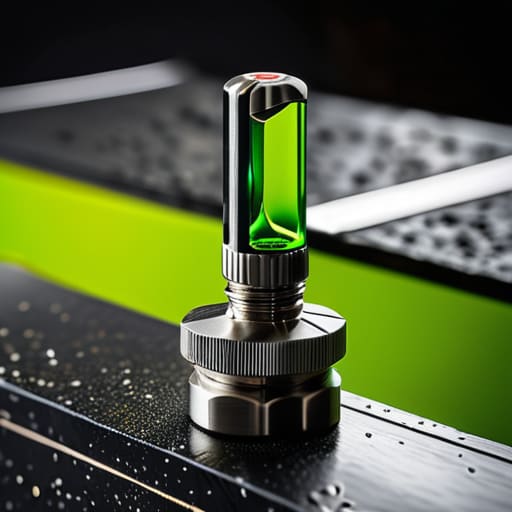
You can’t just glance at a level in the shop and call it a day. To do proper vial accuracy testing, you have to put it through the paces where it actually matters. I always use the flip method: set the level on a known flat surface, note the bubble position, then rotate the tool 180 degrees. If that bubble jumps even a hair, the vial is rubbish. It doesn't matter how much weight the casing can take if the internal alignment is flawed.
I’ve also seen plenty of cheap levels where the liquid is so murky you can barely see the line. If you’re working in a dim corner of a site or under a staircase, bubble vial visibility is everything. If you’re squinting just to find the center, you’re going to make a mistake, and that’s when the error becomes permanent. A tool is only as good as what you can actually see with it. Don't buy something that requires a torch just to confirm a plumb line; if the clarity isn't there from the start, leave it on the shelf.
Five Things to Check Before You Trust a Level
- Check the base for flatness. I’ve seen plenty of "professional" levels come out of the box with a slight twist in the metal. If you can feel a wobble when you slide it across a known flat workbench, it’s nothing more than a glorified stick.
- Look at the vial housing. It shouldn't just be glued in; it needs to be seated tight. If there’s any play or movement when you tap the level, the liquid will slosh and give you a false reading, making the whole tool useless.
- Test the readability in bad light. You aren't always working under bright studio lamps; sometimes you're in a dark corner or under a scaffold. If the bubbles are tiny or the color is washed out, you'll spend more time squinting than working.
- Examine the end caps. They should be heavy-duty and flush. If they’re flimsy plastic that’s going to crack the first time you set the level on a stone floor, you're buying a tool that's destined for the scrap bin.
- Feel the weight and balance. A level doesn't need to be heavy, but it shouldn't feel like a toy. If it feels hollow or flimsy in your hand, it likely lacks the structural integrity to stay true after a few months on a job site.
Don't Settle for "Good Enough"
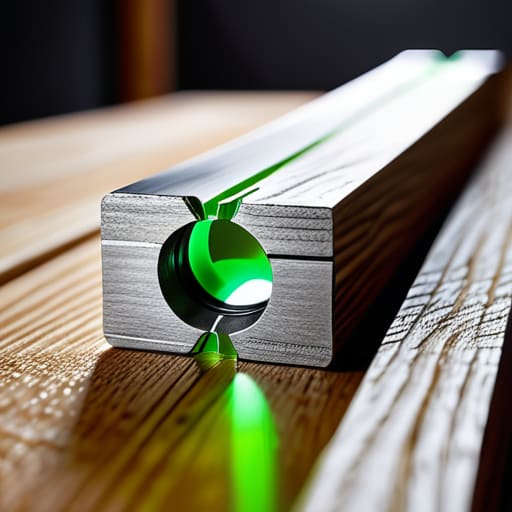
At the end of the day, reviewing a spirit level isn't about reading a glossy brochure or trusting a marketing claim. It comes down to two things: how the metal sits against your timber and whether those vials actually tell the truth when you put them to the test. If the base is bowed or the vials are sluggish, you aren't just working harder; you're building mistakes into the very bones of your project. I’ve seen too many lads buy a cheap, plastic-bodied level because it saved them a few quid, only to spend the next three hours fighting a crooked frame that should have been straight in ten minutes. If it doesn't pass the contact test and the accuracy check, it’s nothing more than a piece of scrap metal in a fancy box.
I know the modern trend is to go for the loudest, most expensive laser level you can find, but there is a quiet confidence in a well-made, solid level that stays true for decades. A good tool shouldn't be something you replace every time a new model comes out; it should be something you can rely on blindly when you're working solo on a deadline. Invest in the quality of the build, check the precision yourself, and never be afraid to walk away from a tool that lies to you. In this trade, your reputation is only as straight as your level.