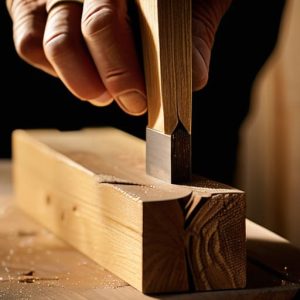
A Chopping Board That Will Not Delaminate
 Callum Reith-Sowande
Most people think you need a workshop full of expensive, screaming machinery to make a decent piece of kitchenware, but they’ve got it backward. I’ve seen too many beginners struggle with how to build a chopping board by relying on dull, vibrating power tools that leave the wood looking bruised rather than cut. I remember one of my old apprentices, a lad with more enthusiasm than sense, trying to force a router through a piece of walnut only to end up with a scorched, uneven mess. He thought he was saving time, but he was just fighting the material. You don't need a mountain of plastic tools to get a professional finish; you just need a bit of patience and a blade that actually bites.
In this guide, I’m going to show you the honest way to get the job done without the unnecessary noise. I’ll walk you through selecting the right timber, getting your edges true, and—most importantly—using your hand tools to achieve a seamless, professional finish. No hype, no complicated gadgets, just the practical steps to help you master how to build a chopping board that's built to last a lifetime.
Guide Overview
Tools & Supplies
- Saw (to cut wood to size)
- Orbital Sander (to smooth surfaces)
- Clamps (to hold wood during gluing)
- Drill (to create holes for handles if needed)
- Hardwood lumber (e.g., Maple or Walnut, approx. 2-3 feet)
- Waterproof wood glue (food-safe, e.g., Titebond III)
- Mineral oil (food-grade finish)
- Sandpaper (various grits from 80 to 220)
Step-by-Step Instructions
- 1. First, you need to pick your timber. Don't just grab whatever's on sale at the big-box hardware store; those boards are often dried too fast and will warp the moment they hit your kitchen. I prefer using a dense hardwood like maple or walnut. Avoid anything with too much open grain, like oak, because those little pores act like tiny traps for food particles. Once you've got your wood, plane it flat. If you're using a machine, fine, but I'd rather spend ten minutes with a well-tuned jack plane to get it truly level.
- 2. Once your boards are flat, it's time for the layout. Lay your strips out on the bench and move them around until the grain patterns look right to your eye. You don't want a single, straight line running through the whole thing; you want some movement. Once you're happy, clamp them down tight. I use a few heavy-duty clamps to ensure there's no daylight between the pieces. If there's a gap now, it’ll be a permanent scar once you start cutting.
- 3. Now, we glue. Don't be stingy here. Use a high-quality, waterproof wood glue—something rated for food contact. Spread it evenly across the faces of the boards using a scrap piece of wood. When you clamp it all together, you’ll see some glue squeeze out of the joints; that's a good sign. Leave it in the clamps for at least a full day. I've seen many a novice try to rush this, only to find the whole board splitting when they try to plane it the next morning.
- 4. After the glue has cured, you'll need to get the surface smooth. This is where people usually reach for the orbital sander and start making a mess. If you have the patience, I suggest starting with a coarse grit and working your way up by hand. It takes longer, but you actually feel the wood changing under your palm. If you must use a machine, keep it moving. You want to get from 80 grit up to 220 without leaving those deep, circular swirl marks that show up the moment you apply oil.
- 5. Once the sanding is done, it's time to shape the edges. You can leave it square if you like the modern look, but I find a slightly rounded edge much more comfortable in the hand. Use a block plane or a fine rasp to take the sharpness off the corners. If you're feeling ambitious, you can use a jig to cut some finger grooves on the underside. Just remember: measure twice and cut once, even when you're just rounding over a corner.
- 6. The final, and perhaps most important, step is the finish. Forget the chemical varnishes and plastic-feeling sprays they try to sell you. A chopping board needs to breathe. I use a food-grade mineral oil or a homemade blend of oil and beeswax. Slather it on thick, let it soak in, and then wipe off the excess. If the wood looks thirsty and drinks the oil up immediately, apply another coat. You want it saturated so the moisture from your vegetables can't get deep into the grain.
Choosing the Best Wood for Cutting Boards
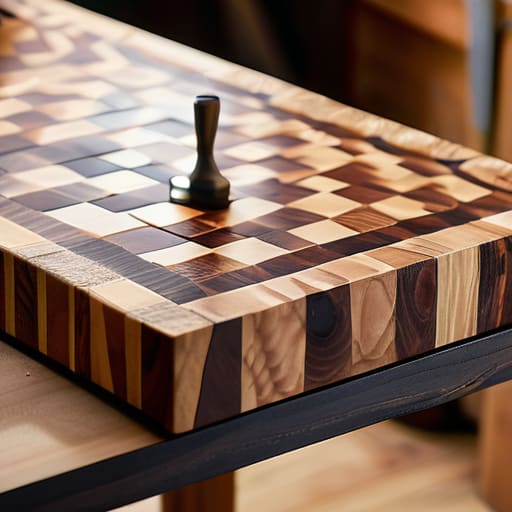
Now, before you go grabbing any scrap timber from the workshop, you need to think about what you’re actually putting on a dinner table. Not all wood is created equal when it comes to food prep. You want something tight-grained and hard enough to take a beating, but not so hard that it turns your knives into scrap metal. Most people get caught up in the debate of end grain vs edge grain; while end grain is easier on your blades, it’s a bit more temperamental to glue up. Personally, I like a solid maple or walnut. They’ve got the density to hold up without being overly finicky.
Whatever you choose, you have to be mindful of preventing wood warping down the line. If you pick a species with uneven moisture movement, your hard work will turn into a potato chip within a month. I’ve seen too many lads rush this stage only to realize they've picked a soft, porous wood that soaks up juices like a sponge. Stick to the hardwoods, ensure they're seasoned, and you'll have a board that lasts longer than the kitchen it sits in.
End Grain vs Edge Grain the Sharp Mans Choice
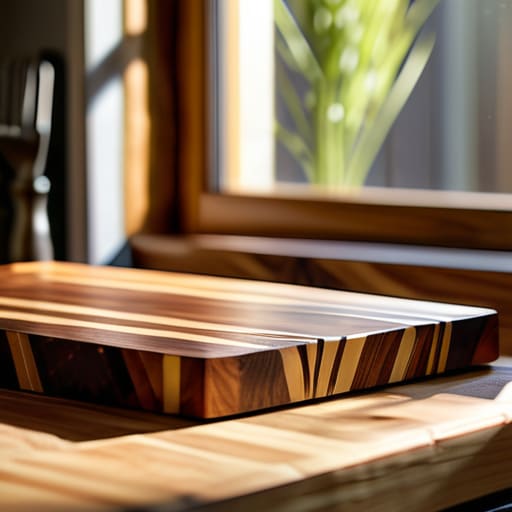
Now, when you’re deciding between end grain vs edge grain, you’re really deciding how much you respect your knives. If you go with edge grain—laying the boards side-by-side like a standard plank—you’re building something sturdy and straightforward. It’s easier to glue up, but those knife edges will eventually slice through the wood fibers, leaving nasty scars. If you want a board that lasts a lifetime, you go end grain. You stand the strips upright so the knife hits the wood fibers like blades of grass. The knife slides between them rather than cutting them, which keeps the board looking fresh and, more importantly, keeps your kitchen knives from dulling halfway through a Sunday roast.
Just remember, end grain is a bit more temperamental. Because you’re working with the grain ends exposed, you have to be meticulous with your woodworking clamps for glue up to ensure everything is perfectly flush. If your alignment is off, you’ll spend hours fighting the wood with sandpaper instead of enjoying the craft. Take your time with the clamping pressure; it’s better to do it right once than to spend your retirement fixing a warped mess.
Five Things Most People Get Wrong When Building a Board
- Don't go chasing fancy exotic hardwoods just because they look nice in a shop window. Stick to closed-grain woods like maple or walnut; if the grain is too open, you'll be scrubbing food particles out of those tiny holes for the rest of your life.
- Clamp it like you mean it. I've seen too many lads rush the glue-up and end up with a board that looks like a staircase. Use plenty of clamps and check your alignment every few minutes; a gap in a glue joint is a permanent mistake.
- Forget the electric sander for the final stages. If you want a surface that feels like silk, you need to move to hand-scraping once you've got the shape right. A sharp scraper leaves a much cleaner finish than a vibrating disc that just buffs the dust into the grain.
- Be stingy with the glue. You aren't building a bridge; you're making a kitchen tool. Use a food-safe PVA and apply just enough so it squeezes out evenly. Too much glue makes a mess, and too little means the board will split the first time it gets wet.
- Treat your oiling like a ritual, not a chore. Don't just slap some mineral oil on and call it a day. Apply it, let it soak in, wipe it off, and do it again. A well-oiled board tells you exactly how much work you've put into it.
Putting the Work to the Test
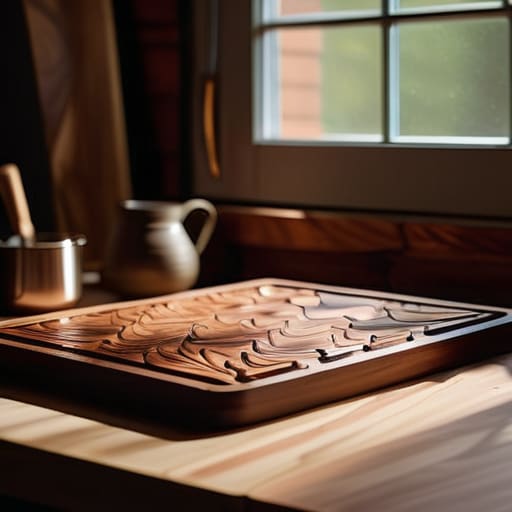
You’ve got your wood selected, you’ve understood why the grain matters, and you’ve hopefully spent enough time at the sharpening stone to ensure your chisels aren't just scraping the surface. Building a proper chopping board isn't about rushing to the finish line with a noisy planer; it’s about the patience of the process. From choosing a stable species to deciding between end grain and edge grain, every decision you made was about creating something that lasts. If you’ve done it right, you haven't just made a kitchen utensil; you've built a piece of equipment that respects the material and the person using it.
Don't let this board sit in a cupboard gathering dust just because it's "handmade." Get it out on the counter, use it, and let it age. A good board, much like a well-maintained tool, only gets better with a bit of regular care and a steady hand. My advice? Stop looking for the quickest way to finish the job and start looking for the right way to do it. There is a quiet satisfaction in knowing that when you slice through a tomato, you aren't fighting the wood, but working with it. That is the mark of a craftsman.