Raised Beds and Which Timber to Use
 Callum Reith-Sowande
Most folks think you need a shed full of expensive power tools and a heavy-duty mitre saw just to get a garden project off the ground. They’ll spend half a morning wrestling with a noisy circular saw, fighting the grain and leaving splintered edges that look like they've been chewed by a dog. But if you want to learn how to build a raised bed that actually lasts more than two seasons, you don't need more electricity; you need better technique. I remember one of my former students, a lad with more enthusiasm than sense, trying to power through a cedar plank with a dull blade. He ended up with a mess of wood and a sore back, while I finished my own frame with a hand saw and a sharp chisel before he’d even finished his tea.
I’m not here to sell you on fancy gadgets or complicated joinery that'll rot the moment it hits damp soil. I’m going to show you how to select the right timber, how to make clean, square cuts that hold tight, and how to assemble a frame that stays true for years. We'll do this the right way—steady, simple, and built to endure.
Guide Overview
Tools & Supplies
- Drill and bits for driving screws
- Measuring tape for accurate cuts
- Level to ensure even ground
- Saw if lumber is not pre-cut
- Untreated cedar or pine boards (approx. 4-6 pieces)
- Wood screws (box of 2.5-inch exterior grade)
- Hardware cloth or mesh (to prevent pests)
- Garden soil and compost mix (enough to fill volume)
Step-by-Step Instructions
- 1. First, you need to pick your timber. Don't go buying that cheap, pressure-treated rubbish that's full of chemicals you don't want leaching into your carrots. I always suggest larch or cedar if you can afford it; they hold up against the damp without needing a coat of toxic paint every season. Get your measurements sorted, and make sure you've got a properly sharp hand saw ready to go.
- 2. Once you've got your lengths, it’s time for the layout. Lay your boards out on a flat bit of ground—not the uneven garden path—to make sure everything sits square. I don't care what the fancy laser levels say; if you can't see with your own eyes that the corners are true, you're just wasting your time.
- 3. Now, we come to the assembly. I prefer using heavy-duty timber screws, but don't just go driving them in like you're trying to win a race. Pre-drill your holes with a bit that's slightly smaller than your screw. If you don't, you'll split the end of that expensive larch, and then you've just turned good wood into firewood.
- 4. To keep the corners from bowing out under the weight of the soil, you'll want to install some internal corner posts. Use some sturdy 4x4 scraps and screw them into the inside of the corners. This gives the structure some real backbone, and it means the bed won't fall apart after one winter.
- 5. Before you even think about filling it with dirt, line the bottom with some heavy cardboard or a bit of landscape fabric. It keeps the weeds from creeping up through the bottom, but it still lets the worms do their work. It’s a small step, but it’s the difference between a garden that thrives and one you're constantly fighting.
- 6. Finally, get your soil in. Don't just buy the cheapest topsoil from the local yard; it's usually mostly sand and nothing else. Mix in some decent compost and some well-rotted manure. If you've built the frame right, you'll find that once the soil is in, the whole thing feels solid as a rock.
Selecting the Best Wood for Raised Beds Without Shortcuts
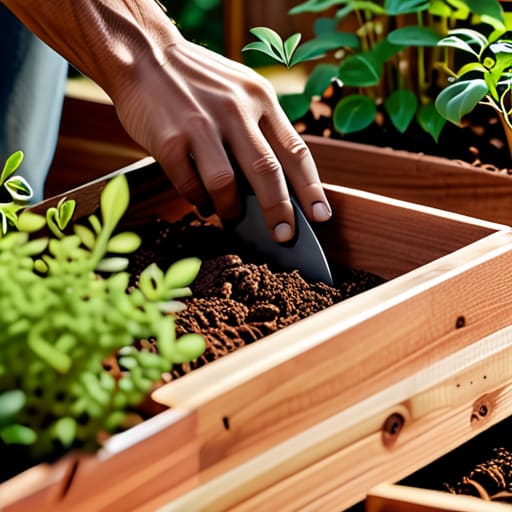
Now, don't go running to the local DIY chain and grabbing the first cheap, pressure-treated pine you see just to get the job done. Most of that modern stuff is treated with chemicals that aren't exactly friendly to your vegetables, and frankly, it won't last a season before it starts to soften. If you want to do this properly, you need to look for something with natural resilience. Cedar or larch are my go-to choices; they have the oils in them to help with preventing wood rot in garden beds without needing a coat of toxic varnish.
I've seen too many lads try to take shortcuts with thin, flimsy slats, only to find their frame bowing outward under the weight of the earth within a year. You want timber with some real heft to it. If you can't find cedar, even a thick, untreated oak will hold its own, though it'll cost you more upfront. Remember, the goal isn't just to finish the task; it's to build something that stays true. Invest in quality timber now, or you'll just be rebuilding the whole thing next spring.
Mastering Garden Bed Construction Steps With a Steady Hand
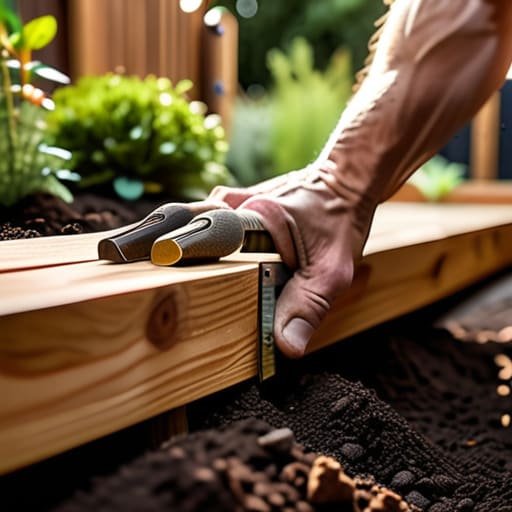
Once you’ve got your timber sorted, don't just start hammering away blindly. I’ve seen too many lads rush the job, only to find their corners aren't square and the whole thing looks like a leaning tower by the time they’re finished. When you're working through the garden bed construction steps, take a moment to check your measurements twice. If you’re building these for yourself, keep those raised bed dimensions for ergonomics in mind; you don't want to be straining your back reaching into the middle of a four-foot wide box every time you need to weed.
It’s also worth thinking about what happens underneath the wood. I always suggest laying down a bit of landscape fabric for garden beds to keep the weeds from creeping up through the bottom. It’s a small bit of foresight that saves a lot of swearing later on. And remember, even with the best wood for raised beds, the ground is a harsh mistress. If you aren't careful with how you seat your corner posts, the moisture will find its way in. Take your time, keep your joints tight, and let the work speak for itself.
Five things I've learned from fifty years of making things
- Don't trust a cheap screw. If you're using timber that’s going to be sitting in damp soil, use stainless steel or high-quality coated screws. There's no sense in building a frame only to have the joints pull apart in two seasons because the metal gave up.
- Measure twice, but check your square three times. A raised bed that's even a fraction of an inch out of square will look crooked the moment you line it up against a garden path. Use a solid try-square; don't rely on your eyes.
- Keep your edges clean. I’ve seen too many lads leave splintered ends on their timber. Take a sharp block plane to those edges once you've cut them. It’s not just about looks; it keeps the wood from splitting further when the seasons change.
- Level the ground before you even think about the wood. You can build the straightest box in the world, but if the earth underneath is lumpy, the whole thing will wobble and look amateur. Dig out the high spots first.
- Avoid the temptation of the power driver for everything. When you're driving those final structural screws, do it slowly. If you rush it with a high-torque driver, you'll split the end grain of your timber, and then you've wasted the whole piece.
Finishing the Job
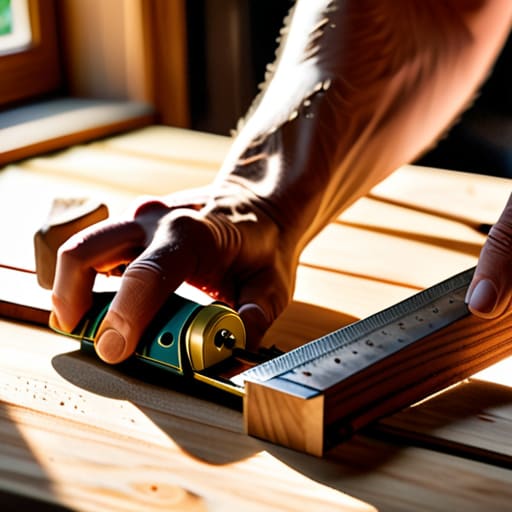
At the end of the day, building a raised bed isn't about rushing to the garden centre to buy some cheap, pressure-treated scrap that'll rot in three seasons. It’s about the choices you make before the first cut is even made. You’ve picked the right timber, you’ve measured twice, and you’ve used a sharp blade to ensure those joints actually fit together without gaps. If you’ve followed what I’ve said, you haven't just slapped some boards together; you’ve constructed something built to last. Don't be tempted to skip the seasoning or use a blunt saw just to save ten minutes. A bit of patience in the workshop means you won't be digging out rotten wood and rebuilding the whole thing next spring.
There is a particular kind of satisfaction that comes from looking at a piece of work and knowing it was done properly. When you run your hand over a clean, square edge that you cut yourself, you feel the difference between a job done in a hurry and a job done with intent. Tools are meant to be used, and work is meant to be enduring. So, put your tools away, give them a quick wipe down, and take a moment to appreciate what you've made. You aren't just growing vegetables now; you're growing a legacy of good craft.