Allowing a Tabletop to Move
 Callum Reith-Sowande
Most folks think that if you want to learn how to build a dining table, you’d better head straight to the hardware store and load up on every loud, vibrating power tool they’ve got on the shelf. They think more electricity equals more progress. I spent forty years on site and another ten in the classroom seeing the exact opposite; all those expensive, disposable machines just leave you with a mess of sawdust and a surface that feels wrong under your hand. I remember my first proper commission—a heavy oak trestle piece—where I spent more time fighting a blunt router than I did actually shaping the wood. That was the day I realised that real craftsmanship isn't about how much noise you can make, but how much control you have over the grain.
I’m not here to sell you a fancy kit or a way to skip the hard work. In this guide, I’m going to show you the honest, slow way to master how to build a dining table that will actually last for generations. We’ll focus on the fundamentals: choosing the right timber, setting up your workbench, and—most importantly—using a properly sharpened chisel to get those joints tight and clean. No hype, just the straight truth.
Guide Overview
Tools & Supplies
- Circular saw for cutting wood to length
- Power drill for driving screws
- Orbital sander for smoothing surfaces
- Kreg jig for pocket hole joinery
- Clamps for holding pieces together
- Hardwood planks (e.g., Oak or Walnut) for tabletop
- 4x4 lumber for table legs
- 2x4 lumber for apron/frame
- Wood glue for strong joints
- Pocket hole screws for assembly
- Wood finish or oil for protection
Step-by-Step Instructions
- 1. First, you need to pick your timber, and don't let a salesman talk you into some flimsy, kiln-dried rubbish that'll warp before the glue even sets. I prefer something with a bit of character, like oak or walnut, but whatever you choose, make sure it's seasoned properly. Once you've got your boards, lay them out on your workbench to see how the grain runs; you want to alternate the direction of the growth rings to prevent the tabletop from cupping up like a shallow bowl later on.
- 2. Once you've settled on your layout, it's time to get those boards joined. Forget the idea of just screwing them together; if you want a table that lasts generations, you’ll want to use tongue and groove joints or even loose tenons. I always take my time here, cleaning the edges with a sharp block plane until they are perfectly true, because if your edges aren't square, your glue line will be nothing more than a gap waiting to happen.
- 3. Now, we move on to the apron, which is the frame that sits under the top and holds the legs together. Don't just nail it to the sides; you should be cutting mortise and tenon joints for every single connection. I've spent many an afternoon in the college workshop teaching apprentices that a loose tenon is a sign of a lazy joiner, so take the time to seat them snug. This is where the strength of the table actually lives.
- 4. For the legs, you want something substantial that won't wobble the moment someone leans on the table. I like to use a heavy timber, perhaps a thick square section, and I'll often use a hand plane to put a slight chamfer on the edges. It makes the piece feel more finished and less like a heavy block of wood. Make sure your legs are perfectly plumb before you even think about attaching the apron, or you'll be fighting a wobble for the rest of your life.
- 5. After the frame is built, you have to attach the tabletop to the base. This is where most beginners make a mess by gluing the top directly to the apron, which is a mistake—wood moves, and if you don't let it, the top will crack. Use tabletop fasteners or Z-clips that allow the wood to expand and contract with the seasons. It’s a small detail, but it’s the difference between a piece of furniture and a piece of firewood.
- 6. With the structure solid, you can finally deal with the surface. I know the temptation is to grab an orbital sander and run it until your hands go numb, but I'd rather use a well-tuned hand plane to take off the final shavings. It leaves a surface so smooth you can almost see your reflection, and it avoids the swirling scratches that sanders often leave behind.
- 7. The final step is the finish, and I don't mean some thick, plastic-looking polyurethane that sits on top of the wood. I prefer a hard-wax oil or a simple linseed oil that soaks into the fibers. It protects the wood while letting you actually feel the grain under your fingertips. Apply it in thin, even coats, and don't rush it; a good finish is earned, not sprayed on.
Selecting Dining Table Wood Types With Intention
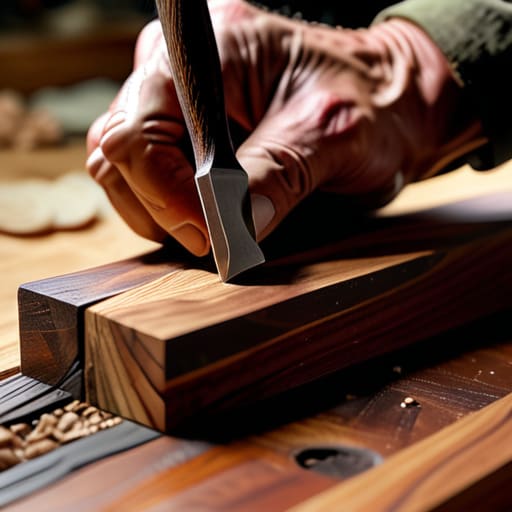
When you start looking at different dining table wood types, don't just go by what looks pretty in a showroom. You have to think about how that timber is going to behave under a chisel. If you’re a beginner, I’d steer you toward something stable like oak or walnut. They have a predictable grain that won't fight you when you're working through the joinery. I’ve seen too many lads pick up a piece of exotic, oily timber thinking it’ll look grand, only to find they can't get a clean cut because the wood is constantly tearing itself apart.
You also need to consider the movement. A dining table is a massive slab of organic material; it breathes, expands, and contracts with the seasons. If you don't account for that when you're joining tabletop planks, you'll find your hard work splitting right down the middle within a year. Pick a wood that holds its shape. It’s better to spend a bit more on a seasoned, stable board than to waste your time and your best blades on timber that’s going to warp the moment the heating comes on in winter.
Joining Tabletop Planks Using Precision Over Power
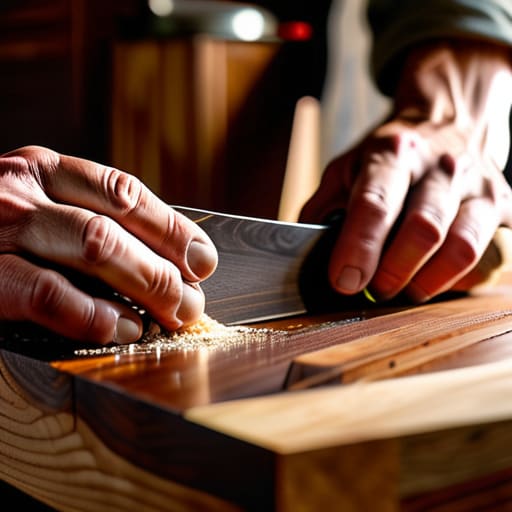
Now, when it comes to joining tabletop planks, most fellas reach straight for a massive biscuit joiner or a router sled. There's nothing wrong with them, I suppose, but they often mask a lack of preparation. If your edges aren't perfectly true, you're just gluing up a gap that'll haunt you for years. I’ve always found that a well-tuned hand plane is the real secret here. Take your time with a jack plane to get those edges dead straight before you even think about the glue. It’s slower, yes, but you won't be fighting a wavy surface later when you start finishing wood surfaces.
When you are finally ready for joining tabletop planks, remember that glue is a supplement to a good fit, not a filler for a bad one. I prefer using simple dowels or even hand-cut splines if the grain calls for it. It keeps the project honest. If you rely solely on heavy machinery for your woodworking tools for furniture making, you lose that tactile sense of how the timber is actually behaving. You want to feel the resistance change as the joint seats. That’s how you know it’s right.
Five things I wish my apprentices had understood sooner
- Don't trust a machine to flatten your tabletop; use a hand plane to read the grain, because a router will just tear it if you aren't careful.
- Check your square more often than you think you need to, because a mistake in the frame means a table that wobbles for the rest of its life.
- Stop buying cheap, pre-made screws for your joinery; if you're building something meant to last generations, use proper wooden pegs or well-set mortise and tenon joints.
- Measure twice, but check your layout with a pencil once more, because once that saw hits the wood, there's no undoing it.
- Keep your chisels sharp enough to shave with throughout the entire build, otherwise you'll end up fighting the wood instead of working with it.
The Finished Piece
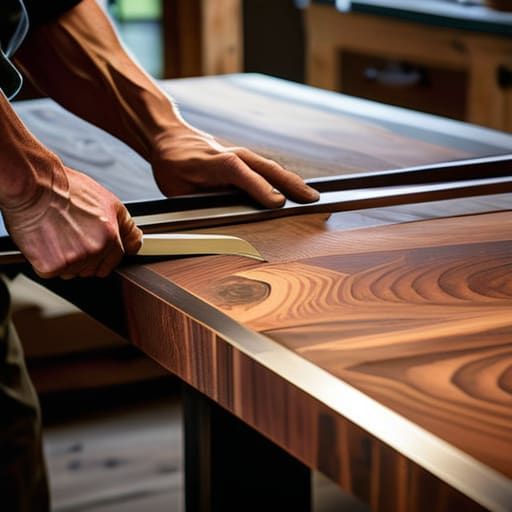
When you finally step back from that table, you aren't just looking at a collection of joined planks and sanded surfaces. You’re looking at the result of choosing the right timber, respecting the grain, and refusing to let a loud, vibrating machine do the thinking for you. We’ve covered everything from picking the wood to the slow, methodical work of joining the top, and the goal was always the same: to build something that lasts. If you’ve done it right, you haven't just built furniture; you've practiced the art of precision over brute force. A table built with a sharp chisel and a steady hand will always have a soul that a mass-produced, machine-cut slab simply can't match.
Don't be discouraged if the process took longer than you expected or if your hands are a bit tired from the mallet work. That’s just the price of doing things properly. The world is full of "disposable" furniture meant to be tossed in a skip after three years, but the piece sitting in your dining room is different. It’s built to be repaired, to be used, and to be passed down. My advice is simple: keep your tools sharp, keep your mind focused, and remember that the best way to build something lasting is to take your time.