Chipped Laminate and What Helps
 Callum Reith-Sowande
Most people think that once a laminate surface has taken a hit, the only way forward is to replace the whole damn unit or slap on some cheap, plastic filler that looks like a scar. They see a jagged edge and think the job is finished, but that's just nonsense. I spent forty years on site seeing lads try to hide mistakes with thick layers of goop, only for it to peel off a month later. If you’re looking for how to repair a laminate chip without making it look like a DIY disaster, you don't need a massive renovation; you just need a bit of patience and the right touch.
I’m not going to sell you on some expensive, branded "miracle kit" that's designed to be used once and tossed in the bin. Instead, I’m going to show you how to do it properly using basic materials and a bit of old-fashioned precision. We’ll walk through cleaning the site, matching the colour, and setting the patch so it sits flush. My goal is to get you through this so the repair is virtually invisible, and more importantly, so it actually stays put.
Guide Overview
Tools & Supplies
- Sandpaper (Fine grit for smoothing edges)
- Putty knife (Small size for applying filler)
- Laminate repair kit or wood filler (1 small kit)
- Colorant/Markers (Set matching floor tone)
Step-by-Step Instructions
- 1. First thing you need to do is clear the debris. Don't just smear it around; take a small, sharp chisel or even a fresh utility blade and carefully scrape out any loose bits of laminate or crumbling particle board from the center of the chip. You need a clean, flat-bottomed hole if you want the repair to actually hold.
- 2. Once the area is clear, you’ll need to decide on your filler. Now, you can buy those fancy, pre-colored wax sticks from the big hardware shops, but I've always found that a bit of two-part epoxy mixed with a tiny amount of pigment works much better for a permanent fix. If you're in a hurry, a high-quality wood filler will do, but make sure it's a shade slightly darker than the laminate, as these fillers tend to lighten when they dry.
- 3. Mix your filler carefully. If you're using the epoxy method, don't go overboard—just mix exactly what you need for that one spot. You want a consistency that is thick enough to stay put without running, almost like heavy peanut butter. If it's too runny, it’ll just seep into the grain and leave you with a mess that's harder to clean than the original chip.
- 4. Now, apply the filler using a small putty knife or even the back of a spoon. Press it firmly into the void to ensure there are no air pockets trapped underneath. I usually overfill the hole slightly, leaving a small mound sitting above the surface. It's much easier to level it down later than it is to try and add more material to a sunken patch.
- 5. Let it cure completely. This is the part where most people lose their patience and try to sand it too early. If you rush this, you'll just pull the filler right out of the hole. Give it the time it needs to set hard, especially if you're using a resin-based product.
- 6. Once it's rock solid, it’s time to bring it flush with the surface. Grab a fine-grit sanding block—nothing coarser than 220—and sand the mound down gently. Work in the same direction as the grain of the laminate to avoid leaving visible scratches. You want to feel the transition with your fingers; if you can feel a bump, you aren't finished sanding yet.
- 7. The final touch is the texture. Laminate often has a slight pattern or a "feel" to it that a smooth sanded patch will lack. You can sometimes mimic this by very lightly dabbing a dry sponge over the area, or if you're feeling particular, using a bit of fine steel wool to dull the shine so it matches the rest of the benchtop.
Precision Tools Over Power Selecting Your Laminate Repair Kit
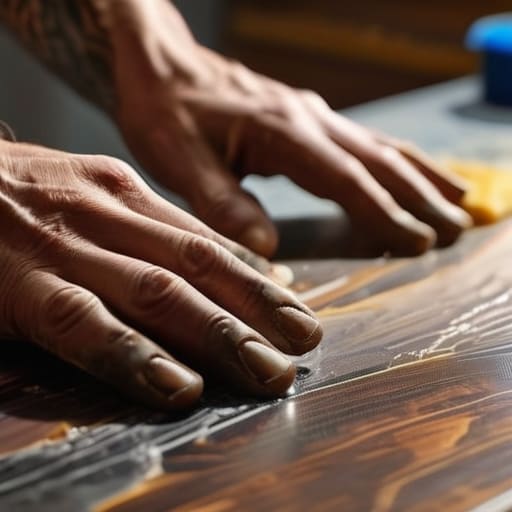
Now, I know what you’re thinking. You see a chunk missing from your kitchen worktop and your first instinct is to reach for a tub of cheap, pre-mixed stuff from the local DIY shop. Most of those generic laminate repair kits are rubbish; they’re designed to be applied quickly, which usually means they look like a plastic scab once they dry. If you want to do this right, you need to think about the chemistry. I always tell my former students that if you're fixing chipped countertops, you should look for a high-quality epoxy filler for laminate that allows you to mix your own pigments.
You can't just guess the shade, either. Trying to match a manufactured pattern by eye is a fool's errand. I’ve spent many an afternoon staring at samples, learning that you need to layer colors to get that depth. If you're dealing with a wood grain laminate repair, you aren't just looking for one brown; you're looking for the flecks of ochre and the dark streaks that give the grain its life. Take your time with the mixing. A bit of patience in selecting your colors will save you from a repair that looks like a mistake rather than a fix.
Mastering Wood Grain Laminate Repair With Surgical Accuracy
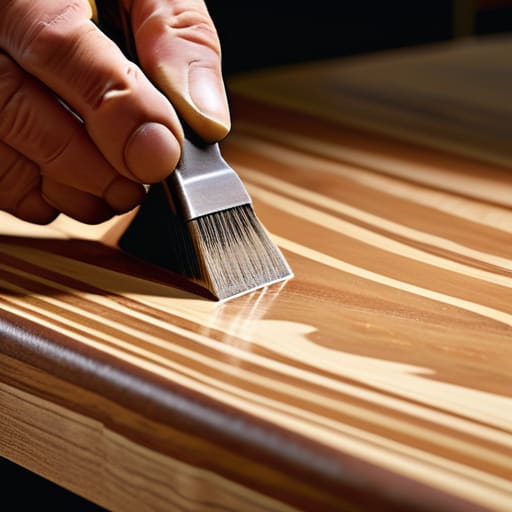
When you’re dealing with wood grain laminate, you aren't just filling a hole; you’re trying to mimic a pattern that’s meant to look natural. If you just dump a blob of epoxy filler for laminate into the gap, you’ll end up with a flat, lifeless spot that screams "repaired." To get it right, you need to think about the direction of the grain. I always tell my students to look closely at the printed lines before they even touch the kit. You want to layer your colors slightly differently to replicate those natural shifts in tone.
Once the filler is in, don't just sand it flat and call it a day. That’s how you end up with a dull patch. Use a fine-grit abrasive to level it, but keep your movements steady. If you’re matching laminate color across a large area, it helps to mix a tiny bit of the darker pigment into your base shade to create depth. It takes a bit more patience than just slapping on a patch, but if you want to master wood grain laminate repair, you have to respect the pattern.
A few things I’ve learned the hard way
- Don't rush the drying time just because you want to get back to your tea; if that filler isn't fully cured, you'll end up pulling the whole repair right out when you try to sand it.
- Keep your workspace clean of sawdust before you start applying any tint or resin, otherwise you're just mixing grit into your repair and making it look like a patch of dirt rather than a fix.
- Always test your color match on a scrap piece or an inconspicuous corner first, because once that resin hits the laminate, it’s a one-way street.
- Use a steady hand and a small, sharp chisel to clean out the loose debris from the chip before you fill it; if you leave the jagged bits in there, the repair will never sit flush.
- Avoid the temptation to use a heavy-duty orbital sander on the repair area; you'll sand right through the laminate layer in seconds. Stick to a fine-grit sanding block and a bit of patience.
A Bit of Final Advice
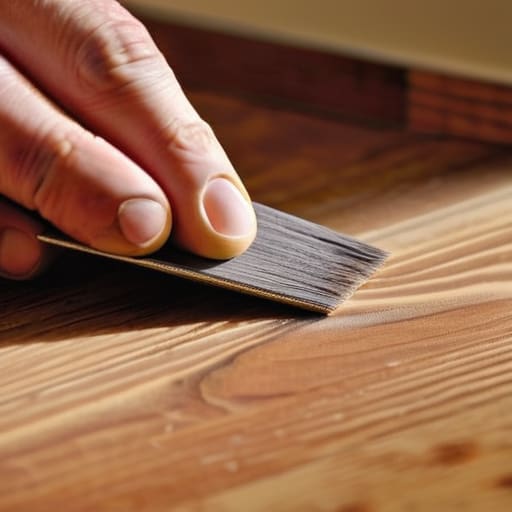
At the end of the day, fixing a chip in laminate isn't about finding a magic product that hides the damage; it’s about the patience you put into the preparation. You’ve got to clean that surface properly, match your colors with a steady hand, and use your tools to shape the filler rather than just slapping it on like spackle. Remember, if you rush the leveling process or try to force a quick fix with a power sander, you'll only end up with a visible hump that looks worse than the original chip. It’s about doing the job right the first time, even when the material isn't as forgiving as solid oak.
I know it feels like the modern way is to just rip the whole worktop out and buy a new one, but there is a real satisfaction in seeing a flaw vanish under your own hand. When you stop treating your furniture like disposable rubbish and start treating it like something worth tending to, your whole approach to workshop work changes. Don't let a small nick in the surface defeat you. Take your time, trust your eyes, and remember that precision beats speed every single time. Now, get that kit cleaned up and put away properly.