Replacing Webbing Under a Seat
 Callum Reith-Sowande
Most folks think that once the webbing on a chair starts sagging or snapping, the whole piece of furniture is headed straight for the skip. They'll tell you it’s a lost cause or try to sell you a brand-new replacement that costs more than the original chair was worth. That’s absolute nonsense. I remember one old wingback chair a student brought into my workshop years ago; the webbing was so shot it looked like a spiderweb in a gale. He was ready to bin it, but I knew that if you take the time to learn how to repair upholstery webbing properly, you aren't just fixing a seat—you're restoring the soul of the piece.
I’m not here to give you any of those fancy, over-complicated industrial methods that require a warehouse full of gear. I'm going to show you the honest, steady way to do it using simple tools you likely already have in your kit. We’ll go through the selection of the right tension, the proper way to secure the edges, and how to ensure the job stays done. You’ll get a no-nonsense, step-by-step look at how to repair upholstery webbing so that the next time you sit down, you feel the solid support of a job well done.
Guide Overview
Tools & Supplies
- Staple gun and staples for securing webbing
- Utility knife or heavy-duty scissors for cutting material
- Pliers for pulling or adjusting tension
- Replacement upholstery webbing (roll or pre-cut strips)
- J-clips or heavy-duty staples for fastening
- Measuring tape for accurate sizing
Step-by-Step Instructions
- 1. First, you need to clear the deck. Get that chair or sofa onto a sturdy workbench where you can actually reach all the sides without straining your back. Use a sharp utility knife—and I mean a properly sharp one—to carefully cut away the old, perished webbing. Don't go hacking at it like you're clearing brush; you want to avoid nicking the wooden frame, or you'll be dealing with a splintered seat before you've even started.
- 2. Once the old stuff is out, take a stiff brush and clear out all the grit and old glue. You can't build anything solid on a dirty foundation. I always say you can't fix a job if you're ignoring the mess underneath. Scrub those rails until the wood is clean and you can see exactly where the old staples were sitting.
- 3. Now, you'll need to lay out your new webbing. Don't just grab the first roll you see; make sure it's the right tension and width for the piece. Lay it across the frame, making sure it's square. If you're doing a seat, you'll likely want a criss-cross pattern. I prefer to run the first set of strips vertically and the second set horizontally to create a solid grid that won't sag the moment someone sits down.
- 4. This is where most people rush and end up with a lopsided mess. Start stapling at the center of each side to keep the tension even. Work your way out toward the corners, pulling the webbing taut—but not so tight that you bow the wooden rails inward. If you feel the wood flexing too much, ease off the tension. You want a firm seat, not a warped frame.
- 5. For the corners, don't just bunch the webbing up in a heap. Fold it neatly, almost like you're working with heavy fabric, so it sits flat against the frame. Use a heavy-duty staple gun here. If you're using an old-fashioned manual one, you'll get a much better sense of the resistance than you would with one of those cheap electric ones that just fires away without any proper feedback.
- 6. Once the webbing is all secured, it's time to check your work. Give the grid a good, firm press with your hands in several places. If you see any gaps or if the webbing feels loose in certain spots, add a few more staples to reinforce it. A job isn't done when the tools are put away; it's done when the structure is sound.
Why Heavy Duty Jute Webbing Beats Cheap Shortcuts
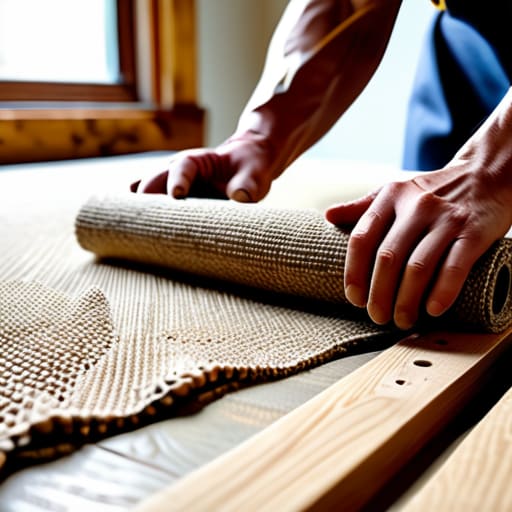
You’ll see plenty of people heading to the local DIY shop and picking up the first roll of synthetic, stretchy stuff they see because it’s cheap and easy to pull. That’s a mistake. If you’re serious about replacing sagging chair webbing, you need to invest in heavy duty jute webbing. Synthetic materials have a memory; they want to return to their original shape, which means they’ll go limp again the moment someone sits down. Jute, on the other hand, has a natural grit and a structural integrity that holds its ground. It doesn't just sit there; it stays put.
When I was teaching the lads at the college, I always told them that the foundation dictates the finish. If your base is rubbish, your upholstery will look tired within six months, no matter how expensive the fabric is. Using proper jute allows you to utilize standard webbing tensioning tools to get a tight, even pull that won't budge. It’s about doing the job once and doing it right. Don't chase the shortcut; build it to last.
Mastering Webbing Tensioning Tools Over Brute Force
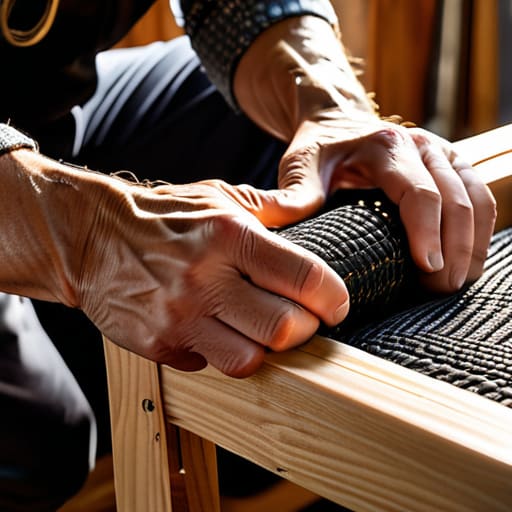
I’ve seen too many young lads try to fix a chair by leaning their whole weight into a cheap, battery-operated staple gun, hoping sheer force will do the job. That’s a mistake. If you're replacing sagging chair webbing, you aren't just fighting the fabric; you're fighting the physics of the frame. You can pump a pneumatic gun all day, but if the tension isn't set right from the start, you’ll end up with a seat that feels like a hammock within a month.
The trick isn't about how hard you can pull; it's about how evenly you can distribute that pull. I always tell my students that proper webbing tensioning tools—like a decent pair of pliers or a dedicated tensioning bar—are worth their weight in gold. Using these allows you to take the slack out of the heavy duty jute webbing incrementally. You want to find that sweet spot where the weave is taut but hasn't been stretched to the point of snapping. It’s a slow process, but when you're recovering furniture seats, patience is a better tool than any power driver.
Five things I’ve learned from forty years of fixing what’s broken
- Don't just patch a hole; if one strip has gone slack or frayed, the whole set is likely tired. Replace the entire webbed area or you'll find yourself back in the same spot in six months.
- Get yourself a proper webbing stretcher. I've seen many a young lad try to pull it tight with pliers or brute strength, and all they do is snap the old staples or warp the frame.
- Clean the frame thoroughly before you start. You can't seat new webbing properly if there's decades of old glue, dust, or crumbled jute getting in the way of a clean contact.
- Check your staples. If you're reusing the old ones, make sure they aren't bent or rusted. I always prefer to clear the old ones out and start with fresh, heavy-duty staples to ensure a secure bite.
- Patience beats speed every time. Take your time to space your staples evenly; if you rush the tensioning, the webbing will ripple, and you'll never get that flat, professional finish.
Doing It Once and Doing It Right
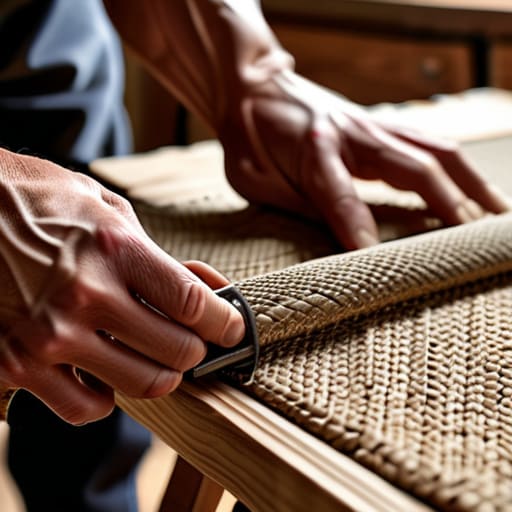
At the end of the day, repairing upholstery webbing isn't about how much muscle you can throw at a chair; it’s about the quality of your materials and the patience of your hands. You’ve learned that skipping the heavy-duty jute for some cheap, synthetic shortcut is a fool's errand, and that forcing tension instead of using the right tools only leads to frustration and broken frames. If you’ve taken the time to cut your strips clean with a sharp blade and secured them with proper tension, you haven't just patched a seat—you’ve restored its integrity. It takes a bit more time than grabbing a staple gun and hoping for the best, but that’s the difference between a quick fix and a proper repair.
I’ve spent forty years on job sites watching men rush through work only to have to redo it six months later. It’s a waste of time, a waste of material, and a waste of a good tool. When you choose to do things the slow way, you aren't being inefficient; you are being thorough. There is a quiet satisfaction in knowing that the piece of furniture you just worked on will stand firm for another twenty years because you didn't take the easy way out. Stick to the fundamentals, keep your edges sharp, and trust the process. The work will speak for itself.