Scribing Skirting to an Uneven Floor
 Callum Reith-Sowande
Most people think that when they need to learn how to repair a skirting board, they’ll need to head down to the DIY shop and buy a whole new set of mdf strips and a heavy-duty orbital sander. They see a split corner or a dented edge and assume the only way forward is to rip the whole thing off the wall and start again. That’s a load of rubbish. I spent forty years on site seeing men waste hours fighting with power tools when a bit of patience and a properly honed chisel could have fixed the damage in ten minutes flat. You don't need more gear; you just need to know how to use what you've already got.
In this guide, I’m going to show you the honest way to tackle those scuffs, splits, and gaps without turning your hallway into a construction site. We aren't going to rely on those cheap, watery fillers that crack the moment the house settles. Instead, I'll walk you through using traditional woodcraft methods to make those repairs look like they were never even there. I'll show you how to prep the surface, apply the fix, and get a finish that actually lasts.
Guide Overview
Tools & Supplies
- Sandpaper (various grits for smoothing surfaces)
- Caulking gun (for applying sealant)
- Paintbrush (for applying touch-up paint)
- Putty knife (for applying filler)
- Wood filler (1 small tub for cracks and holes)
- Acrylic caulk (1 tube for gaps between board and wall)
- Sandpaper pack (1 pack of assorted grits)
- Matching paint (1 small pot for color correction)
Step-by-Step Instructions
- 1. First, you need to clear the area and see what you're actually dealing with. Get a sturdy screwdriver and gently probe the damage to see if the wood is just scuffed or if it's actually split or rotted. If the timber is soft or crumbling, you aren't going to fix it with a bit of filler; you'll need to cut that section out and replace it entirely.
- 2. Once you've confirmed the wood is sound, grab a sharp chisel—and I mean properly honed, not something you pulled out of a junk drawer—to clean out the wound. If there's old, flaking paint or loose splinters, pare them away until you reach solid, clean timber. You want a flat, stable surface to work on, otherwise your repair will just pop out in six months.
- 3. Now, if the damage is a deep gouge or a nasty chip, it's time to prep your filler. Don't go buying those cheap, watery tubs of stuff from the big-box stores that shrink as they dry. I prefer a two-part wood filler because it sets hard and won't pull away from the edges of your repair once it cures.
- 4. Apply the filler in thin, firm layers. It’s tempting to try and fill a deep hole in one go, but that’s a fool’s errand. Work it into the grain with your chisel or a small spreading knife, then leave it. If it shrinks, you just go back in for a second pass. Patience is a tool in itself, and it’ll save you more work in the long run.
- 5. When the filler is bone dry, put the power sander away. A heavy orbital sander will just chew through the edges of your skirting and leave you with a wavy mess. Instead, take a sanding block and some fine-grit paper and work it by hand. You want to feather the edges so the transition from the filler to the original wood is so smooth you can't feel it with your thumb.
- 6. Wipe the dust away with a tack cloth—don't just blow it around with your breath, or you'll leave grit in the finish. Once it's clean, you can move on to painting. If you've done the prep work right, the new paint will sit flush against the old, and nobody will ever know there was a problem in the first place.
Fixing Loose Skirting Boards With Precision Not Force
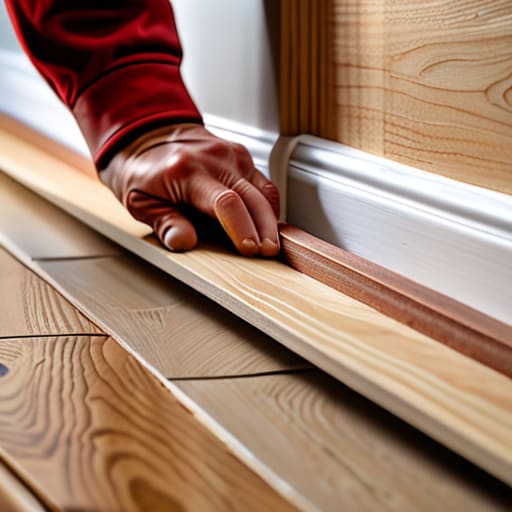
When you find a section of trim pulling away from the wall, the temptation is to grab a hammer and a handful of nails to force it back into place. That’s a mistake. If you try to brute-force a board that has lost its seat, you’ll likely split the grain or crack the plaster behind it. Instead, I’ve always found that fixing loose skirting boards requires a bit of patience and the right adhesive. If there’s a significant gap between the wood and the masonry, don't just stuff it with putty. Use a thin shim or a bit of wood wedge to hold the board tight against the wall while the glue sets. This ensures the board stays put for the long haul, rather than just sitting there looking pretty.
Once the board is steady, you can deal with the smaller issues like skirting board mitre joint repair. If a corner has opened up because the house has settled, don't just slap a thick bead of caulk over it; that’s a recipe for a crack appearing again in six months. A bit of proper wood filler, worked deep into the joint with a sharp chisel to clear out any old debris first, will give you a much more permanent fix.
The Art of Filling Gaps in Skirting Boards Flawlessly
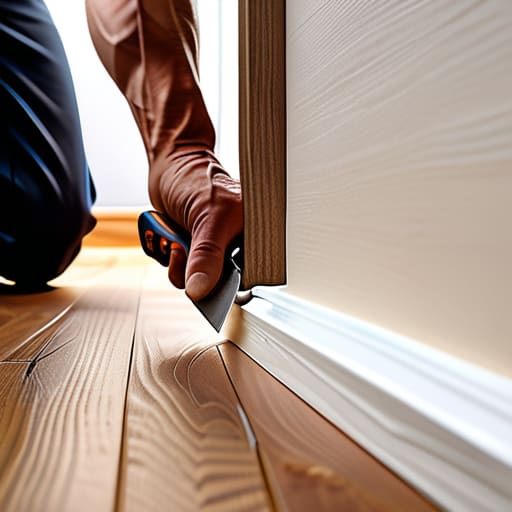
Now, once you’ve got the boards sitting tight against the wall, you’ll likely find those pesky gaps where the plaster meets the wood. Most people reach for a tube of cheap, ready-mixed caulk and just smear it on, but that’s a mistake. If you want a professional finish, you need to be selective about your wood filler for baseboards. For the larger voids, I prefer a two-part wood filler. It doesn't shrink as it cures, which means you won't be coming back in six months to find a hairline crack staring you in the face.
When you're tackling a skirting board mitre joint repair, the trick isn't just about the filler; it's about how you apply it. Don't just glob it in. Use a small, sharp chisel to clear out any dust or loose debris from the joint first. Once the gap is clean, press the filler in firmly with a putty knife to ensure it's truly seated. A little bit of patience here goes a long way. If you overfill it, you'll spend more time sanding than you should, and if you underfill, it'll sag. Get it level, let it set, and you'll have a seamless line.
A few things I wish my apprentices had listened to
- Don't go grabbing a tub of ready-mixed filler straight from the shelf; it'll shrink like a cheap shirt the moment it dries. Mix your own using fine sawdust from the actual timber you're working on and a bit of wood glue for a bond that actually lasts.
- If you've got a split in the grain, stop trying to hide it with putty. Drive a thin wedge of matching wood into the crack instead. It’s more work, but it’s a proper structural fix rather than a cosmetic band-aid.
- Put the power sander away when you're working near the floor. You'll end up gouging the skirting or, worse, sanding right through the finish of your floorboards. A small, sharp block plane or even just a bit of fine grit on a sanding sponge gives you the control you actually need.
- Before you start any repairs, check your nails. If they're popping out, don't just hammer them back in—they'll pop again. Pull them out, countersink the hole slightly, and use a proper wood screw or a fresh nail to keep it seated.
- Clean your workspace as you go. I've seen too many lads try to finish a repair only to find they've rubbed grit and plaster dust into the fresh wood, leaving it looking like sandpaper. A clean surface is the only way to get a clean finish.
A bit of patience goes a long way
At the end of the day, repairing skirting boards isn't about how much sawdust you can kick up or how many expensive fillers you can buy. It’s about the small things—securing those loose boards with a steady hand rather than a hammer, and ensuring your gaps are filled with a material that actually stays put. If you’ve taken the time to clean the surface, seat the timber properly, and use a sharp chisel to tidy those edges, you’ve done more than just a quick fix. You’ve actually addressed the root of the problem. Remember, a bit of preparation and a sharp edge will always save you more time in the long run than rushing in with a power tool and a bucket of cheap spackle.
I’ve spent forty years on sites and in classrooms, and if there’s one thing I’ve learned, it’s that the finish is what tells the story of the work. Don't be in such a hurry to move on to the next job that you neglect the details. When you take pride in the way a joint sits or how clean a repair looks, you aren't just fixing a room; you're honouring the wood. It might take a few extra minutes to get it right, but once you’re finished, you won’t be looking at that skirting board and seeing a patch job—you’ll see a job well done.