Filling a Hole So It Does Not Show
 Callum Reith-Sowande
I remember a lad I taught back at the college, a bright enough boy, but he had this habit of reaching for a tub of ready-mixed, watery filler the second he saw a knot or a nail hole. He thought he was saving time, but he ended up with a patch that looked like a dried scab and shrunk so much it practically fell out a week later. Most people think that learning how to fill a hole in wood is just about slapping some paste in a gap and calling it a day, but that’s a recipe for failure. If you don't respect the timber and understand the grain, you're just masking a problem that'll show itself the moment the sun hits it.
I’m not here to sell you some fancy, overpriced chemical compound that comes in a plastic tub. Instead, I’m going to show you how to do it right, using the methods I've relied on for forty years on-site. We’ll talk about clearing out the rot properly with a sharp chisel, choosing the right material for the job, and why patience is your most important tool in the workshop. By the time we're done, you'll know how to make those repairs disappear so completely that even I wouldn't be able to find them.
Guide Overview
Tools & Supplies
- Sandpaper (various grits for smoothing)
- Putty knife (for applying filler)
- Utility knife (for cleaning out debris)
- Wood filler or wood putty (1 small container)
- Wood stain or paint (small amount for color matching)
- Tack cloth or damp rag (for cleaning dust)
Step-by-Step Instructions
- 1. First thing you need to do is stop and look at what you're actually dealing with. Is it a tiny knot hole, a deep gouge from a dropped hammer, or a split in a structural piece? If the hole is deep, don't even think about just slapping some putty on top; you'll end up with a mess that shrinks and cracks the moment it dries. You need to know the depth before you pick up a spreader.
- 2. Grab a sharp chisel—and I mean truly sharp, not that dull thing you keep in the bottom of the junk drawer—and clear out the debris. You’ve got to get rid of any loose splinters, rot, or crumbling bits of wood that are hanging around the edges. If you don't clean the cavity properly, the filler is only going to bond to the dust, and it'll pop right out in a month's time.
- 3. Once the hole is clean, give it a quick wipe with a dry cloth to get rid of the sawdust. If you're using a water-based filler, you might want to slightly dampen the edges of the hole with a bit of water to prevent the wood from sucking the moisture out of the filler too fast. It’s a small trick, but it helps the material settle in without pulling away from the sides.
- 4. Now, pick your filler based on the job. For small cosmetic gaps in a finished piece, a high-quality wood putty is fine. But if you're working on something substantial, I prefer mixing my own using fine sawdust from the same timber species and a bit of wood glue. It matches the grain much better than that pre-mixed stuff they sell in plastic tubs.
- 5. Apply the filler in layers if the hole is deep. Don't try to fill a half-inch gap in one go; you'll just end up with a hollow, weak center. Pack it in firmly with a small spatula or even the back of a spoon, making sure you compress the material so there aren't any air pockets trapped inside.
- 6. Leave it alone. This is where most people fail—they get impatient and try to sand it while it's still tacky. You need to wait until it is completely hard through and through. If you're using a glue-and-sawdust mix, give it a good amount of time to cure. A bit of patience here saves you from having to do the whole job twice.
- 7. Finally, once it's bone dry, it's time to level it off. Instead of reaching for that loud, vibrating sander that'll just round off your edges, take a sharp block plane or a very fine chisel and pare the excess away until it's flush with the surface. If you've done the preparation right, it should feel like the wood was never broken in the first place.
Wood Filler vs Wood Glue Choosing the Right Substance
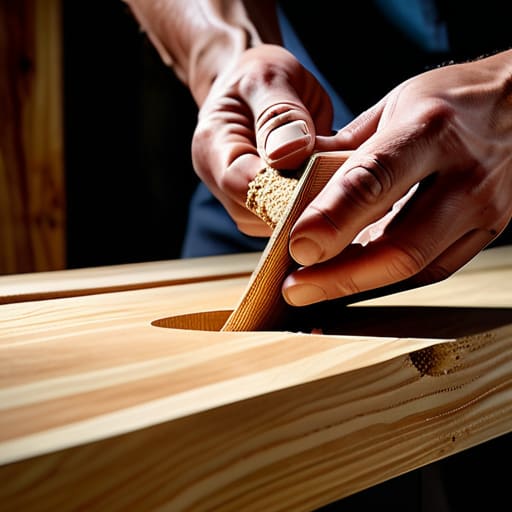
Now, before you go grabbing whatever tub of goop is sitting on your workbench, you need to understand the difference between wood filler vs wood glue. I’ve seen too many lads try to fix a structural crack with a bit of lightweight putty, only to have the whole joint pull apart a week later. If the hole is part of a joint that needs to hold weight, you aren't looking for filler; you're looking to bond the fibers back together with a proper PVA. Glue is for strength; filler is for aesthetics.
If you're repairing damaged furniture where the wood has simply crumbled or been gouged, that’s when you reach for the filler. The trick is knowing that filler doesn't have any structural integrity. It’s just there to hide the wound. When you're selecting your material, keep an eye on the finish. If you're planning on a dark walnut finish, a bright white filler is going to look like a sore thumb once you start matching wood stain color. Choose something that sits close to your base timber, or you'll spend more time fighting the finish than you did fixing the hole.
Wood Grain Texture Restoration Through Precise Application
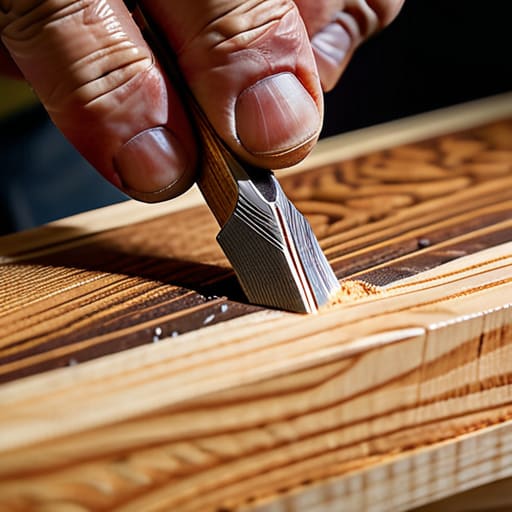
Now, if you just slap a blob of filler in and sand it flush, you’ll end up with a patch that looks like a thumbprint on a clean window. It’s a dead giveaway. To get proper wood grain texture restoration, you need to stop thinking about the filler as just a plug and start thinking about it as part of the timber. Once the filler has cured, I like to take a very sharp, small paring chisel and lightly score the surface. You aren't trying to dig it out; you're just breaking that unnaturally smooth, plastic-like finish that most modern fillers leave behind.
If you’re repairing damaged furniture that has a deep, open grain—like oak or ash—you can even mix a bit of fine sawdust from the original piece into your filler. It helps with matching wood stain color later on, because you aren't fighting against a completely different material. Once you’ve got that texture established, go easy with the sandpaper. If you over-sand, you’ll just plane the grain right off the patch, and you'll be right back where you started.
A Few Bits of Advice Before You Start Slathering Filler
- Don't just smear it on top. Use a narrow, sharp chisel to clean out the loose bits and the rot first. If you're building a foundation on sawdust and crumbling wood, that filler isn't going to stay put for long.
- Remember that most fillers shrink as they dry. I've seen many a novice fill a hole flush, only to find a divot there the next morning. Always leave it slightly proud—meaning a bit higher than the surface—so you can sand it back level once it's set.
- Stop trying to use one size for everything. If you've got a massive void, don't try to fill it in one go with a tub of cheap stuff. Do it in layers. Let the first bit harden before you put the next one on, or you'll just end up with a soft, useless mess.
- Watch your grain. If you're working on a piece of oak or something with a heavy pattern, try to work the filler into the grain rather than just wiping it across it. If you don't, you'll end up with a patch that looks like a thumbprint under the varnish.
- Keep your tools clean. If you're using a small spatula or a scrap piece of wood to apply the filler, wipe it clean between every single movement. There's nothing worse than dragging a dried bit of old filler across a fresh, wet patch.
A Final Word on Doing it Right
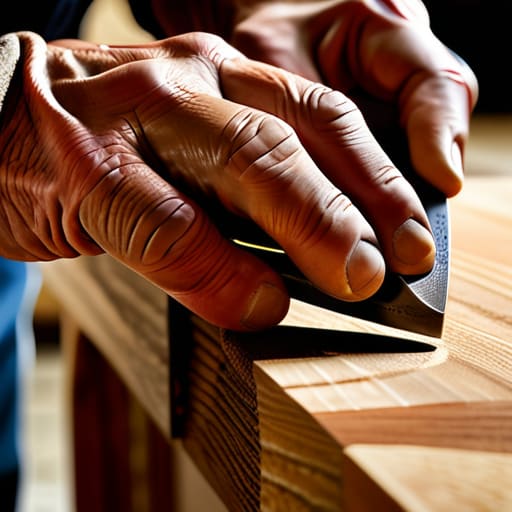
At the end of the day, filling a hole isn't just about plugging a gap so you can slap a coat of paint over it. It’s about understanding the material you’re working with. Whether you decided to go with a dedicated wood filler for those pesky knots or used a mix of sawdust and glue to match the grain, the secret lies in the preparation. Don't rush the process by slapping on thick, messy layers that will only shrink and crack later. If you take the time to clear the cavity with a properly sharpened chisel and apply your material with a bit of patience, you won't find yourself sanding back a mess three days from now. It’s about doing the job so that the repair becomes invisible to the eye and structurally sound.
I know it’s tempting to reach for the quick fixes and the plastic-heavy fillers sold in the big-box stores, but I’ve spent forty years seeing what lasts and what doesn't. Real craftsmanship is found in the small, quiet moments—the moments where you choose to do things the slow way because you know it's the right way. Don't let the modern world convince you that speed is everything. A well-executed repair is a mark of respect for the timber. So, put the power tools away, trust your hands, and remember that patience is a tool just as important as any blade in your kit.