A Workshop First Aid Kit
 Callum Reith-Sowande
I remember standing in a workshop back in '88, staring at a lad's hand after a chisel slipped because we didn't have a clean bandage in sight. Most people think you can just buy one of those pre-packed plastic boxes from the supermarket and call it a day, but that’s a mistake. Those kits are filled with cheap, flimsy rubbish that breaks the moment you actually need it. If you want to know how to set up a first aid kit that won't fail you when the blood starts flowing, you have to stop treating it like a disposable commodity and start treating it like a piece of essential equipment.
I’m not here to sell you a fancy, overpriced kit with bells and whistles you'll never use. I’m going to show you how to build a kit that is reliable, repairable, and ready for work. We’ll go through the exact essentials you need to keep on hand—from proper dressings to the small, practical items the big manufacturers always forget—so you aren't fumbling around when every second counts. I'll teach you how to organize it so you can find what you need without the panic.
Guide Overview
Tools & Supplies
- Scissors (small medical grade for cutting bandages)
- Tweezers (fine-tipped for removing splinters)
- Permanent marker (for labeling medication or dates)
- Adhesive bandages (variety of sizes, 30-50 count)
- Sterile gauze pads (4x4 inch, 10 count)
- Medical tape (1 roll)
- Antiseptic wipes (15-20 count)
- Antibiotic ointment (1 tube)
- Disposable gloves (nitrile, 2-4 pairs)
- Elastic bandage (2-3 inch width, 1 roll)
- Thermometer (digital, 1 unit)
- Small container (waterproof/portable case, 1 unit)
Step-by-Step Instructions
- 1. Start with a proper container. Don't go buying one of those flimsy plastic boxes that'll crack the first time you drop it on a workshop floor. Get yourself a sturdy, waterproof case—something with a decent latch that won't pop open if you have to move quickly. If it isn't tough enough to survive a bit of a tumble, it isn't worth the space in your kit.
- 2. Gather your dressings and bandages. You’ll need a variety of sizes, but don't bother with the tiny, useless bits. Get some thick, absorbent pads for heavy bleeding and several rolls of crepe bandage to hold things in place. I always say, prepare for the worst so you aren't left staring at a wound with nothing but a bit of tissue to show for it.
- 3. Stock up on cleaning supplies. You need antiseptic wipes and a good bottle of saline or sterile water. If you're dealing with a cut, the first thing you need to do is get the grit and sawdust out of it. A clean wound is a wound that heals; a dirty one is just an invitation for trouble.
- 4. Don't forget your adhesives and tools. Grab a handful of assorted plasters, but also get some medical tape and a pair of heavy-duty scissors. You’ll need those scissors to cut through clothing or thick bandages when time is of the essence. Make sure the scissors are actually sharp; there's nothing more frustrating than struggling to cut a bandage when someone is in pain.
- 5. Include a selection of gloves and basic PPE. I keep a few pairs of nitrile gloves in every kit I own. You don't want to be touching someone else's blood with your bare hands, no matter how much you think you're being helpful. It's about basic hygiene and keeping yourself safe while you're looking after someone else.
- 6. Add a few "just in case" items. A small pair of tweezers for pulling out splinters and a basic digital thermometer are worth their weight in gold. I also like to keep a few emergency foil blankets in there. They don't take up much room, but if someone goes into shock, they can be the difference between staying warm and getting much worse.
- 7. Finally, organize everything so you can see it at a glance. Don't just throw it all in a heap at the bottom of the box. Use small, clear pouches or even simple zip-lock bags to group things like "cuts and scrapes" or "burn care." If you're fumbling in the dark because you can't find a plaster, the whole kit has failed its one job.
Precision Gear an Emergency Medical Supplies Checklist
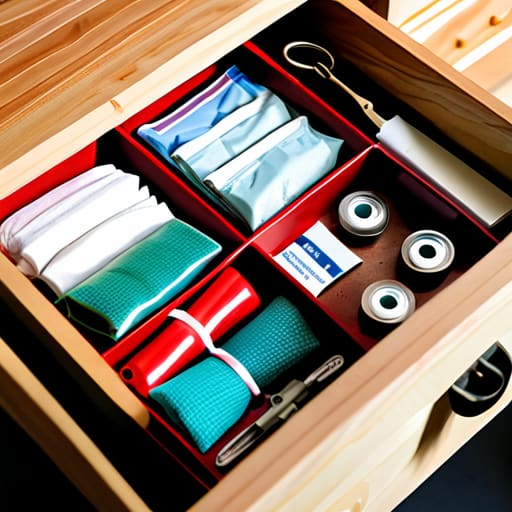
When I was teaching apprentices, I’d tell them that a messy workbench is a sign of a messy mind. The same goes for your medical kit. If you’re digging through a pile of loose bandages while someone is bleeding, you’ve already lost the battle. I keep a specific first aid kit for workshops tucked away near my bench, and it isn't just a box of assorted bits. I use clear, labeled compartments so I can find what I need by touch if I have to. Good medical kit organization tips start with accessibility; if you have to hunt for the antiseptic, you’re wasting precious seconds.
Beyond just having the gear, you need to think about the quality of your essential wound care items. Don't bother with those cheap, flimsy plasters that peel off the moment you sweat; they’re as useless as a dull chisel. Get the heavy-duty stuff that actually stays put. I always make sure my kit is stocked with enough gauze and antiseptic to handle more than just a nick from a plane iron. Proper home safety preparedness means being ready for a real mess, not just a surface scratch.
Essential Wound Care Items for High Stakes Environments
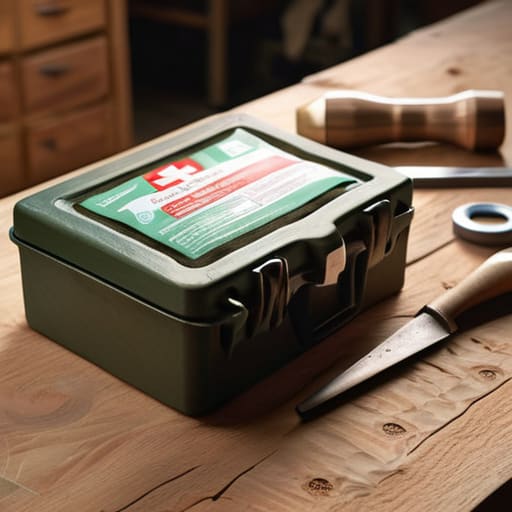
When you’re working in a shop, a slip of the chisel or a nick from a rogue splinter isn't just a nuisance; it’s a reality of the trade. If you're building a first aid kit for workshops, you need to move past the flimsy, store-bought bandages that peel off the moment you sweat. I always tell my former students that you need proper haemostatic dressings—the kind that actually help the blood clot—because a deep nick from a sharp edge doesn't care about your schedule.
Don't just throw a handful of plasters in a box and call it a day. You need a stock of sterile saline wipes and high-quality antiseptic to ensure you're truly treating minor cuts and scrapes rather than just covering them up. If you leave grit or sawdust in a wound, you're asking for an infection that'll keep you off the bench for a week. I keep my supplies in a clear, hard-shell case; if you can't see what you're reaching for in a moment of panic, the kit is useless. Organization is just as important as the contents themselves.
Five Rules for a Kit That Doesn't Fail You
- Stop buying those pre-made, flimsy plastic kits. They’re filled with cheap rubbish you’ll never use and lack the heavy-duty stuff you actually need when things go sideways. Build your own from the ground up so you know exactly what’s inside.
- Keep your kit in a spot you can reach without having to play hide-and-seek. If it’s tucked away in a bottom drawer under a pile of sawdust, it might as well not exist when you’re actually bleeding.
- Check your supplies every six months like you’d check the edge on a chisel. Bandages get brittle and ointments expire; don't wait until you're in a crisis to find out your antiseptic has turned to useless sludge.
- Organize by use, not just by size. I like to have my wound care items in one pouch and my tools like shears or tweezers in another. You don't want to be digging through a jumble of gauze when you need to cut a bandage.
- Don't overcomplicate it with gadgets you don't know how to use. A kit is only as good as your ability to use what's in it. If you haven't practiced applying a pressure bandage, don't bother buying a fancy one.
Don't Leave Your Safety to Chance
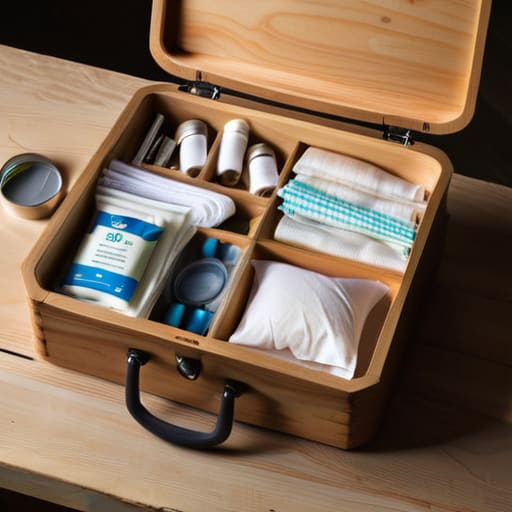
At the end of the day, setting up a proper kit isn't about buying the most expensive box on the shelf; it’s about the discipline of preparation. You’ve gone through the checklists, you’ve gathered your wound care essentials, and you’ve organized your gear so it’s actually accessible. Now, you need to maintain it. Just like I wouldn't dream of heading to a job with a blunt chisel or a cracked handle, you shouldn't walk into a workshop or a project with a kit that's expired or empty. Check your supplies every few months, replace what you use, and make sure you know exactly where everything sits before the pressure is on.
I spent forty years on site, and I’ve seen enough accidents to know that luck is a poor substitute for readiness. People think they can just wing it when things go wrong, but when a real emergency hits, your hands need to know what to do without you having to think about it. A well-prepared kit gives you more than just bandages and antiseptic; it gives you the confidence to act when it matters most. Don't wait for a mishap to realize you're unprepared. Build your kit, learn your tools, and keep them ready.