A Workshop in a Single Garage
 Callum Reith-Sowande
Most people think that figuring out how to set up a workshop in a garage requires a massive bank loan and a floor-to-ceiling rack of shiny, cordless power tools that will be obsolete in five years. They spend more time browsing catalogues than actually working. I spent forty years on site and ten years in a classroom, and if there is one thing I’ve learned, it’s that a cluttered, disorganized space is just a graveyard for good intentions. You don't need a showroom; you need a workspace where you can actually find your marking gauge without moving three piles of scrap timber first.
In this guide, I’m going to strip away the nonsense and show you how to build a functional space that actually works for you. We aren't talking about fancy gadgetry; we are talking about smart layout, solid lighting, and proper bench placement. I’ll show you how to organise your tools so they stay ready for work, rather than becoming part of the mess. By the end of this, you’ll have a workshop that respects your craft and, more importantly, respects your time.
Guide Overview
Tools & Supplies
- Tape measure for layout planning
- Drill/Driver for assembly
- Level to ensure workbench stability
- Saw for cutting shelving units
- Workbench lumber (4-6 boards)
- Heavy-duty shelving units (2 units)
- Pegboard kit (1 large sheet)
- Fasteners/Screws (1 box)
Step-by-Step Instructions
- 1. First thing you need to do is clear the floor. I don't care if it’s where you keep the lawnmower or the old bicycle; if it isn't essential to the work, it's dead weight. You can't find a rhythm or a steady footing if you're constantly stepping over junk. Get everything out into the driveway, sweep the concrete clean, and make sure you have a level surface to start with.
- 2. Next, you have to sort your lighting. Most garages have one sad, flickering bulb in the corner that leaves half the room in shadow. You can't work safely if you can't see the grain of the wood or the edge of your blade. I always suggest installing bright, overhead LED panels and, more importantly, a dedicated task light right over your main bench. If you're squinting, you're making mistakes.
- 3. Now, let's talk about the workbench. This isn't a kitchen table; it's the heart of the whole operation. It needs to be heavy, solid, and ideally made of something like beech or maple that won't bounce when you're paring a joint. A flimsy table will soak up all your energy and ruin your precision. If it wobbles, it's useless. Build it thick, bolt it to the wall if you have to, and make sure it's dead level.
- 4. Once the bench is set, you need to organize your layout based on how you actually move. Don't just line up tools against a wall like they're on display in a shop window. Put your most-used items—your marking gauge, your squares, and your favorite chisels—within an arm's reach of the bench. You want a workflow where you aren't constantly walking back and forth across the room just to find a pencil. Efficiency is everything.
- 5. You'll need a proper way to manage your waste. I've seen too many lads trying to sweep sawdust into a pile only for it to blow all over their finished work. Get a sturdy bin for the big offcuts and a proper vacuum or a fine brush for the small shavings. A clean workspace isn't about being tidy for the sake of it; it's about keeping your tools clean and your eyes focused on the cut.
- 6. Finally, set up a dedicated station for sharpening. This is where most beginners fail. Don't just throw your stones in a drawer where they can get chipped or grit-covered. Get a small, stable stand or a specific corner of the bench with a damp cloth and your honing guides. If you don't treat your sharpening equipment with respect, you'll never get a truly keen edge, and you'll be back to fighting with blunt, useless steel.
Mastering Small Garage Workshop Layouts Without the Clutter

If you’re working in a space no bigger than a broom cupboard, you can't afford to have your tools wandering about. In a tight small garage workshop layout, every inch of vertical space is more valuable than the floor. I’ve spent years watching lads waste time digging through deep, dark drawers for a paring chisel that should have been right in front of them. Don't make that mistake. Use French cleats or pegboards to get your most-used implements up on the wall. When your tools are visible and within arm's reach, you aren't just being tidy; you're staying in the flow of the work.
The real killer of a small space, though, is the mess. You need to invest in proper tool storage systems for garages that keep the clutter off your bench. A cluttered workbench is a dangerous workbench, and it’ll slow you down more than a dull plane ever could. I always say: if you can’t find a tool in ten seconds, you don't own it, you're just storing it. Keep your surfaces clear so you have room to actually move the timber.
Precision Lighting Solutions for the Detail Oriented Maker
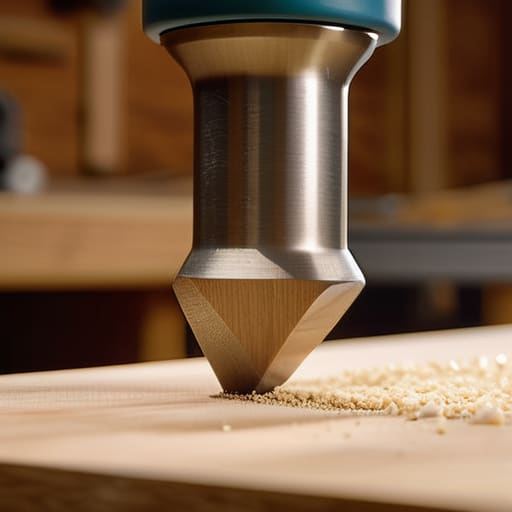
You can have the finest workbench organization ideas in the world, but if you’re working in a dim, yellow haze, you’re asking for trouble. I’ve seen too many young lads squinting at a joint, missing a hairline fracture in the grain because the overhead bulb was tucked away in a corner. When you're setting up your space, don't just rely on a single, lonely shop light hanging from the rafters. You need layers. I always say, you want light that follows the work, not light that fights your own shadow.
For the real work—the paring, the marking out, and the fine joinery—you need dedicated garage workshop lighting solutions right at eye level. I prefer a sturdy, articulated lamp clamped directly to the bench. It lets you direct a crisp, cool light exactly where the steel meets the wood. If you're working with fine details, shadows are your enemy. A bit of extra task lighting ensures you see the chip you're cutting, not just the dust. It’s about seeing the truth of the timber.
Five Rules to Keep Your Garage from Becoming a Junk Room
- Build a bench that doesn't wobble. If your workbench moves every time you put a bit of pressure on a chisel, you aren't working; you're wrestling. A heavy, solid bench is the foundation of everything, and if you can't bolt it to the floor or weight it down, you're just wasting your time.
- Stop hoarding tools you'll never use. I see lads buying every gadget in the catalogue, but a workshop isn't a museum. If you haven't reached for a tool in two years, it’s taking up space that should belong to something useful. Keep the essentials close and the rubbish out.
- Respect the floor. Concrete is cold, hard, and unforgiving on a man's knees after forty years of standing. Get yourself some proper anti-fatigue mats in the spots where you spend your time leaning over a workpiece. Your joints will thank you when you're my age.
- Keep your sharpening station separate. There is nothing worse than trying to find a honing stone in a pile of drill bits and sawdust. Dedicate one small corner or a specific tray just for your sharpening gear. If your stones are buried, they won't get used, and you'll end up using a blunt tool.
- Plan your power, but don't rely on it. I know everyone wants a socket in every corner, but don't let a tangle of extension leads dictate your layout. Set up your space so you can work with your hands first. A well-placed bench and a clear path to your manual tools will always beat a room choked with cords.
Getting the Work Started
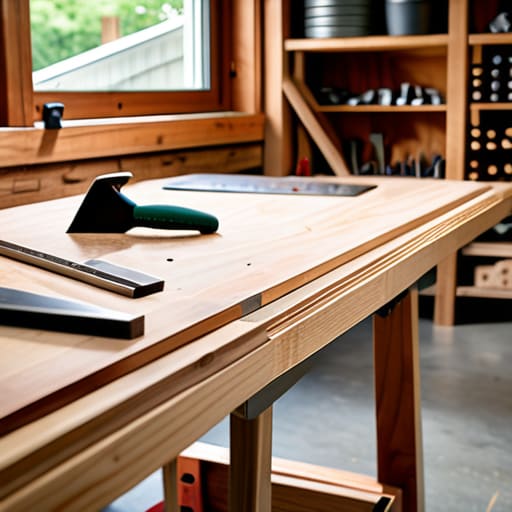
Setting up a garage workshop isn't about buying every gadget in the catalogue; it’s about making sense of the space you actually have. You’ve looked at the layouts, sorted your lighting so you aren't squinting at a grain line, and figured out how to keep the floor clear of scrap. Remember, a workspace only works if it serves you, not the other way around. If you can't find your marking gauge or you're tripping over a power lead, you haven't finished the setup. The goal is to create an environment where your tools are ready and your mind is clear before the first shaving even hits the floor.
At the end of the day, a workshop is just a room filled with wood and steel until you step inside and start working. Don't get caught in the trap of "perfecting" the space for years without ever actually making anything. A workbench might be slightly wonky or your tool rack might look a bit messy, but as long as your blades are honed and your bench is steady, you're ready. Stop planning and start cutting. The best way to learn how your shop should run is to get stuck into a project and see where the friction lies.