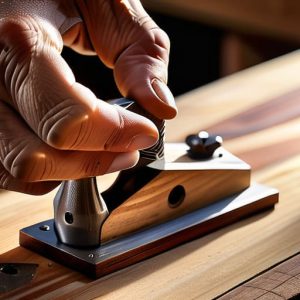
Sharpening a Chisel So It Cuts Endgrain
 Callum Reith-Sowande
I remember a young apprentice back in the nineties, sweating over a piece of seasoned oak, trying to force a blunt chisel through a mortise like he was hacking at a tree root. He was exhausted, the wood was splintering, and he was convinced he just needed a bigger, more expensive power router to get the job done. I had to stop him right there. Most people think they need more muscle or more electricity when a joint isn't fitting, but the truth is much simpler: they just haven't learned how to sharpen a chisel properly. A tool that can't slice through end grain like it's warm butter isn't a tool; it's just a heavy piece of scrap metal.
I’m not going to waste your time with fancy, overpriced gadgetry or complicated theories that don't work on a real job site. In this guide, I’ll show you the honest, steady way to get a mirror finish on your edge using nothing but basic stones and a bit of patience. We’ll skip the nonsense and focus on the actual technique, ensuring you can maintain your own kit for life. If you want to stop fighting your timber and start working with it, you’re in the right place.
Guide Overview
Tools & Supplies
- Bench vise (to hold the chisel steady)
- Honing guide (to maintain consistent bevel angle)
- Sharpening stones (combination water stone or diamond plate)
- Honing oil or water (lubricant for the stones)
- Micro-mesh sandpaper (for final polishing)
Step-by-Step Instructions
- 1. First things first, you need to look at the bevel. Most modern chisels come with a 25 or 30-degree angle, but don't just trust what the factory says. Take a piece of fine sandpaper or a marking gauge and check that angle is consistent from the heel to the tip. If the factory grind is wonky or uneven, you’ll spend more time fighting the stone than actually sharpening, so grind it back to a true, flat plane before you even think about polishing it.
- 2. Get your stones ready. I don't care if you use water stones or oil stones, but they must be dead level. If your stone is dished in the middle, you’ll end up with a rounded edge that’ll never cut clean. I always check my stones by running a flat piece of glass over them; if it rocks, the stone isn't flat and it's useless to you. Flatten them on a diamond plate or a piece of grit before you start.
- 3. Now, start with your coarsest stone. Lay the bevel face down on the stone and apply firm, even pressure. You aren't trying to rush this; you're looking for that consistent "burr" to form along the entire length of the cutting edge. You'll know you've reached it when you can feel a tiny wire of metal curling over the back of the blade with your thumb. If you haven't felt that burr, you haven't done the work yet.
- 4. Once that burr is established, move to your medium-grit stone. You’re doing the same motion, but you're refining the scratches left by the coarse stone. Keep your pressure steady and don't let your angle wander. If you start tilting the handle up or down halfway through the stroke, you’ll just round the edge off, and you'll be right back where you started.
- 5. This is where the magic happens: the honing stage. Switch to your finest stone—the one that feels almost like silk. This isn't about removing metal anymore; it's about polishing the edge to a mirror finish. I like to use very light, sweeping strokes here. You want that steel to shine so brightly you can see your reflection in it.
- 6. Don't forget the back of the chisel. A common mistake I saw for years in the college workshop was students sharpening the bevel but leaving the back side dull. Lay the flat side of the chisel completely flush against your finest stone and work it back and forth. You need that back to be perfectly flat and polished to meet the bevel, otherwise, you'll never get a truly keen edge.
- 7. Finally, do a quick test. Don't just look at it; use it. Take a scrap piece of soft pine and try to shave a thin curl. If the chisel bites in effortlessly without you having to push hard, you've done it right. If it feels like it's tearing the fibers rather than slicing them, you've likely got a micro-chip or a rounded edge that needs another pass on the fine stone.
Mastering Whetstone Grit Progression for Surgical Precision
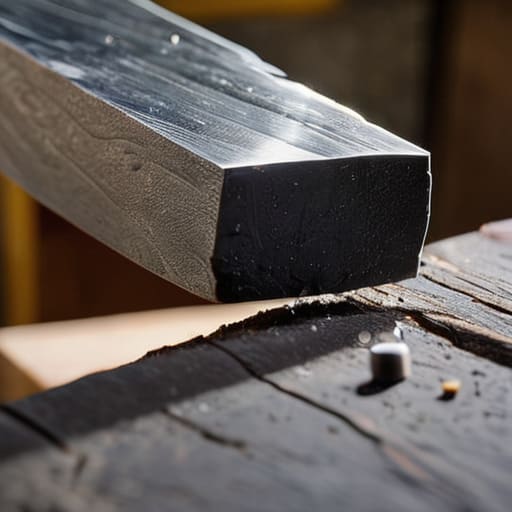
Now, don't go rushing straight to the fine stones. I see plenty of lads in the workshop try to skip the grunt work, thinking they can polish a blunt edge into something useful. That’s a fool's errand. A proper whetstone grit progression starts with the heavy lifting. You need a coarse stone to actually reset the geometry of the steel and flatten the bevel. If you don't establish that foundation first, you'll spend hours polishing scratches that should have been ground out in minutes.
Once you’ve got the shape right, you move up the line. This is where you transition from shaping to refining. I always tell my students that the jump between grits is where the real skill shows. You aren't just rubbing steel on stone; you are refining the microscopic teeth of the edge. If you're using a micro bevel technique, you'll find that the final, highest-grit stone does most of the heavy lifting for that razor finish. Take your time. If you rush the progression, you'll end up with a shiny edge that still won't shave the hair off your arm.
The Micro Bevel Technique Why Less Effort Yields More Edge
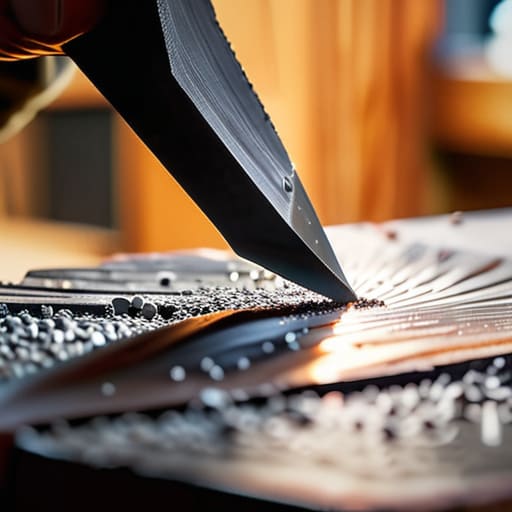
Now, if you’ve spent any time at the bench, you’ll know that the most exhausting part of the job isn't the joinery itself—it's the endless grinding. Most fellas think they need to reset the entire primary bevel every single time they feel the edge go soft. That’s a mistake. By using the micro bevel technique, you aren't resetting the whole face; you’re just polishing a tiny, secondary sliver at the very tip. It’s a fraction of a degree steeper than your main bevel, and because the surface area is so small, you can get it razor-sharp in a fraction of the time.
I used to spend hours fighting with my stones, but once I mastered this, I realized I was just wasting motion. Instead of a full regrind, you just focus your efforts on that final, tiny strip of steel. It makes maintaining edge sharpness a matter of a few quick strokes rather than a whole afternoon of labor. Just remember, don't go overboard with the angle, or you'll end up with a thick, clumsy edge that won't slice through grain like it should. Keep it light, keep it consistent, and let the steel do the work.
Five things I’ve learned from forty years of seeing blades go to waste
- Stop using those cheap electric grinders if you want a real edge. They run too hot, they'll ruin the temper of your steel, and before you know it, you've got a piece of scrap metal that won't hold an edge for more than five minutes.
- Learn to feel the burr with your thumb. You can't rely on your eyes alone; you need to run your skin lightly across the bevel to feel that tiny wire edge forming. If you haven't felt the burr, you haven't finished the job.
- Keep your stones flat. I see lads using stones that are bowed in the middle like a half-moon, and they wonder why their chisels won't take a straight cut. If your stone isn't flat, your edge won't be either.
- Don't rush the grit progression. You can't skip from a coarse stone straight to a fine one and expect magic. You have to work through the grits properly, or you'll just be polishing scratches instead of removing them.
- Respect the steel. If you find a chisel that's been beaten up or has a nick in it, don't throw it in the bin. Take the time to grind out the damage on a coarse stone first. A good tool is worth the effort of a proper rescue.
The Edge of the Matter
At the end of the day, sharpening isn't some chore you tick off a list; it is the foundation of everything you do in the workshop. We've talked about moving through your grits properly, and I can't stress enough how much that micro bevel saves your hands from unnecessary strain. If you skip the progression or try to take shortcuts with the bevel, you'll find yourself fighting the timber instead of shaping it. Remember, a tool is only as good as the person maintaining it, and a well-honed edge is the difference between a clean paring cut and a splintered mess that ruins a good piece of oak.
I know the modern world wants you to believe that everything is better when it's faster, louder, and disposable. They want you to buy a new set of cheap steel every time the edge goes soft. But I’ll stick to my way. There is a quiet, steady satisfaction in taking an old, battered chisel and bringing it back to a mirror finish. When you finally push that blade through a shaving of wood so thin you can see through it, you'll realize that true mastery doesn't come from a motor—it comes from the connection between your hands and the steel. Keep your tools sharp, and they'll never let you down.