Transferring an Angle Accurately
 Callum Reith-Sowande
I remember standing in a workshop back in the late eighties, watching a young apprentice try to layout a series of mitres using a cheap, plastic-bodied gauge he’d picked up for a few quid. Every time he tightened the wing nut, the scale shifted just enough to ruin the joint. He was sweating, frustrated, and ultimately wasting more wood than he was saving. That’s the problem with modern tool shopping; people think they’re being sensible by saving a bit of cash, but when it comes to learning how to choose a bevel gauge, they often end up buying a piece of junk that cannot be trusted. A tool that wanders is worse than having no tool at all.
I’m not here to sell you on some fancy, laser-etched titanium nonsense that costs a week's wages. I want to show you how to spot the difference between a tool that holds its line and one that's destined for the scrap heap. I’ll tell you exactly what to look for in the brass, the wood, and the tensioning mechanism so you can buy something that lasts a lifetime. We’re going to focus on weight, stability, and repairability—the only things that actually matter when you're at the bench.
Metal vs Plastic Choosing Durability Over Disposable Convenience
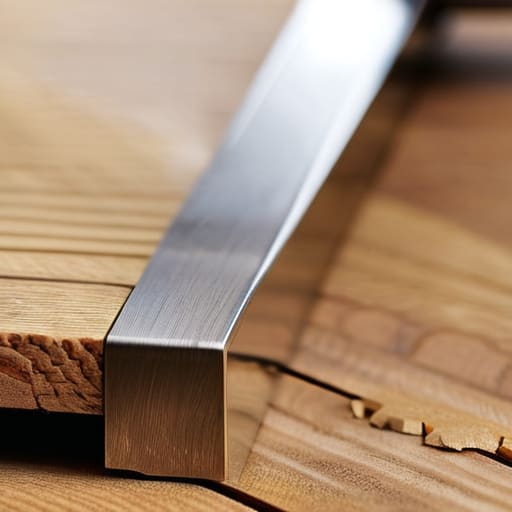
You’ll see all sorts of these in the hardware shops these days, mostly made of bright, lightweight plastic. They’re cheap, they’re colourful, and they’re designed to be replaced the moment they lose their grip. In my experience, if you’re serious about measuring angular dimensions on a real piece of timber, plastic is a non-starter. It flexes under pressure. You think you’ve marked a precise line, but the moment you apply any force, that flimsy arm bows, and your layout is ruined. I’ve never met a man who could rely on a plastic gauge for anything more than a rough sketch.
If you want a tool that actually works, you go for brass or steel. A proper metal gauge has the weight to stay seated and the rigidity to ensure that what you set on the workpiece is exactly what you get when you move the tool to your marking knife. When looking at metal vs plastic bevel gauges, remember that a solid tool is an investment in your own accuracy. I’d rather have one heavy, well-machined brass instrument that I can oil and keep for thirty years than a drawer full of disposable rubbish that fails you when the job gets difficult.
Sliding T Bevel Types for True Precision Woodworking Tools
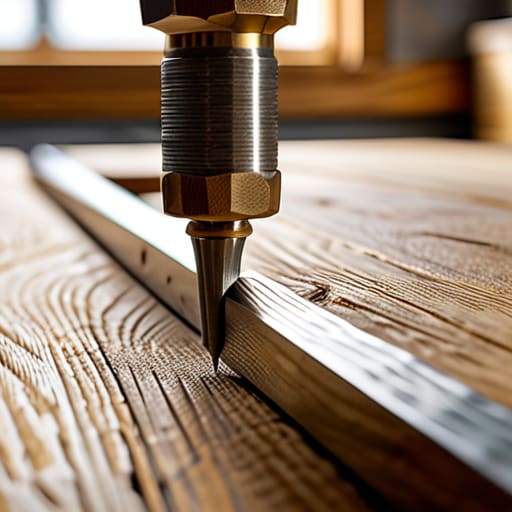
When you start looking at the different sliding T-bevel types, you’ll notice they generally fall into two camps: the basic ones meant for rough framing and the proper ones meant for the bench. I’ve seen too many lads buy a cheap, thin-blade version thinking it’ll do the job, only to find it flexes the moment they try to mark a line. If you’re serious about measuring angular dimensions without a fight, you want a tool with a thick, heavy blade—ideally brass or high-grade steel—that won't bow under a bit of pressure.
The real difference lies in the locking mechanism. A decent tool should have a wing nut or a screw that bites hard and stays put. Some of the better adjustable bevel tool features include a knurled nut that you can tighten with your fingers, which is far superior to those flimsy plastic thumbscrews that strip after a month of use. If you want to master accurate angle transfer techniques, you need a tool that stays exactly where you set it. Anything less is just guesswork, and guesswork is what leads to wasted timber.
Five Things to Look for Before You Open Your Wallet
- Check the pivot point first. If the screw or bolt feels loose or poorly machined right out of the box, walk away. A bevel gauge is useless if it won't hold the angle you've set, and a wobbly pivot is a waste of good timber.
- Look for a heavy brass or steel nut. I've seen too many modern versions using cheap, thin plastic thumbscrews that strip the moment you apply a bit of pressure. You want something you can tighten firmly without feeling like you're about to snap it.
- Test the scale for clarity. It doesn't matter how precise the tool is if you can't read the markings through a layer of sawdust or under dim workshop lighting. Etched markings are always better than printed ones; they won't rub off after a year of hard use.
- Feel the weight of the blade. A flimsy, thin piece of sheet metal will flex when you're trying to scribe a line, and that's how you end up with wonky joinery. You need a blade with enough heft to stay dead straight against your workpiece.
- Ensure the adjustment is smooth, not gritty. If you have to force the blade to move, the machining is poor. A proper tool should slide with purpose and lock down without any fighting. If it feels like it's grinding, it'll never give you the precision you need.
Final Thoughts on Your Next Layout Tool
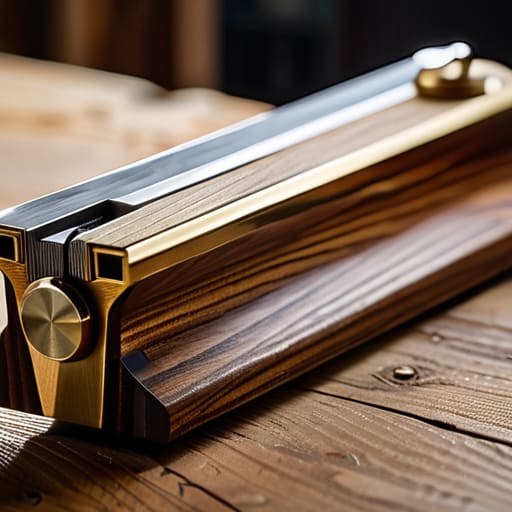
At the end of the day, choosing a bevel gauge isn't about finding the cheapest thing in the catalogue; it’s about finding a tool that won't let you down when you're halfway through a complex joint. You've looked at the difference between a flimsy plastic bit and a solid brass or steel body, and you've weighed up whether a sliding T-bevel actually meets your needs for precision. If you follow what I've said, you'll walk away with something that actually holds its angle instead of drifting the moment you apply a bit of pressure. Don't settle for a tool that's designed to be replaced in six months; invest in something that lasts a lifetime.
I've spent forty years on sites and in classrooms, and if there's one thing I've learned, it's that your work is only as good as your setup. You can have the finest timber in the world, but if your layout is off by even a fraction of a degree because your gauge is rubbish, you're just fighting a losing battle. Take your time, feel the weight of the tool in your hand, and choose something that feels right. A good tool becomes an extension of your own hands, and once you find that perfect gauge, you'll realize that true craftsmanship starts with the basics.