Building for a Humid Room
 Callum Reith-Sowande
Most people think you need a workshop full of expensive, noisy power tools to tackle a project like this, but they’ve got it backwards. I’ve spent forty years on site, and I’ve seen more ruined pieces of timber from a rushed router than I ever have from a steady hand. If you want to learn how to build a bathroom cabinet that actually lasts, you need to stop chasing the latest gadget and start respecting the wood. It isn't about how much electricity you can pull from the wall; it’s about the precision of your joinery and having a blade that can actually slice a grain without tearing it to shreds.
In this guide, I’m going to walk you through the process without any of the fluff or fancy marketing nonsense you see online. I’ll show you how to lay out your marks, choose the right timber for a damp environment, and why a well-honed chisel is your most important partner in the shop. We aren't just slapping some plywood together with screws; we are going to build something with proper integrity. If you’re ready to slow down and do it right the first time, let’s get to work.
Guide Overview
Tools & Supplies
- Circular Saw or Table Saw for cutting panels
- Drill/Driver for assembly and hardware
- Pocket Hole Jig for strong, hidden joints
- Measuring Tape for precision layout
- Level to ensure cabinet is plumb
- 3/4" Plywood for the main carcass
- 1/4" Plywood for the back panel
- Wood Glue for structural integrity
- Pocket Hole Screws (1-1/4") for assembly
- Cabinet Hinges for door attachment
- Drawer Slides if adding storage drawers
Step-by-Step Instructions
- 1. Start by laying out your timber and getting your marks on. Don't go reaching for a tape measure every two seconds; instead, use a marking gauge to scribe your lines. It gives you a physical groove to follow, which is a hell of a lot more reliable than a thin pencil line when you're ready to cut. Once you've got your sides, back, and shelves marked out, make sure you've accounted for the thickness of the wood itself. If you miss that, you'll end up with a cabinet that's shorter than a garden stool.
- 2. Now, it’s time to tackle the joinery. For a bathroom cabinet that isn't going to wobble the moment you hang a wet towel on it, I'd suggest using mortise and tenon joints for the main frame. I know, I know—it takes longer than just slapping some screws through the sides, but screws pull and warp over time. Take your chisel, make sure it’s keen enough to shave the hair off your arm, and carefully knock out those mortises. It’s about patience, not speed.
- 3. Once your joints are cut, you need to fit them together. This is where most people rush and end up with gaps that look like canyons. Take your mallet and a well-chosen chisel to lightly tap the tenons into place. If it’s too tight, don't force it—you'll split the grain. Just take a tiny, thin shaving off the end of the tenon until it slides home with a firm, solid thud. A tight joint is a strong joint.
- 4. While the glue is setting, you’ll want to get the back panel fitted. A lot of modern builders just nail a thin bit of MDF to the back, but if you want this to last, try to flush-fit a solid panel into a rebate you've cut into the frame. This prevents the whole structure from racking or leaning to one side. It’s the difference between a piece of furniture that stays square and one that eventually gives up the ghost.
- 5. Next, we move on to the doors. I prefer a simple frame-and-panel design here. Cut your stiles and rails to match the style of your main cabinet, and use a small rebate to hold the center panel. When you're fitting the hinges, don't rely on those cheap, flimsy ones from the big-box stores. Get some decent brass butt hinges and use a sharp chisel to clear the mortises deep and clean. If the hinge sits proud, the door will never hang straight, and you'll be fighting it for the rest of your life.
- 6. Finally, it’s time for the finishing touches. Sanding is a chore, I won't lie to you, but don't go using a high-speed orbital sander that just burns the wood and leaves swirl marks. Work through the grits by hand, moving from coarse to fine, and always work with the grain. Once the wood is smooth as silk, apply a good quality oil or wax. It protects the timber from the steam and moisture in the bathroom, ensuring the wood stays happy for decades to come.
Selecting Waterproof Wood Types for Bathrooms
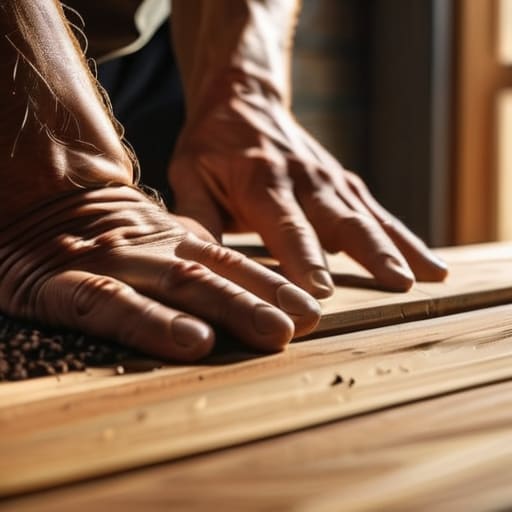
Now, before you even think about picking up a saw, you need to be sensible about what you’re actually working with. A bathroom isn't a library; it’s a room full of steam, splashes, and constant humidity. If you choose the wrong timber, you'll be looking at a warped mess before the year is out. When I'm looking at waterproof wood types for bathrooms, I tend to steer clear of anything cheap or overly porous. Teak is the gold standard, of course, but it’s dear. If you're on a tighter budget, a good quality cedar or even a well-sealed marine plywood will serve you much better than some soft pine that’ll soak up moisture like a sponge.
The real secret, though, isn't just the wood itself, but how you treat it. You’ve got to be obsessive about preventing wood rot in humid environments by ensuring every edge and end-grain surface is properly sealed. I don't care how much you spent on the timber; if you leave the grain exposed, the moisture will find its way in. I always make a point of applying moisture-resistant sealant to every single joint and face before the assembly even begins. It’s extra work, but it’s better than having to rebuild the whole thing in two years.
Preventing Wood Rot in Humid Environments
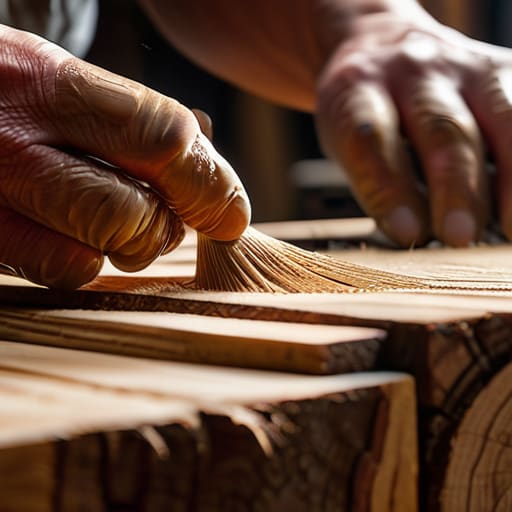
Now, even if you’ve picked the best timber, you aren't out of the woods yet. A bathroom is a hostile environment for anything organic, and if you don't respect the moisture, that cabinet will be warping and swelling before you've even hung your towels. The real secret to preventing wood rot in humid environments isn't just about the wood you start with; it’s about how you seal the joints. I’ve seen too many youngsters leave the end grain exposed because they were in a rush to finish. That end grain acts like a bunch of tiny straws, sucking up steam and water directly into the heart of the timber.
You need to be thorough when applying moisture-resistant sealant, and I don't just mean a quick wipe-over on the visible faces. You have to get into every corner, every groove, and every single internal edge where the pieces meet. I always tell my apprentices: if you can't see it, you haven't finished sealing it. A heavy-duty, high-quality finish is your only real defense against the constant cycle of dampness and drying that happens every time someone takes a hot shower. Don't skimp here; it's the difference between a piece that lasts forty years and one that ends up in the skip in five.
Five things they don't tell you in the workshop manuals
- Don't trust a cheap hinge. In a bathroom, the humidity will play havoc with anything that isn't solid brass or high-grade stainless steel. If the hinge starts to squeak or bind after six months, you’ll be ripping the whole door off just to fix it. Get it right the first time.
- Check your squareness twice, then check it a third time. A bathroom cabinet sits against a wall that’s almost certainly never truly plumb. If your carcass isn't perfectly square, those doors will never hang straight, and you'll spend your whole life adjusting them.
- Use a proper sealant on every end grain. I don't care how "waterproof" your timber is; if you leave the end grain exposed, it'll act like a straw and suck moisture right into the heart of the wood. Slather it in a good quality wax or oil until the wood stops drinking.
- Stop relying on screws for everything. A screw in a damp environment can loosen over time as the wood expands and contracts. I always prefer a well-cut mortise and tenon joint where possible. It’s more work upfront, but it’s a mechanical connection that won't fail you when the steam hits it.
- Mind your clearances. Leave a little more breathing room between the door and the frame than you would in a dry bedroom. Wood moves, especially in a room with a shower running nearby. If you build it too tight, the wood will swell and you won't be able to open the damn thing.
A Bit of Final Advice
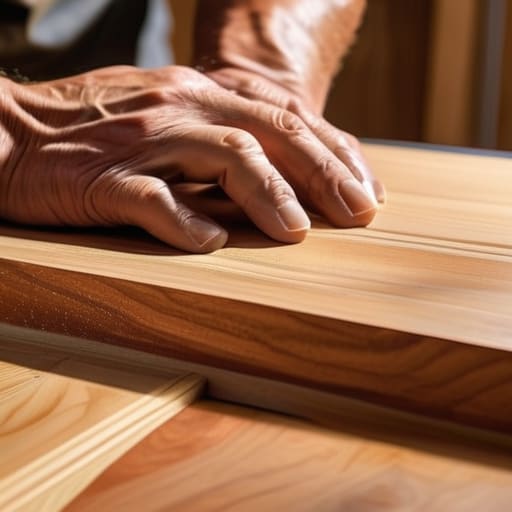
Building a bathroom cabinet isn't just about slapping some boards together and hoping they don't swell by Christmas. You’ve got to get the foundation right, from choosing a timber that can stand up to the steam, to making sure your joints are tight enough to keep the moisture out. Don't rush the sealing process, either; if you don't apply a proper, heavy-duty finish, you’re just inviting rot to take up residence in your hard work. It’s the small, often tedious details—the sanding, the waterproofing, and the careful assembly—that separate a piece of furniture from a piece of scrap wood.
At the end of the day, I want you to step back and look at what you’ve actually made. There is a particular kind of satisfaction in looking at a cabinet and knowing it wasn't just bought off a flat-pack website, but was shaped by your own hands. It might take a little longer, and your fingers might be a bit sore, but a piece built with patience and precision will outlast any mass-produced rubbish you'll find in a big-box store. Take your time, keep your tools sharp, and build something that is actually worth keeping.